
Streamline your week with this ultimate veggie meal prep guide. Learn how to vegetable meal prep to extend grocery shelf life, keep them fresh for longer and make sure you’re using them throughout the week!

If there’s one genuinely life-changing habit that helps me eat vegetables consistently throughout the week, it’s batch prepping them ahead of time.
Vegetable prep means my veggies are already washed, cut, and ready to go, so at any moment, they’re the easiest option to grab. Whether it’s stir-fries, noodles, soups, fried rice… half the work is already done.
And can we be real? Nobody talks about how much effort vegetables actually require.
Way more than most proteins. Washing, rinsing, peeling, chopping… it’s a whole process.
I used to skip vegetables all the time simply because I couldn’t deal with it after a long day. Even when I technically had the time, let’s be real… it’s not exactly relaxing or enjoyable.
So what happened?
The veggies stayed untouched in the fridge. Then they went bad. And nothing feels worse than throwing away fresh produce after spending time, money, and effort buying it.
Batch prepping completely changed that for me.
Whether you’re cooking for your family, juggling work, studying, or just trying to eat a little better without overhauling your whole life, prepping vegetables in advance makes healthy eating feel easy instead of aspirational.
A little planning upfront = vegetables actually getting eaten all week long. Here’s my vegetable meal prep blueprint!
Why Vegetable Meal Prep?
- Time-Saving: Spend an hour or two couple on the weekend prepping your veggies, and you’ll have more time during the week for other activities.
- Nutritious Eating: Having prepped veggies on hand makes it easier to include them in your meals! Having them ready to go at all times means I’m more likely to reach out for them in my meals.
- Less Waste: Planning your meals means you buy only what you need, reducing food waste.
Batch Prepping & The Magic of Flow
Batch prepping works so well because of this one concept: flow state!
Here’s where the magic happens! When you batch prep vegetables, such as chopping all your veggies in one go, you can enter a state of flow.
Achieving a state of flow, a mental state where you’re fully immersed and focused on an activity, can significantly enhance the efficiency when meal and batch prepping. You might even, dare I say it, ENJOY it!
Since it’s a repetitive, but relatively brainless task, I turn on the music, play a podcast or even watch a Netflix episode. The time will breeze by quick!
Embracing this approach can transform meal prepping from a chore into a satisfying and streamlined part of your routine.
Instead of cutting a few veggies here and there throughout the week, do it all in one go when you have all your equipment out anyway. This not only saves time, but also keeps your kitchen clean up to a minimal throughout the week – BONUS!
Essential Tools for Vegetable Meal Prep
Before you start, make sure you have the following tools for efficient veggie meal prep:
Sharp Knife
One good, sharp knife is all you need to do all the prep work.
Rather than buy a set of knives, invest in ONE good knife. It may seem like better value to purchase a set – but you will likely only use 1-2 knives out of the set. The clutter is not fun to deal with.
Cutting Board
I have two cutting boards; one for vegetable prep and a separate one for meat prep.
Having a large cutting board will definitely help, this way you can cut all your vegetables without having to clear the board to make space each time.
This is NOT necessary though. I used to have a large cutting board, and while they’re useful for meal prepping at one go, they’re SO HEAVY for me that wanting to use it often becomes a chore. Instead, I make do with my daily cutting boards.
Salad spinner, colander and large bowls

The one key factor to keep vegetables fresh for longer would be to keep them as dry as possible!
If there’s one item that will significantly help in your vegetable prep journey, it’s a salad spinner. Any will work – I’ve had mine for the longest time from IKEA, but I believe they still stock it.
Besides helping to dry out the vegetables as much as possible, the salad spinner also works as a colander. It’s so easy to soak, cleanse, rinse, drain and of course, dry my vegetables with a salad spinner!
If you don’t have a salad spinner, simply use a colander with a bowl large enough to hold it. I would typically use my colander hand in hand with the salad spinner.
Having a few large bowls around to hold and portion vegetables is also useful.
These are some salad spinner options from Amazon:
Tea Towels & Paper Towels
Have some clean tea towels and paper towels is great for general cleanup as you go along, and help pat dry produce before storing.
You don’t need a bunch of tea towels too. I usually use just ONE tea towel, and work in steps. First, use the towel just to pat dry produce. Once you’re done with this, the towel can be used for regular cleaning of your space once you’re done. Toss it in the wash immediately after.
I line my containers with paper towels as they help absorb any excess moisture from the vegetables to keep them fresh for longer. I also use the paper towels to further pat dry any vegetables that need that extra bit of drying help.
There are exceptions though: if I know I’m going to be using the container of vegetables within the next 1-2 days, I don’t bother lining with paper towels.
Trash Bowl
This might seem like a tiny detail, but having a trash bowl right by you while you meal prep is a total game-changer. Every time you’re chopping or peeling, you can just toss scraps straight into the bowl instead of walking back and forth to the trash.
Most importantly? It keeps you in FLOW! Flow is the secret to effortlessly prepping ingredients in big batches. When you’re not constantly stopping, you can really get into the rhythm.
A “trash bowl” doesn’t have to be fancy. Just any random bowl lurking in your pantry works. For me, it’s a big plastic bowl I’ve had forever. You don’t have to (and shouldn’t!) purchase a bowl specifically for this.
When I’m done prepping, I just dump the whole bowl into the main trash bin and keep going. Simple, fast, and flow-friendly.
Storage Containers (glass or BPA-free plastic)

I use a combination of glass and plastic containers. Vegetables go into plastic containers, and I reserve my glass containers for storing marinated meats, cooked vegetables or other cooked dishes. Glass containers don’t hold smells, so they’re great for strong flavoured items.
Stackable storage containers are my preferred storage of choice for easier organisation.
I have a set for the fridge, and a separate set for the freezer. Do note not all containers can work well in both freezer and fridge. Always check the manufacturer instructions.
I’ve amassed my set over years of meal prepping – but they’re either free, or from online and Tupperware… or hand-me-downs from my Mom!
If you are just new in meal prep and kitchen organisation, there are some options on Amazon to get you started:
Freezer-Friendly Plastic Containers:
- Bentgo® 20-Piece Lightweight, Durable, Reusable BPA-Free 1-Compartment Containers – Microwave, Freezer, Dishwasher Safe – Mint
- JoyServe Deli Food Containers with 54 Lids – (48 Sets) 24-32 Oz Quart Size & 24-16 Oz Pint Size For Airtight Takeout Meal Prep Storage, BPA-Free, Dishwasher, Microwave Safe – these deli food containers are very popular for their versatility and storing capabilities. I’ve personally never used them (because I have enough containers), but I can definitely see their appeal!
Glass Containers:
- Vtopmart 8 Pack Glass Food Storage Containers , Meal Prep , Airtight Bento Boxes with Leak Proof Locking Lids, for Microwave, Oven, Freezer and Dishwasher, BPA Free
- M MCIRCO [8-Pack,30 oz] Glass Meal Prep Containers,Glass Food Storage Containers,Airtight Glass lunch Containers with Lids – Microwave, Oven, Freezer and Dishwasher
- Anchor Hocking 16 Piece Glass Storage Containers with Lids (8 Glass Food Storage Containers & 8 Navy Blue SnugFit Lids)
Zip-lock bags
I also use zip-lock bags for smaller scale items, or when I run out of containers. They store easily, and are clear so I can see my produce immediately. It may not be the most environmentally friendly, but I rinse out the bags after each use until they’re worse for wear.
I’ve used silicone bags before, but I absolutely hated them. They’re not very flexible and makes putting produce in cumbersome. They also take up too much space, and hard to organise. Worse of all, they’re so difficult to clean!
Miscellaneous Tools
Depending on your meals or recipes, you may need some extra tools to help ease your batch prepping, such as vegetable peeler, shredder, blender or food processor, scissors and labeling equipment.
I pull out my blender often to make my aromatics pastes – since they need to be out anyway, I would make any other spice pastes for my dishes.
A knife and cutting board is all you really need, but sometimes I take out my food processor (or a shredder) to shred carrots and cabbages.
If there are any spices that need processing, I would do this at the same time too. I also always find myself reaching for a pair of scissors for random snipping of packaging.
Since I only meal prep for the week, I don’t find labelling necessary. If you’re meal prepping to store for longer periods of time, label the dates so it’s easier to keep track! I love my Niimbot label maker for this!
Step-by-Step Batch Veggie Meal Prep
Depending on my energy levels, I either grocery shop and prep vegetables all in one day or break it down into two days for a more relaxed pace.
Regardless of your approach, you’ll spend NO MORE than 1-2 hours each week on batch prepping.
The payoff? You’ll save up to THIRTY MINUTES of prep time EACH DAY throughout the week. Plus, think of all the energy you’ll save by reducing the amount of cutting and washing up!
These are the exact steps I take to meal prep:
1. Wash and Dry

- Wash all of your vegetables at one go! Use the salad spinner to clean and rinse the vegetables. If you have a large sink, you can dump all of the veggies in and give them a rinse or soak.
- Start with the whole and larger vegetables first, such as root or cruciferous vegetables, and let them dry. Either place them in a colander to drip dry, or over a tea towel.
- I wash my green vegetables last as they’re the most labour intensive. As they’re rinsing or soaking, peel off any wilted leaves.
- Use a salad spinner to dry leafy greens.
Optional: A Saltwater Soak

This is optional, but highly recommended: Do a final saltwater soak for all the vegetables.
A saltwater soak and rinse is a simple yet effective method for cleaning vegetables, enhancing both their safety and quality. By soaking your veggies in a solution of salt and water, you can further clean and safely remove any potential bugs (and bug eggs!) in crevices, as well as residual pesticides.
How to do a Saltwater SOAK:
1. Give your vegetables a rinse with water first to remove larger pieces of dirt, especially for leafy vegetables.
2. Fill the salad spinner (or big bowl or large sink) with cold water.
3. Add 1-2 tablespoons of salt and stir until dissolved.
4. Soak the vegetables in the saltwater for 5 to 10 minutes.
5. Give the vegetables a final rinse of water.
Saltwater soaks are especially beneficial for leafy greens! HOWEVER, not all vegetables do well when you saltwater rinse at the ingredient prepping stage – such as certain green vegetables; they will wilt and brown if you are not delicate. Some examples would be spinach, kangkong, and baby bok choy.
For these vegetables, I would do the saltwater rinse only when I’m ready to cook.
Editor’s note:
My approach has changed since I first published this. You can absolutely wash your vegetables ahead of time, but lately I’ve been skipping that step since I don’t mind giving them a quick rinse right before cooking. Washing veggies upfront adds a lot more time to my ingredient prep day (washing, soaking, drying), and unless they’re dried very thoroughly, the extra moisture can actually cause them to spoil faster.
These days, I prep my vegetables unwashed and simply rinse what I need when it’s time to cook. This small change has cut my veggie prep down to just 30 minutes total — cleanup included — and my vegetables last longer in the fridge too.
That said, this is still how I wash my vegetables, so it remains a great reference for properly cleaning vegetables.
2. Prepare Your Tools
- Take out your cutting boards and knife, and any other tools you might need.
- Prepare your containers, and line them with paper towels.
3. Chop, slice, store

- Peel, chop, slice, or dice your veggies all at one go according to your recipes.
- Use this time to trim off the roots and remove any bad bits so they don’t spread — your veggies will last longer this way.
- You can store each vegetable as soon as you’re done with them (my preferred option!) or store them at the end of your entire chopping stage. Choose the option that is easier for you – or that puts you more in flow state!
4. Label and Date (optional)
Label your containers with the contents and the date to keep track of freshness. I rarely to do this since I use up my vegetables in one week!
Need help to meal plan and prep for the week?
Read my ultimate guide: How to Meal Plan Like a PRO!
How to Meal Prep Vegetables (by type)
Not all vegetables prep the same! This is your ultimate guide to prepping different types of vegetables:
Leafy Vegetables – Asian greens, kale, spinach, lettuce
Asian greens of all kinds – bok choy, chye sim, yau mak choy, kangkong or water spinach, to name a few – are a staple at home. They’re also the biggest pain to prepare.
Unless you buy the organic stuff (not me, especially not in this economy!), your bag of greens will often have a lot of dirt attached to it!
Rinse your vegetables first. For certain vegetables (such as bok choy), it may help to cut off the roots before rinsing may help to loosen the dirt and make cleaning easier.
Leafy vegetables can bruise easily. Fill the salad spinner with water first, before adding in the vegetables. Gently move them along with your hands, or swivel the basket to loosen the dirt.
When drying, gently spin the salad spinner to remove excess moisture. Give them 2-3 rounds in the salad spinner, making sure to wipe the salad spinner dry after every turn.
Line containers with paper towels before adding the leafy vegetables to absorb excess moisture and keep them fresh for 4-5 days.
I utilise the same method for spinach. Lettuce and kale are not as delicate, so I can give them a few hard spins at one go to dry!
Beansprouts
Wash and pluck off any long roots (this is optional; you can eat the roots, it’s just unsightly).
Use the salad spinner to dry, and place in lined containers.
Carrots, cauliflower, broccoli, Broccolini
These are my favourite things to meal prep because they last the longest.
For cruciferous vegetables like cauliflower and broccoli, wash and dry first before patting dry. Then cut accordingly, and store in lined containers. They can last a week when prepared well, but make sure to discard if you see any slimy mold!
For root vegetables such as carrots or radish, rinse and peel skin with a peeler. Cut off the top and bottom root and discard. Chop into your preferred shape and store in lined containers. They last a week in the fridge.
Cabbages (White or Purple)
Remove any wilted or browned outer leaves of the cabbage first.
Give it a rinse, and pat dry with a tea towel or paper towel.
Depending on what I need, I tend to split the cabbage in half. One side gets shredded, the other side cut into larger quarts. Before slicing it, cut off the tough inner core and discard.
Store the cabbages in a container lined with a paper towel at the bottom to absorb moisture and keep it fresher for longer.
With this method, my cabbage can last 5 days! If they’re extra fresh when you first bought them, they can last even longer. Towards the end of the week, they look slightly dried out, but has not gone bad. Throw them into stir fries and no one is none the wiser!
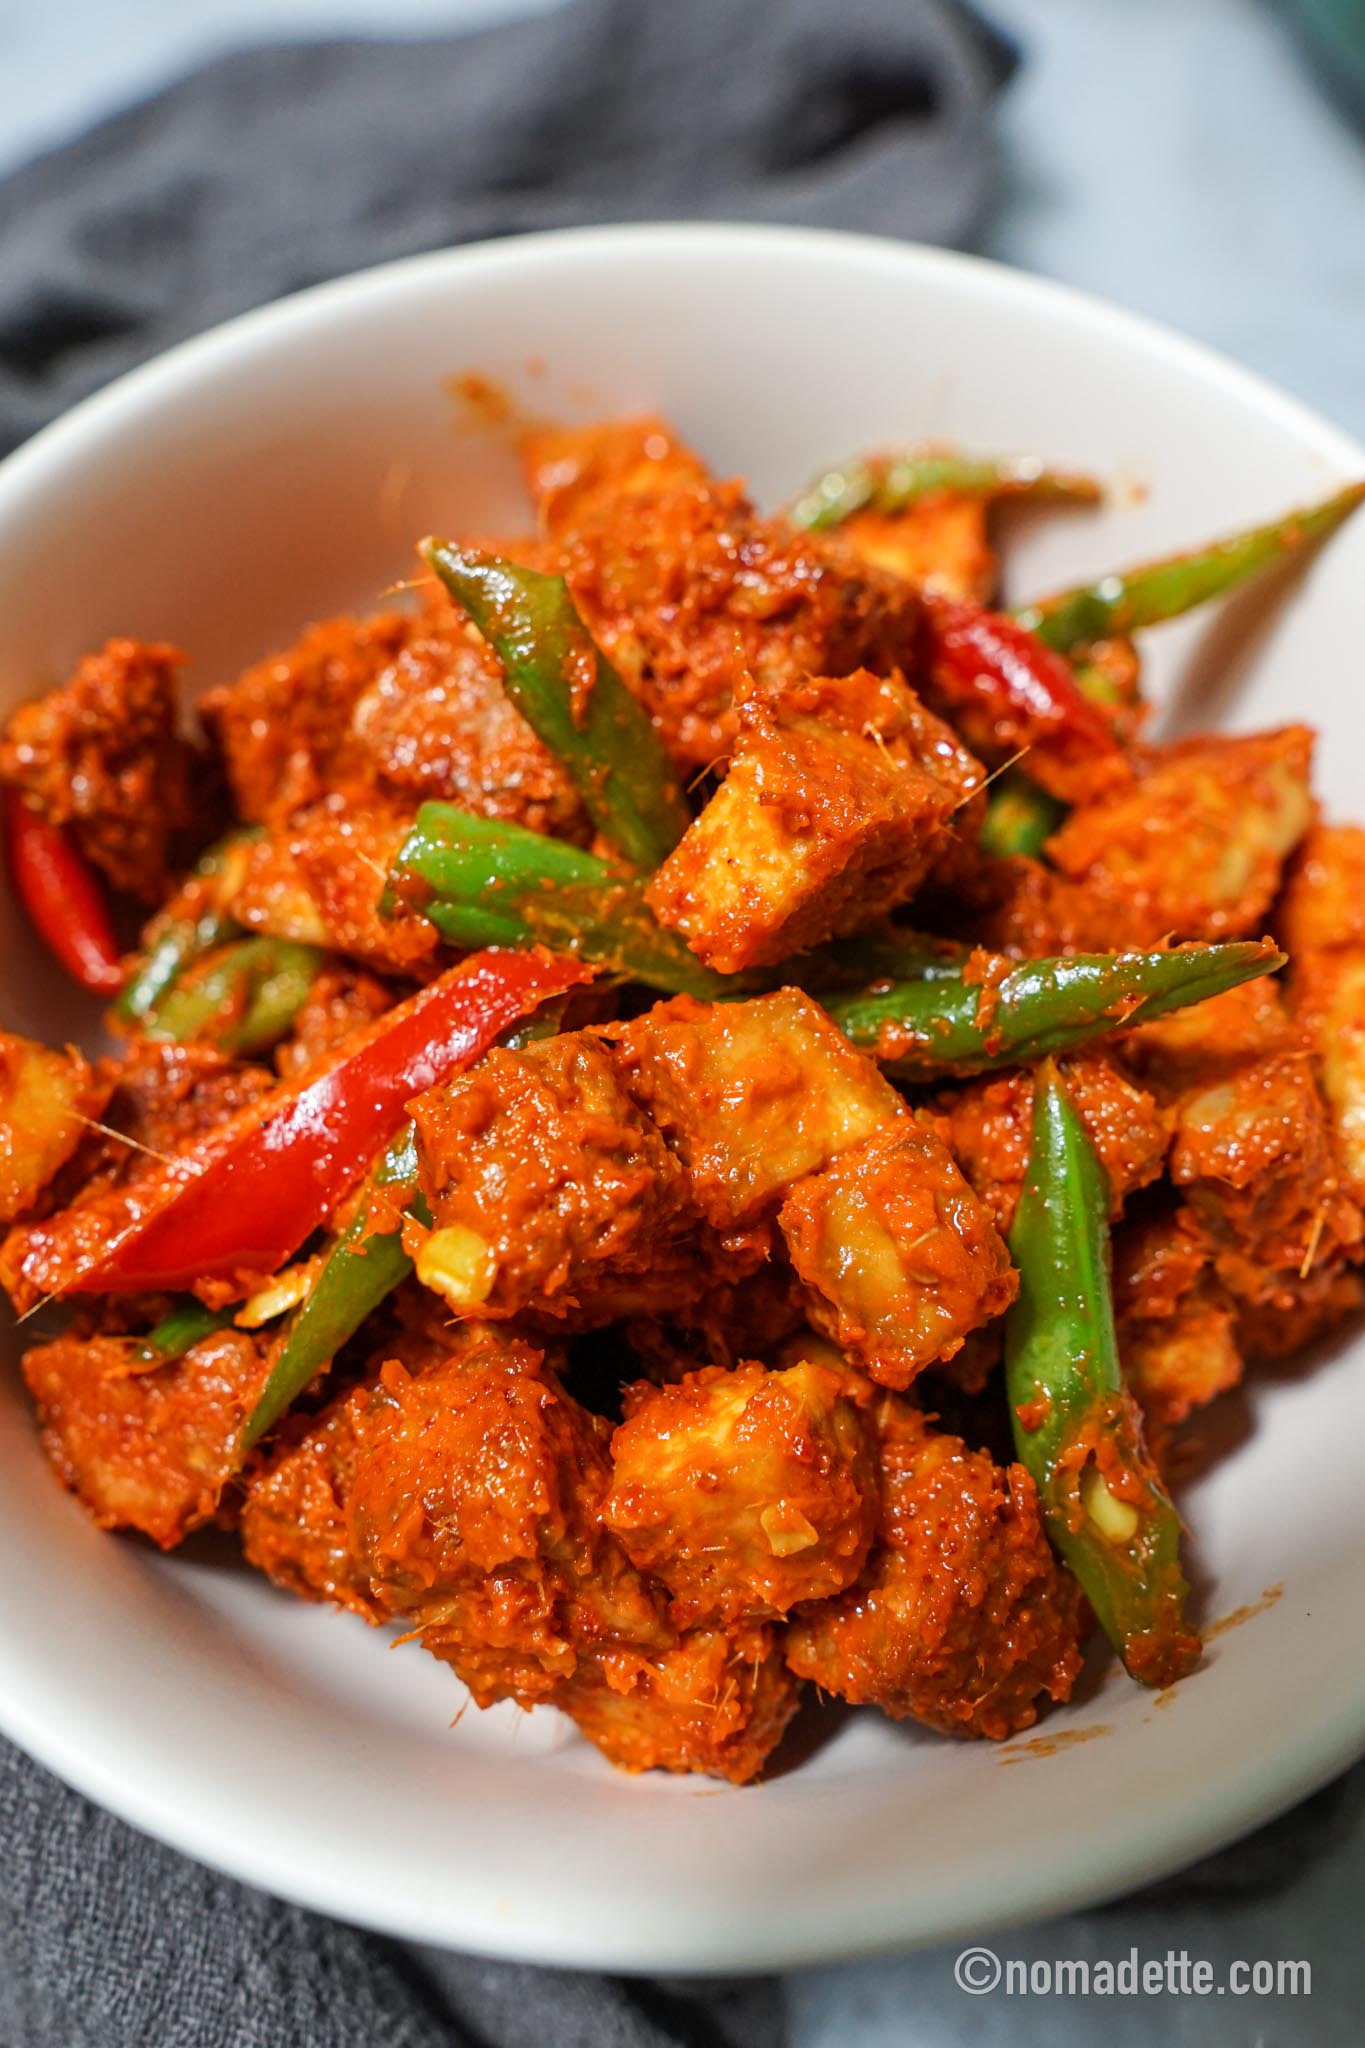
Bell Peppers or capsicums, chilli peppers
Wash and pat dry.
Cut the peppers and remove the seeds. Slice according to what you need and place in a lined container. The fresher the peppers, the longer they can last.
Tomatoes
Rinse and dry with tea towel or paper towels.
Tomatoes can be cut and portioned immediately and stored in airtight containers, glass is preferred if they are cut. No need to line containers. Cut tomatoes can last 3-4 days.
If storing tomatoes whole and uncut, line the containers with paper towels so they can last beyond a week.
Cucumber
Wash and pat dry. They only keep fresh for about 3-4 days after they are cut.
Beyond that they tend to dry out and wither. They can still be eaten, although they lose that freshness. Discard if slimy.
Long beans, green beans, french beans
Wash and dry. Cut off the ends.
Slice according to what you need and place in a lined container.
Sugar Snap Peas
Wash and dry. Peel off the fibre across the back.
Store in a lined container.
Aromatics
I generally keep my onions, garlic, and ginger together in one area. They’re best stored in a cool, dry place with good airflow, which helps them last longer and prevents sprouting or mold.
Aromatics are always best when freshly prepared — ideally used the same day, or at most one day in advance.
That said, here are my favourite ways to make them last longer without sacrificing convenience.
1. Paste Form
If you want aromatics to last longer, turn them into paste form. Properly stored, my ultra versatile aromatics pastes can last up to one week in the fridge, which is why aromatic pastes are a staple in my kitchen.
I use them in almost everything:
- As marinades
- Sautéed as the base for dishes
- To help thicken curries, sauces, and stews
They’re ultra versatile and save a lot of prep time during the week.
2. Processed & Frozen
I also batch-prep onions and garlic by mincing or slicing them in advance. They’re portioned into ziplock bags and frozen flat. Once frozen, I break them into portions and store them in containers in the freezer.
When I need them, I simply grab what I need and toss them straight into the pan. No thawing required. They defrost very quickly as they cook. Ginger can be prepped and frozen the same way, especially if you use it often.
That said, frozen aromatics won’t work for every dish. For example, they’re not ideal when a recipe calls for raw onions as a finishing ingredient, where texture and freshness really matter.
Mushrooms
Mushrooms should not touch water as long as possible.
For mushrooms such as shiitake or oyster mushrooms, I would only slice or cut them according to what I need.
Then I store them unwashed, in the crisper section of the fridge. When I’m ready to use, I give them a quick rinse under water before cooking.
The only mushrooms I would wash and prep would be enoki mushrooms. Cut, rinse and let dry as much as possible with a tea towel or paper towels. Line container with paper towels, and store in the fridge.
Pumpkin or Squash
Give the pumpkin or squash a rinse, then peel with a vegetable peeler.
Cut into halves or quarts first, so you can easily remove the seeds and pulp inside with a knife.
Chop into desired shapes, and place in lined containers.
Potatoes and Sweet Potatoes
Potatoes and Sweet Potatoes don’t fare well when prepped ahead of time because they turn brown. It’s perfectly fine to eat, but the flavour does change, in that it’s more dull.
At most, they can be prepped one day ahead of time. After peeling and chopping, immediately place in a container filled with water. The water will prevent oxidation. The potatoes can only be stored this way one day; beyond that they will tend to soak up too much liquid and turn mushy.
If you really MUST prepare potatoes in advance (perhaps you’re hosting a party), peel and cut the potatoes, and blanch them. Then freeze.
If it’s available to you, I recommend purchasing frozen peeled and cut potatoes and sweet potatoes. They’ll cost more, so you’ll need to determine if the amount of time spent cleaning and peeling the potatoes would be worth it (yes for me!).
Herbs
Short of freezing them, herbs for me simply do not last! Wrapping them in moist towels helps, but only slightly. Not enough to make it worth the hassle.
I find that they store the best… when you don’t do anything to them! Store in the crisper section of your refrigerator.
Do not wash them beforehand, as they will wilt and brown unless you can ensure they are fully dry after rinsing or washing. Be very careful when drying them, either with a salad spinner or towels. Herbs bruise easily, which can cause them to wilt and brown regardless.
The three most common herbs I use are, green or spring onions, cilantro and basil:
- Spring or green onions or scallions: rinse and clean them whole, then pat dry. Store in a lined container. Only chop or slice when you’re ready to use – use scissors so you don’t even have to crank out the cutting board!
- Cilantro or Coriander: For cilantro or coriander, I purchase them with roots attached. Place it in a glass of water keeps them fresh for longer.
- Basil: I grow my own basil! They are quite expensive here in Singapore, so I grow my own Italian sweet basil and Thai Basil. They grow fairly easily (somewhat, I killed two plants before my current one!) with lots of sun and water. I like that I have them ready to go at all times!
For any other herb however, I apply the same principle: there is no need to do anything!
Bagged Mixed Vegetables
I do not prep these beforehand… for obvious reasons! Store them in the original bag in the crisper.
When I’m ready to use, I’ll give them a quick saltwater soak and rinse.
Fruits
To keep berries for longer, let it soak in a vinegar solution (equal parts vinegar and water) for about 10 minutes. Drain and rinse, and let them dry thoroughly – pat dry with a tea towel for this. You can also gently use the salad spinner! Once dry, place in a container lined with paper towels and store in the fridge.
Fruits like melon and oranges can be peeled and cut and stored in the fridge. No need to line containers with paper towels.
Everything else like apples, pears and grapes, I simply give them a salt water soak and rinse. They are dried before being stored in the fridge.
Vegetable Recipes
I use the vegetables in a myriad of ways! As veggie supplements to my meat dishes in stir fries and soups, as side dishes, or as salad.
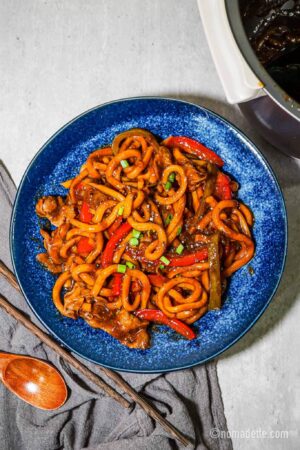
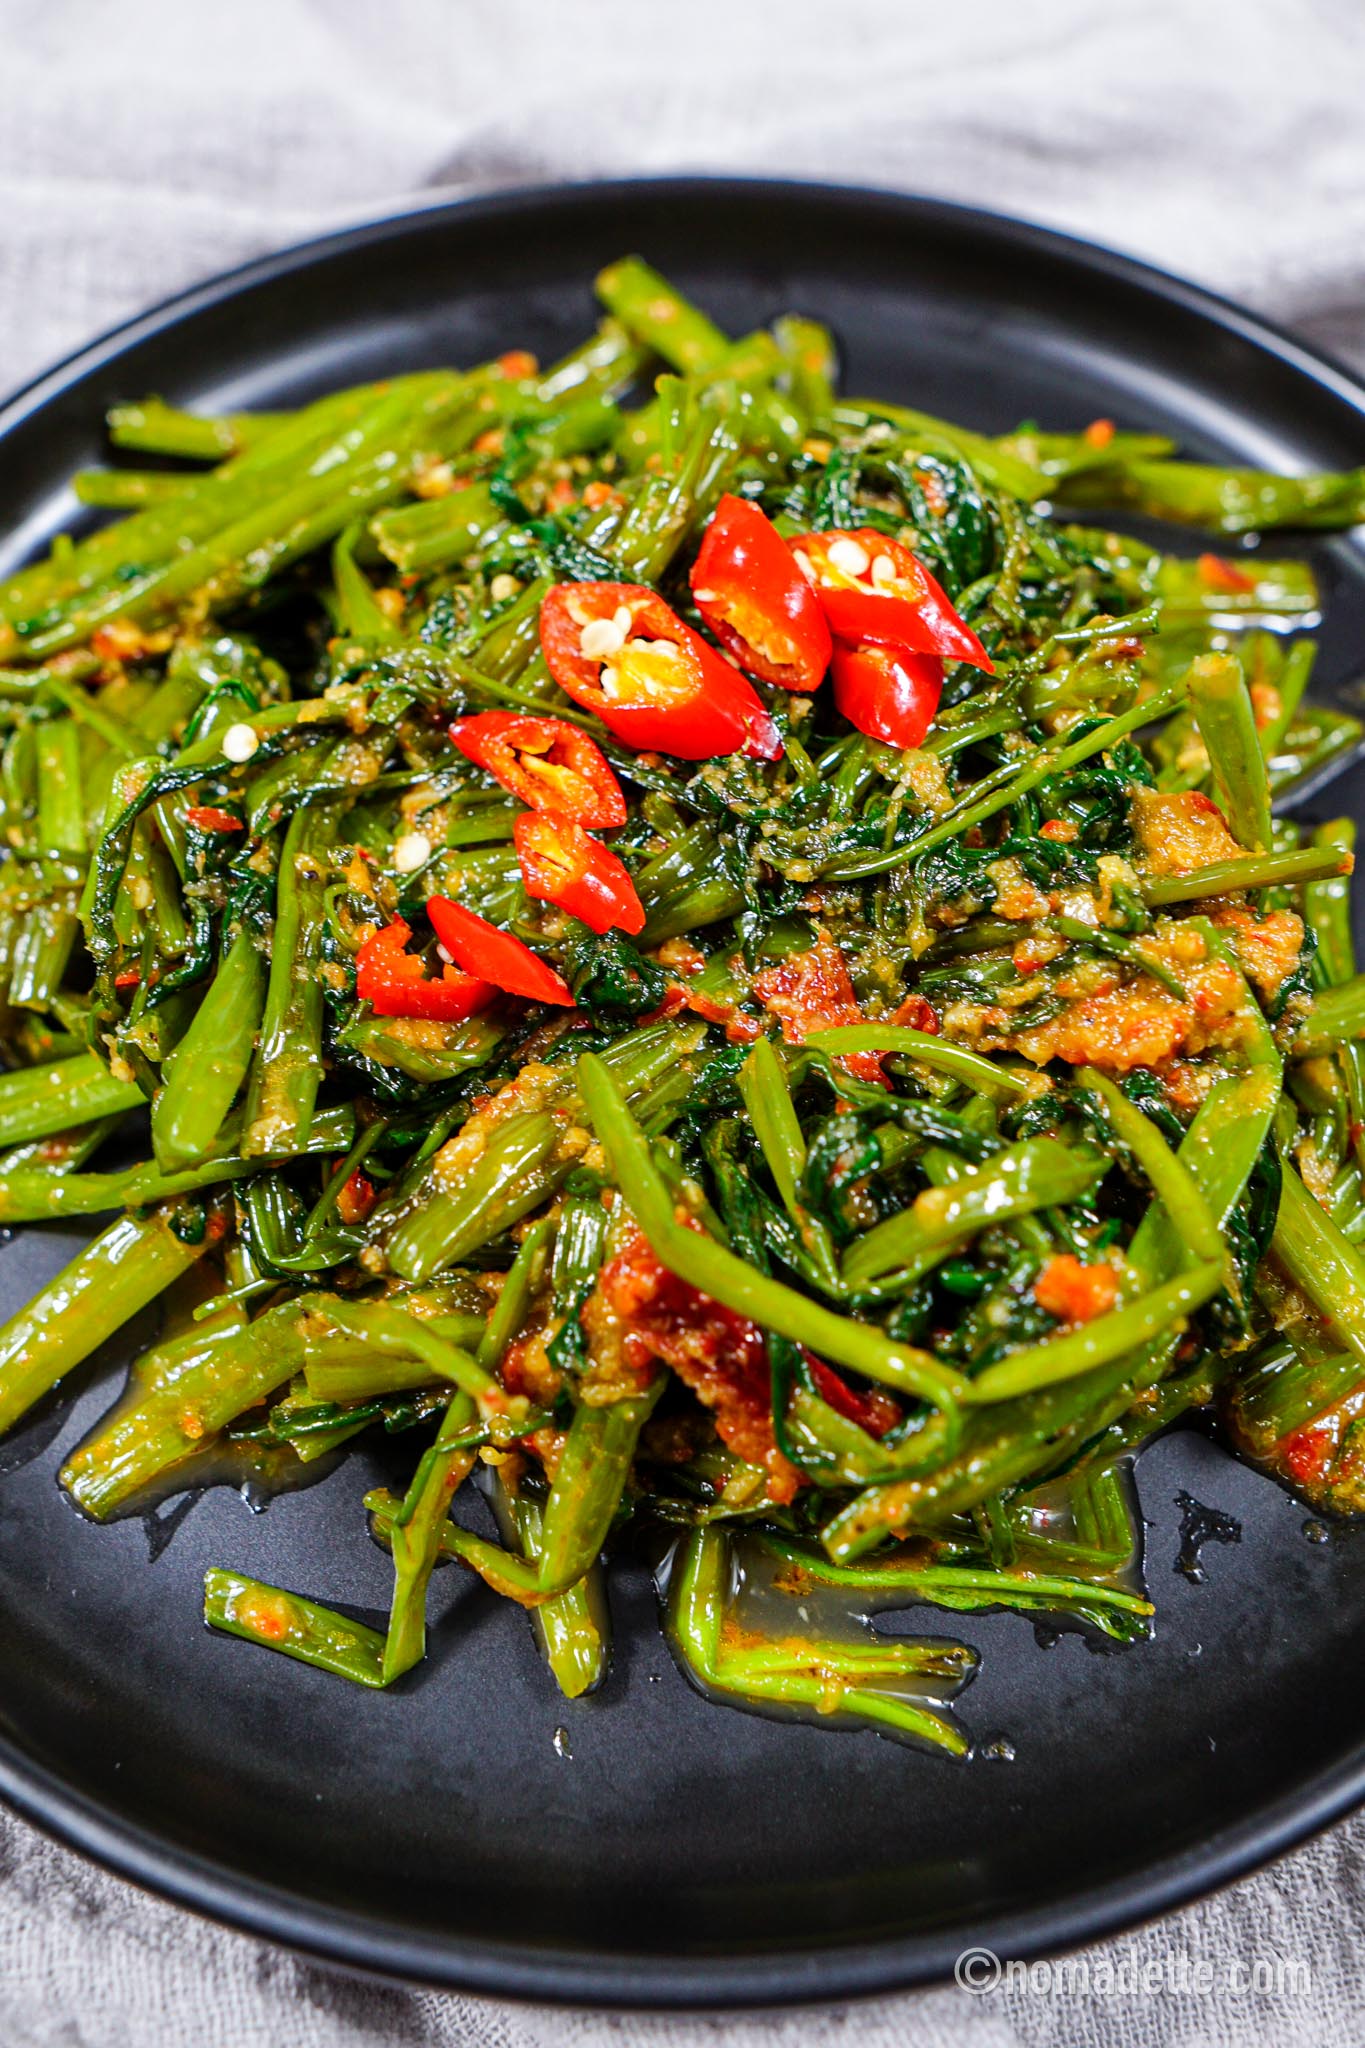
If you need some veggie recipe inspo:
What to Do With Veggie Scraps?
One of the easiest ways to minimize waste in the kitchen is by making use of vegetable discards – another reason to use a trash bowl as you’re meal prepping!
Keep a sturdy container or ziplock bag in your freezer, and each time you prep vegetables, simply add the clean, usable scraps to your collection. If I’m not planning to use them immediately, I store them in a ziplock bag in the freezer. Of course, you want to make sure they’re clean first.
Throughout the week, I would also throw in any other scraps (think roots of herbs!) into the bag as well. When I’m ready to use it, I just have to clear the bag into my pot and let it cook.
The main way I use these is by making homemade stock!
Once you have enough, simmer the scraps in water with herbs and spices to create a flavourful, nutritious broth. This way, you’re not only reducing waste but also enhancing your meals with a homemade touch.
Conquering the Overwhelm: How to Make Meal Prep Manageable
“This sounds like a lot of time and work!” Meal prepping can initially feel overwhelming, especially when faced with a mountain of ingredients and the prospect of organising an entire week’s worth of meals.
If you break the process into manageable steps – such as following my easy step-by-step – it will become a much less daunting task!
Begin with a clear plan and a simple list of recipes. Tackle one task at a time, such as washing all the vegetables first, then moving on to chopping, and so on.
By focusing on one step at a time and getting into that flow state, you can reduce stress and make meal prepping a more enjoyable and fulfilling activity.
Vegetable meal prep doesn’t have to be complicated. With a bit of planning and a few hours of prep, you can make your week healthier and more efficient.