

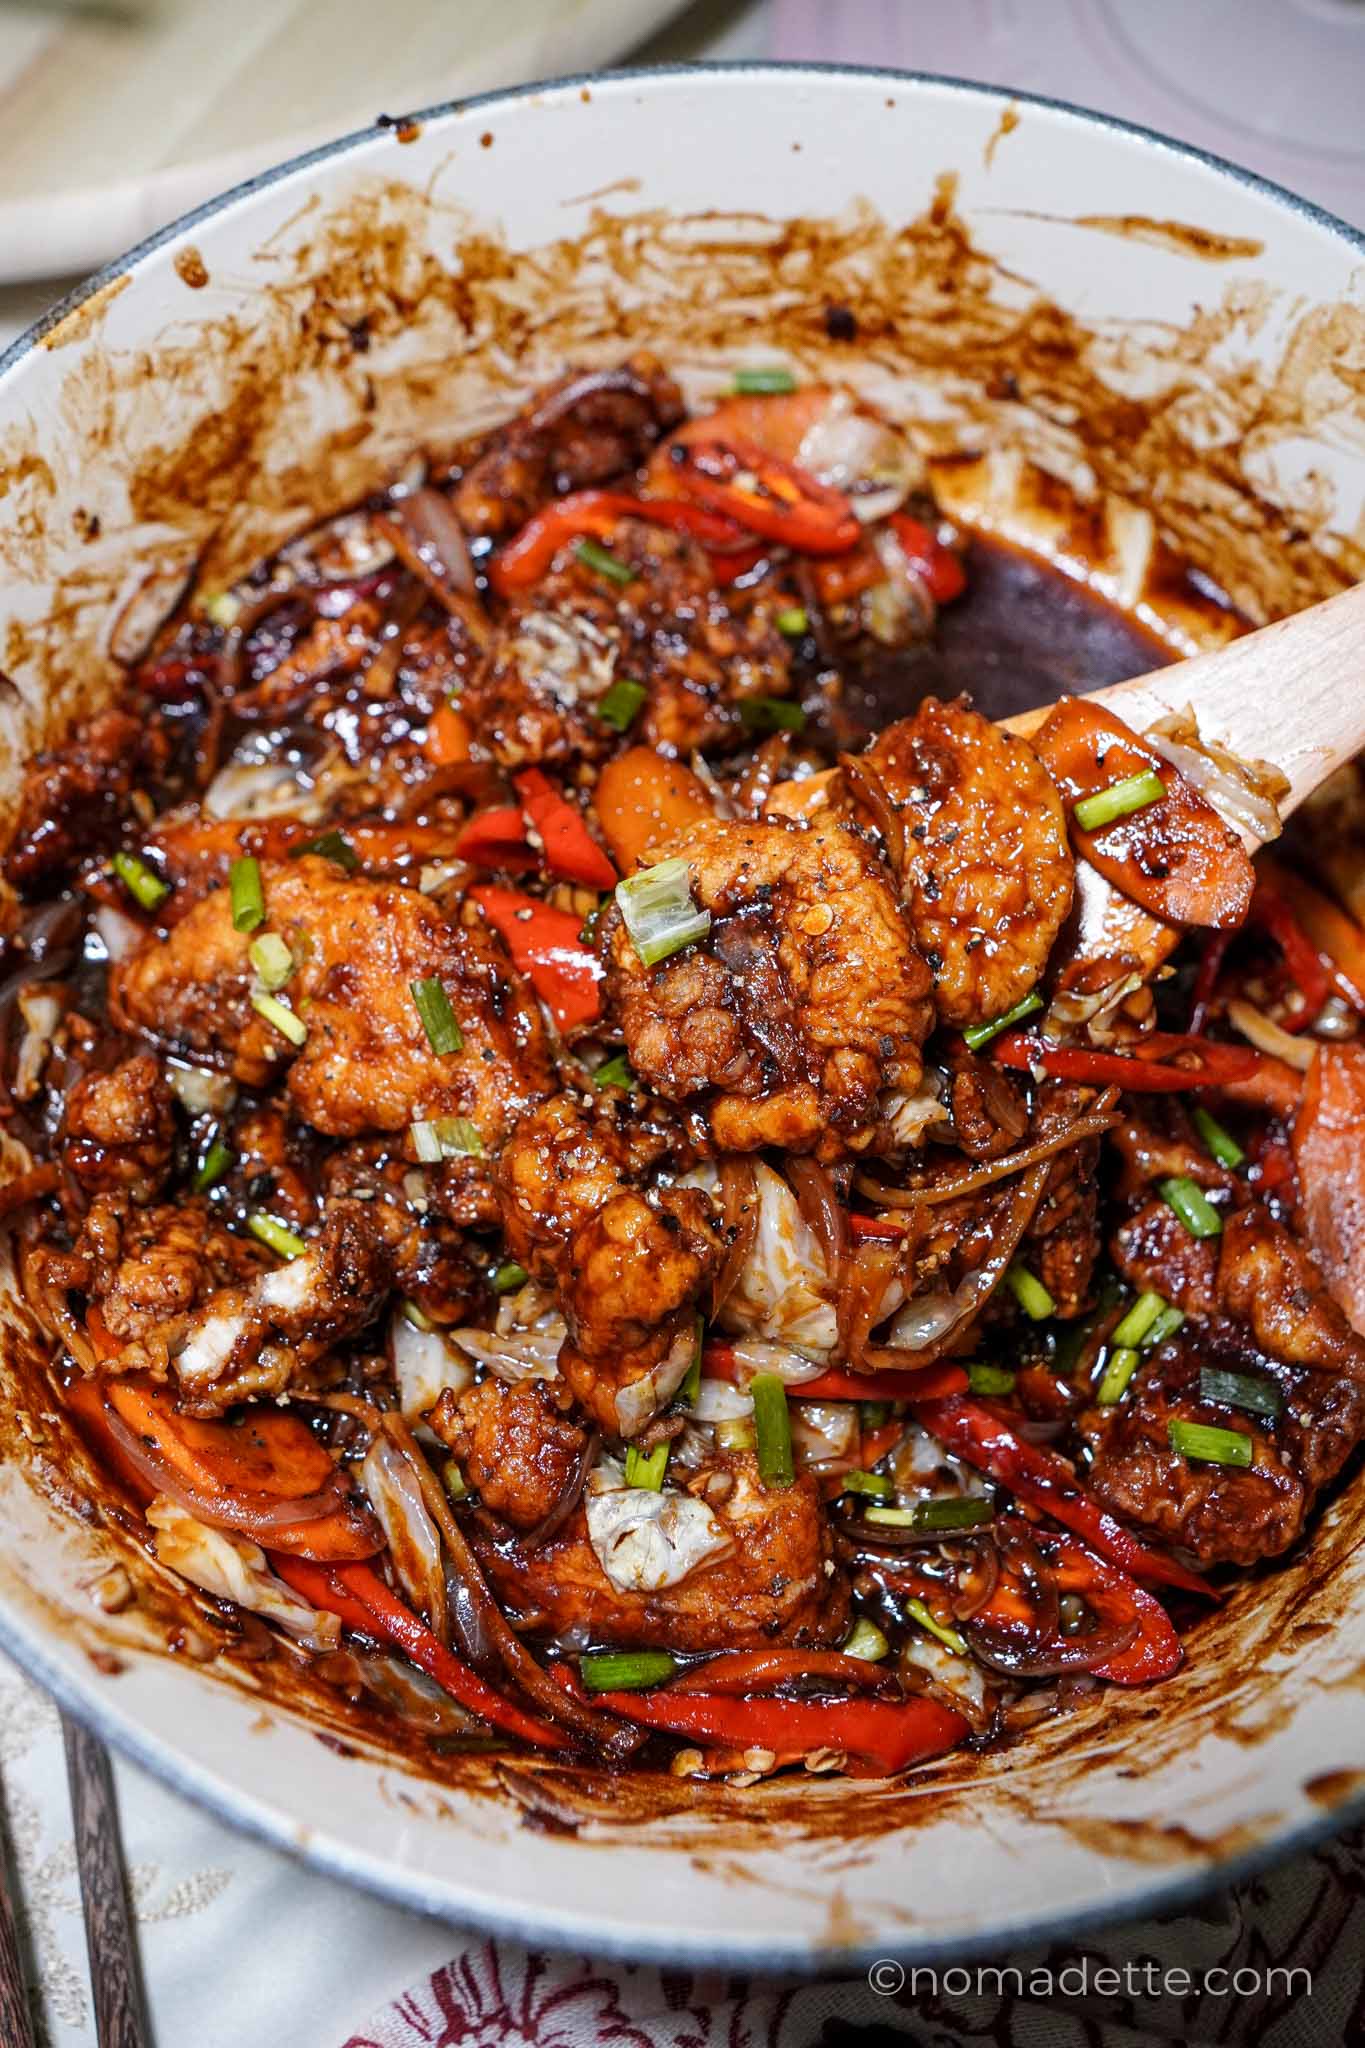
Dinner in 30 minutes! Love bold flavours? This easy Black Pepper Chicken Stir Fry is sweet, savoury, and spicy.
Funny story: I was craving Black Pepper Chicken the other day, so naturally I came to my own blog to look up the recipe… and realised I never actually posted it??
Like… how?! This was one of the first ever recipe videos I uploaded to YouTube, and it was a hit. But somehow I never turned it into a blog post?? Rude of me, honestly.
So here I am, righting that wrong. This dish is one of my faves stir fries!
But here’s the thing: my tastes have shifted since I first posted that recipe video. Might be because she’s a little older now, wiser…. Saltier? I like the original version — bold, sweet, tangy — but these days I lean towards a more savoury-forward, saltier black pepper sauce. The ingredients are basically the same… but the proportions hit different.
So I’m giving you both.
The original OG recipe (aka the YouTube classic) for those who love that sweet-savoury peppery punch.
And my updated, “I can’t do sweet sauces every night anymore” version, for those who are in their salty era with me.
Table of Contents
- What is Black Pepper Chicken?
- Why You’ll Love This Recipe
- Key Ingredients for Black Pepper Chicken Stir Fry
- Key Steps to Making It
- How to Serve
- Tips & Tricks
- Storing & Reheating
- Watch How to Make This
- More Recipes Like This
What is Black Pepper Chicken?
Black Pepper Chicken Stir Fry is a zi char-style favourite that hits every note: sweet, savoury, peppery, and just the right amount of spicy. You’ll find versions of it all across Asia: in Chinese, Malaysian, and Singaporean kitchens especially, and it’s always comforting, flavour-packed, and ultra satisfying.
This is a dish that really leans into pepper as the star spice — no fancy ingredients, just the classic duo of white and black pepper with an umami saucy base! It’s bold, nostalgic, and honestly foolproof.
Why You’ll Love This Recipe
- Quick and easy: Perfect for weeknight dinners, ready in under 30 minutes
- Big flavour, minimal effort: Uses pantry-friendly sauces to create a bold stir fry
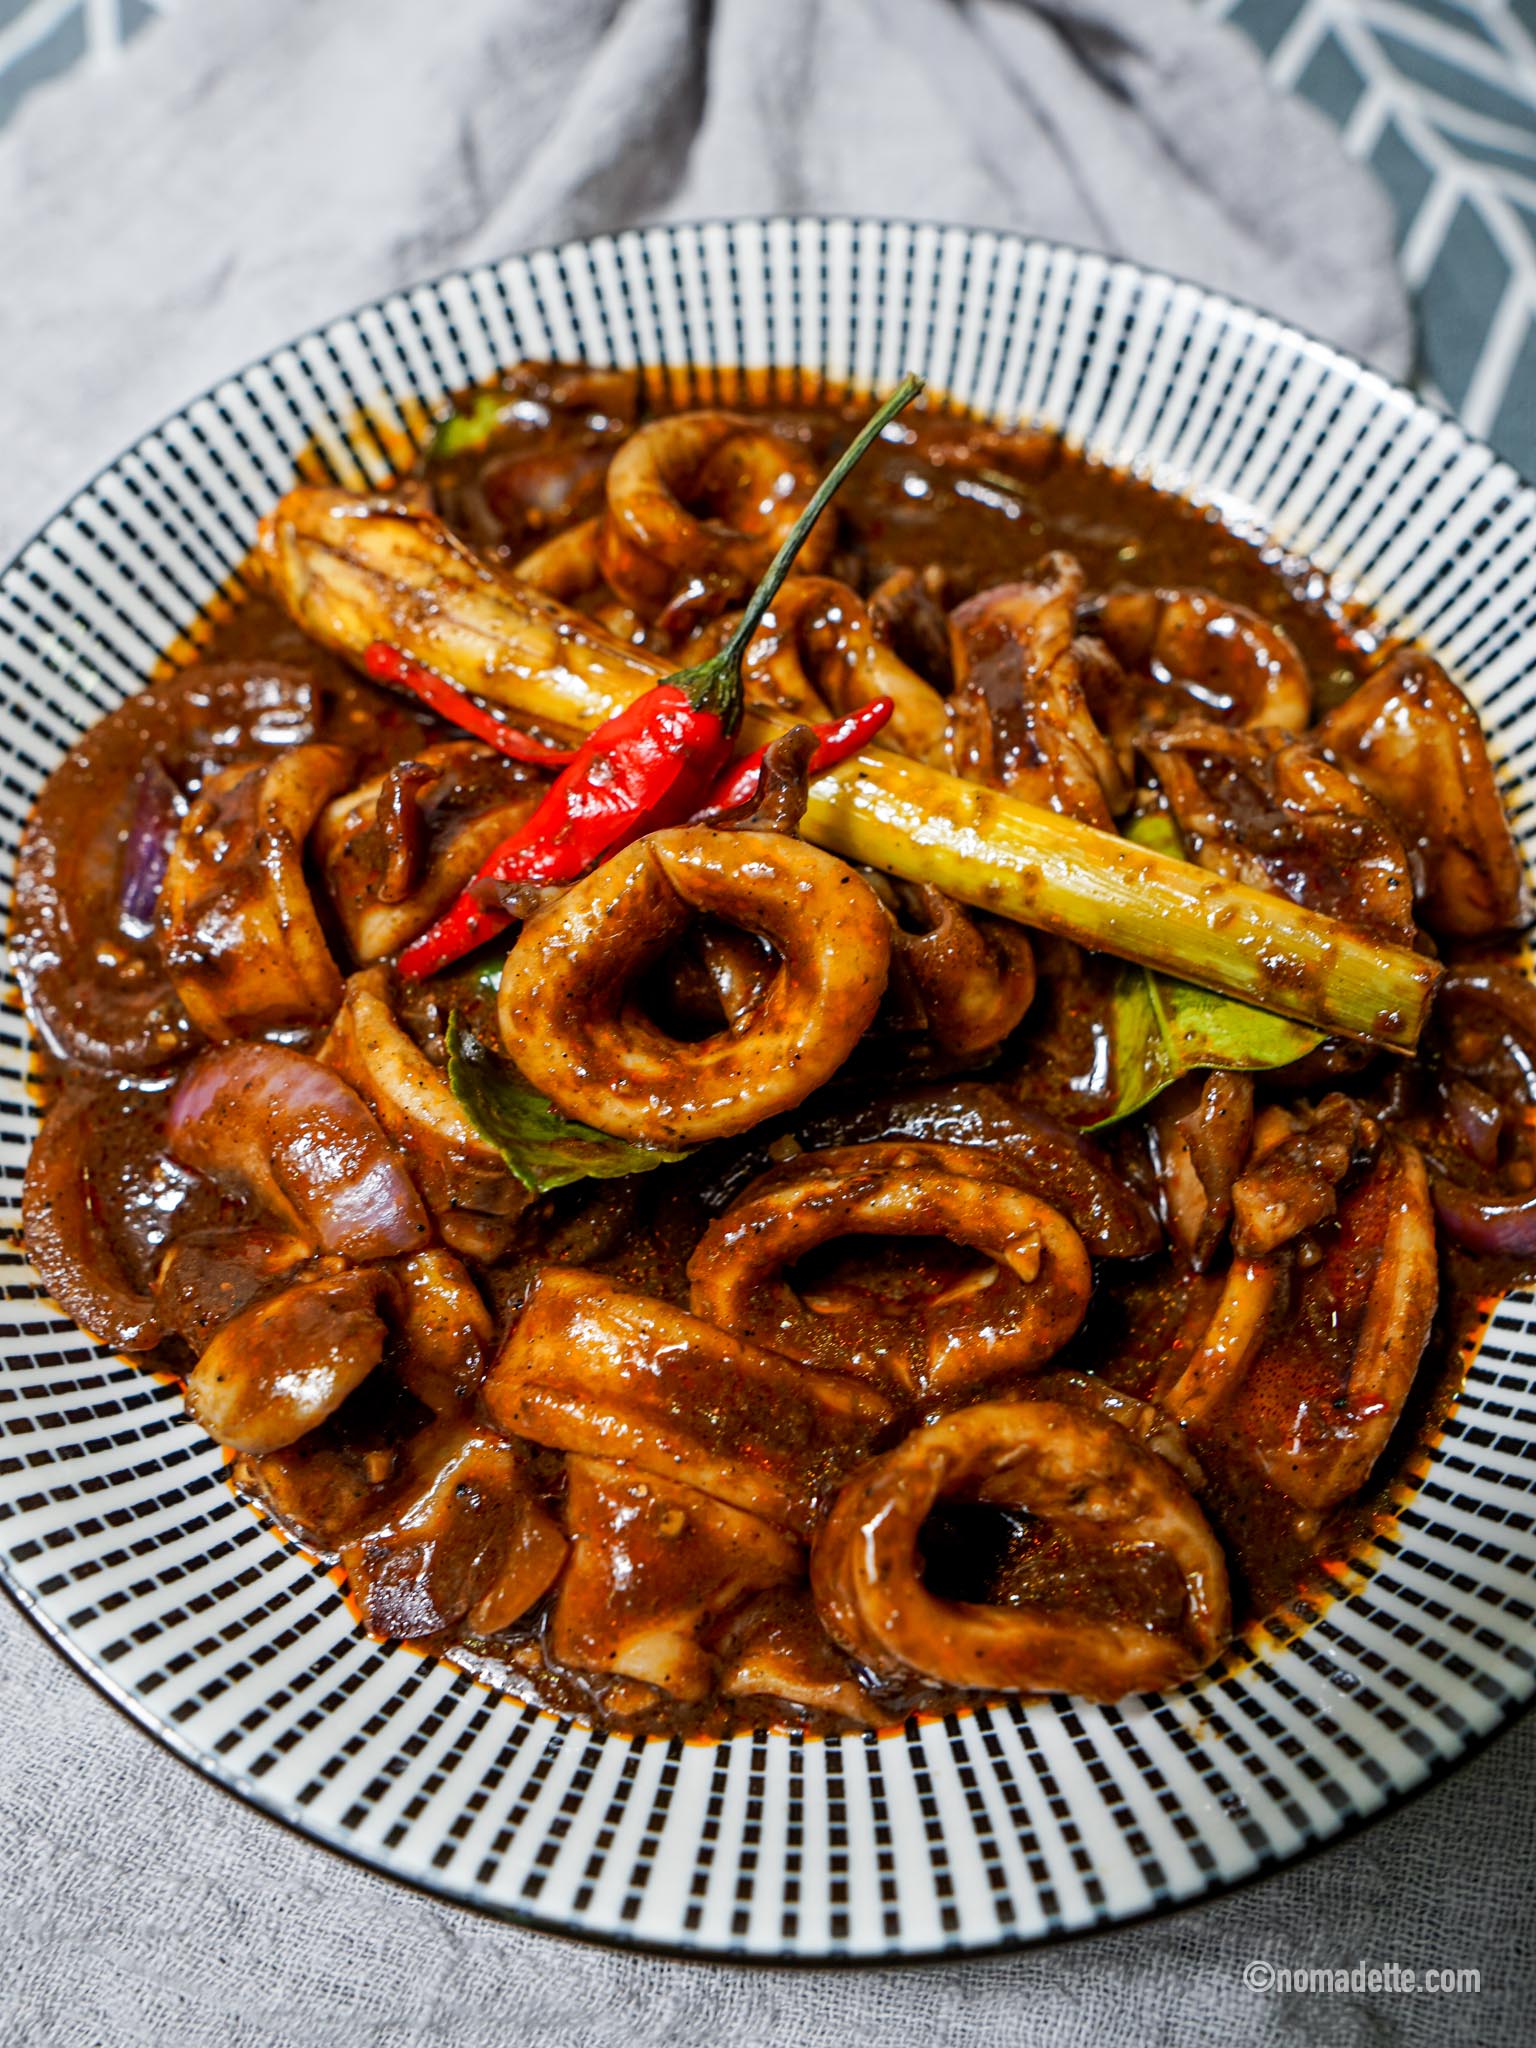
- Customisable: Works with chicken, beef, tofu or shrimp, and whatever veg you have
- Meal prep-friendly: Reheats beautifully and keeps well in the fridge
Key Ingredients for Black Pepper Chicken Stir Fry
For the Chicken
- Chicken thighs or breasts: Boneless, I prefer thighs for extra juiciness. Cut to bite sized pieces.
Marinade with:
- Light soy sauce
- White pepper
- Cornstarch: Helps the chicken stay tender and silky, not so much here for the crispiness.
For the Black Pepper Sauce
Here’s the thing: the steps and sequence don’t quite matter. I’ve made this a dozen different ways: chicken first, veg first, aromatics in the middle, sauce dumped in early or late, and it still turns out great.
Why? Because the sauce is the star. As long as your sauce is good, everything else falls into place.
Here’s how I usually do it:
- Tomato ketchup: The ‘unusual’ ingredient! This adds a sweet-tangy flavour to the sauce that also offsets the spiciness of the pepper
- Oyster sauce: Deep, rich, umami-packed base
- Light soy sauce: Adds salt and complexity
- Dark Soy Sauce or Kicap Manis: This is optional, it adds a deeper colour and a layer of umami sweetness.
- Vinegar: Only for the second version! I found that just a dash of this balances out the flavour, especially with the decreased tomato ketchup added.
- Sugar: Balances out the peppery heat
- Freshly cracked black pepper: The hero of the dish! Add as much (or as little) that you can handle.
- Water: Helps the sauce loosen and coat everything evenly. Different sauces have varying levels of saltiness, add water to dilute to your preference (do not try to add ingredients!)
For the Veggies
- Aromatics: The classic trio of ginger, garlic, red onion as a base layer.
- Bell peppers: The classic addition, use any colour combo you like,
OR
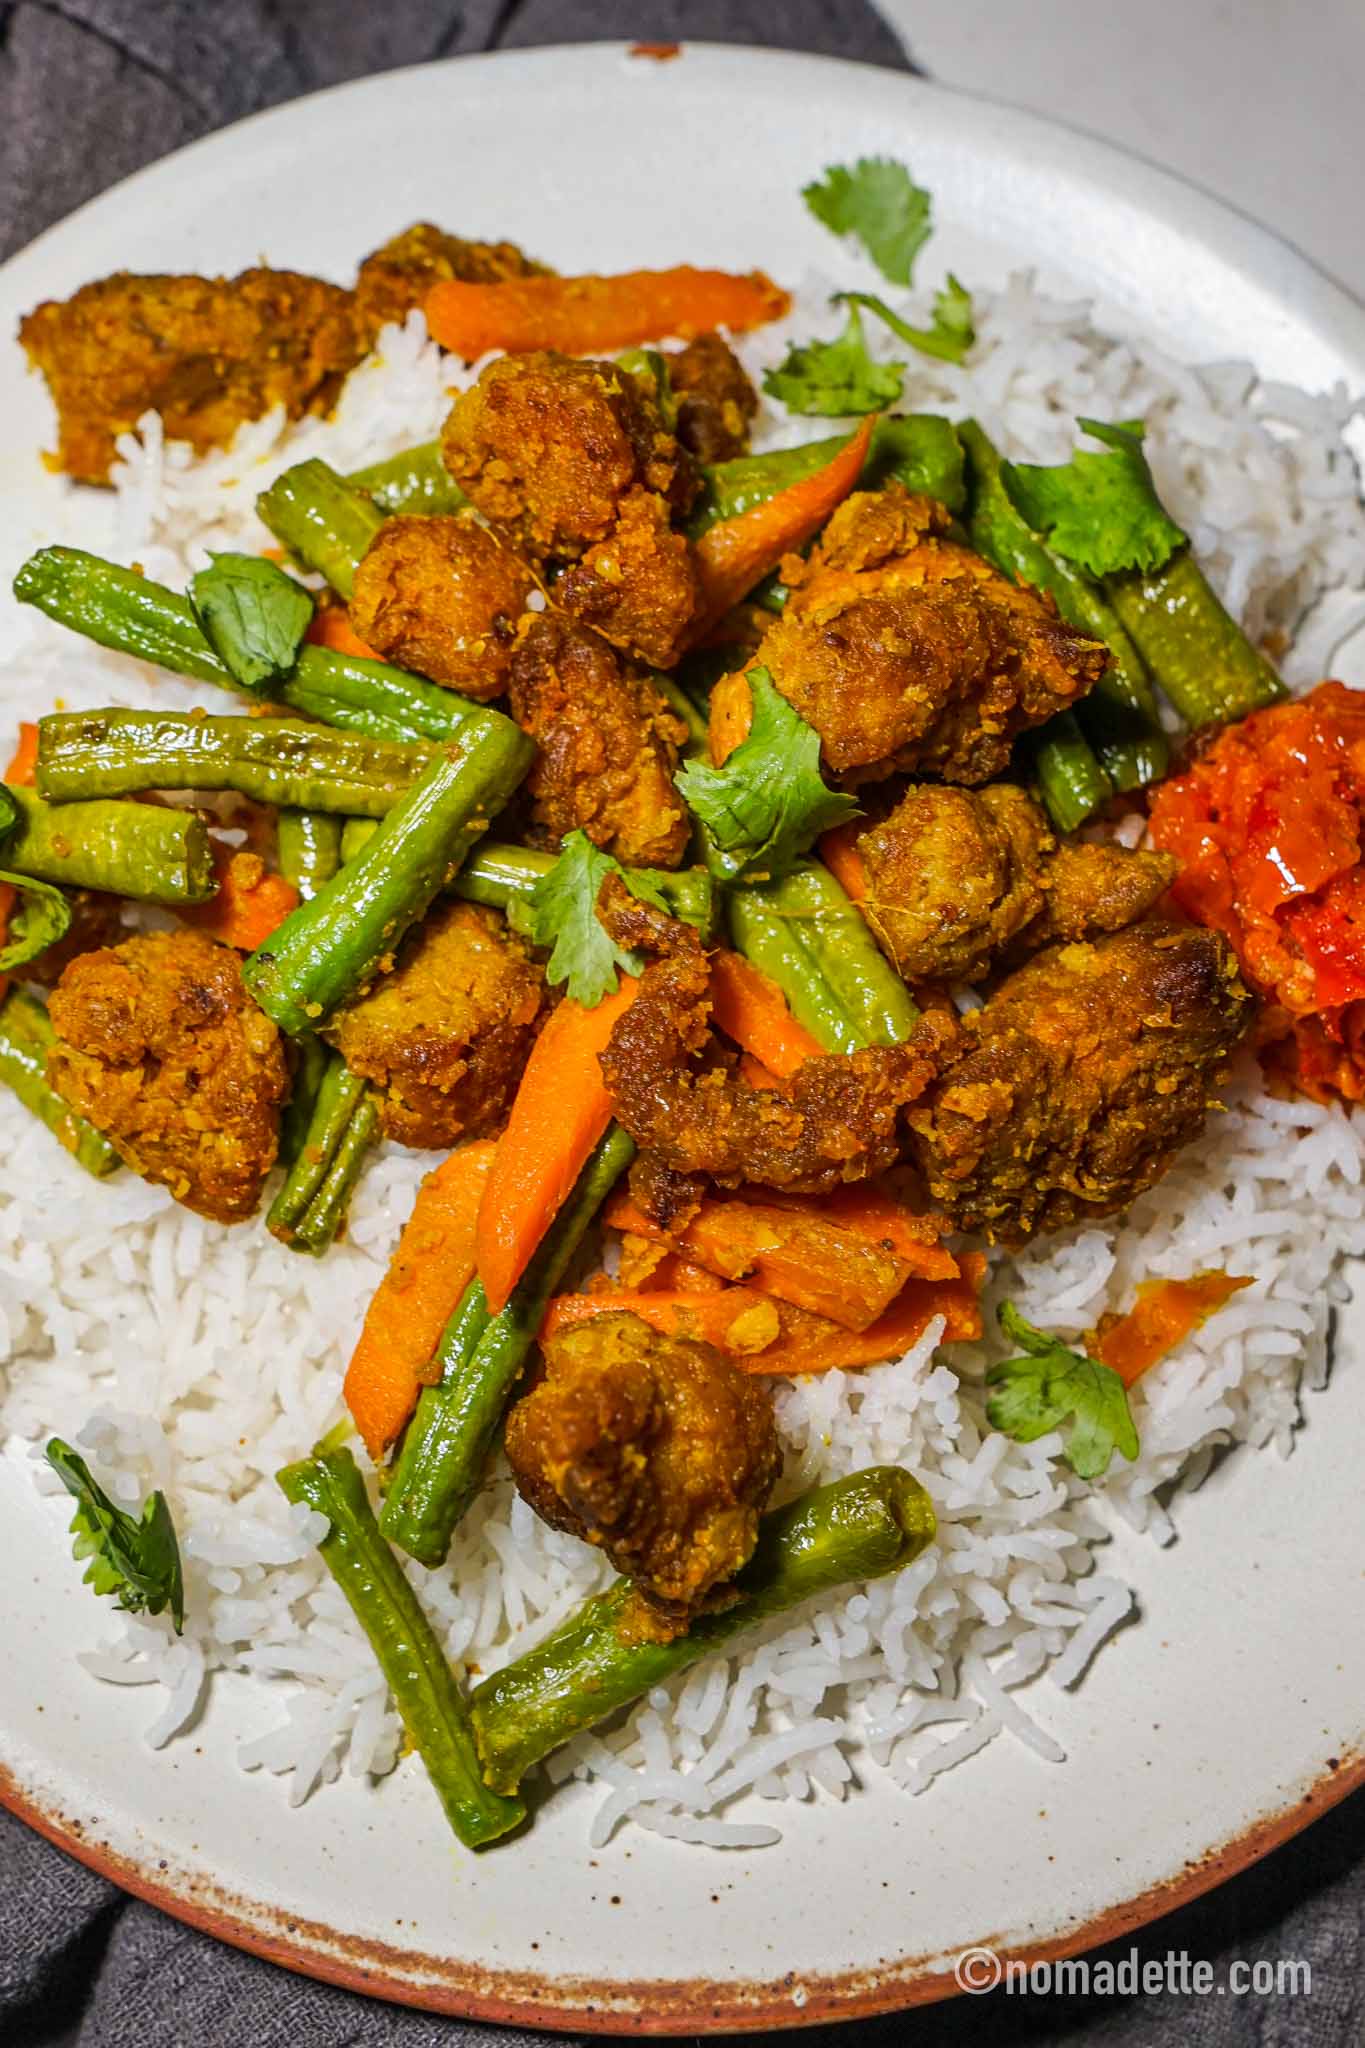
- Any of your favourite stir-fry veg works great here too. I’ve used this recipe with:
- Cabbage
- Carrot
- Broccoli
- Cauliflower
- Baby corn
- Snow peas
- Bok Choy or Chye Sim
- Red chilli: Optional, but adds colour and heat
This is one of those recipes that really encourages fridge-foraging. The sauce ties everything together no matter what you use.
Key Steps to Making It
1. Marinate the Chicken

- Slice the chicken into bite-sized pieces.
- Marinate with light soy sauce, white pepper, and cornstarch.
- Let it sit for about 10–15 minutes while you prep the other ingredients.
2. Mix the Black Pepper Sauce

- In a bowl, combine all the sauce ingredients.
- Taste and adjust the seasoning to your liking, especially the black pepper.
- Set aside so it’s ready when you need it.
NOTE: Make sure to give it a taste test at this stage! Different brands of oyster sauces and soy sauces have varying levels of saltiness. If it’s too salty – add more water. There is no need to add extra ingredients.
3. Sear the chicken

- Heat some oil in a pan or wok over medium heat.
- Add the marinated chicken and stir fry until just cooked through.
Want crispier chicken?
The cornflour in the marinade gives a soft, velvety texture, and slightly crisp texture. It’s not going to give you a crispy chicken but I’ll be the first to admit I love this even more with crispier chicken! Most weeknights I just don’t want to deal with the extra steps and splatter. If you’re up for it:
- Marinade the chicken as per the recipe. Coat the chicken in extra cornflour until it looks dry and powdery.
- Shallow or deep fry until golden and crispy. Remove from the oil and drain.
- Scoop out any leftover bits or excess oil before continuing with the recipe.
4. Sauté the aromatics

- Push the chicken to one side of the pan.
- Add ginger, garlic, and red onion. Stir fry until fragrant and lightly softened, before combining with the chicken.
5. Add Veggies & Sauce

- Pour in the sauce.
- Add your vegetables and stir fry to combine.
- Stir just until the veggies are tender but still have a bit of crunch.
Note:
- If using harder vegetables like carrots, add them earlier with the aromatics so they have time to soften.
- Alternatively, let them simmer in the sauce for a minute or two.
6. Finish and Serve
- If you removed the chicken earlier, or if you made crispy chicken, toss it back in now.
- Stir fry to coat, and once the sauce thickens, stir fry is ready!
- Remove from heat and serve immediately over rice.
How to Serve
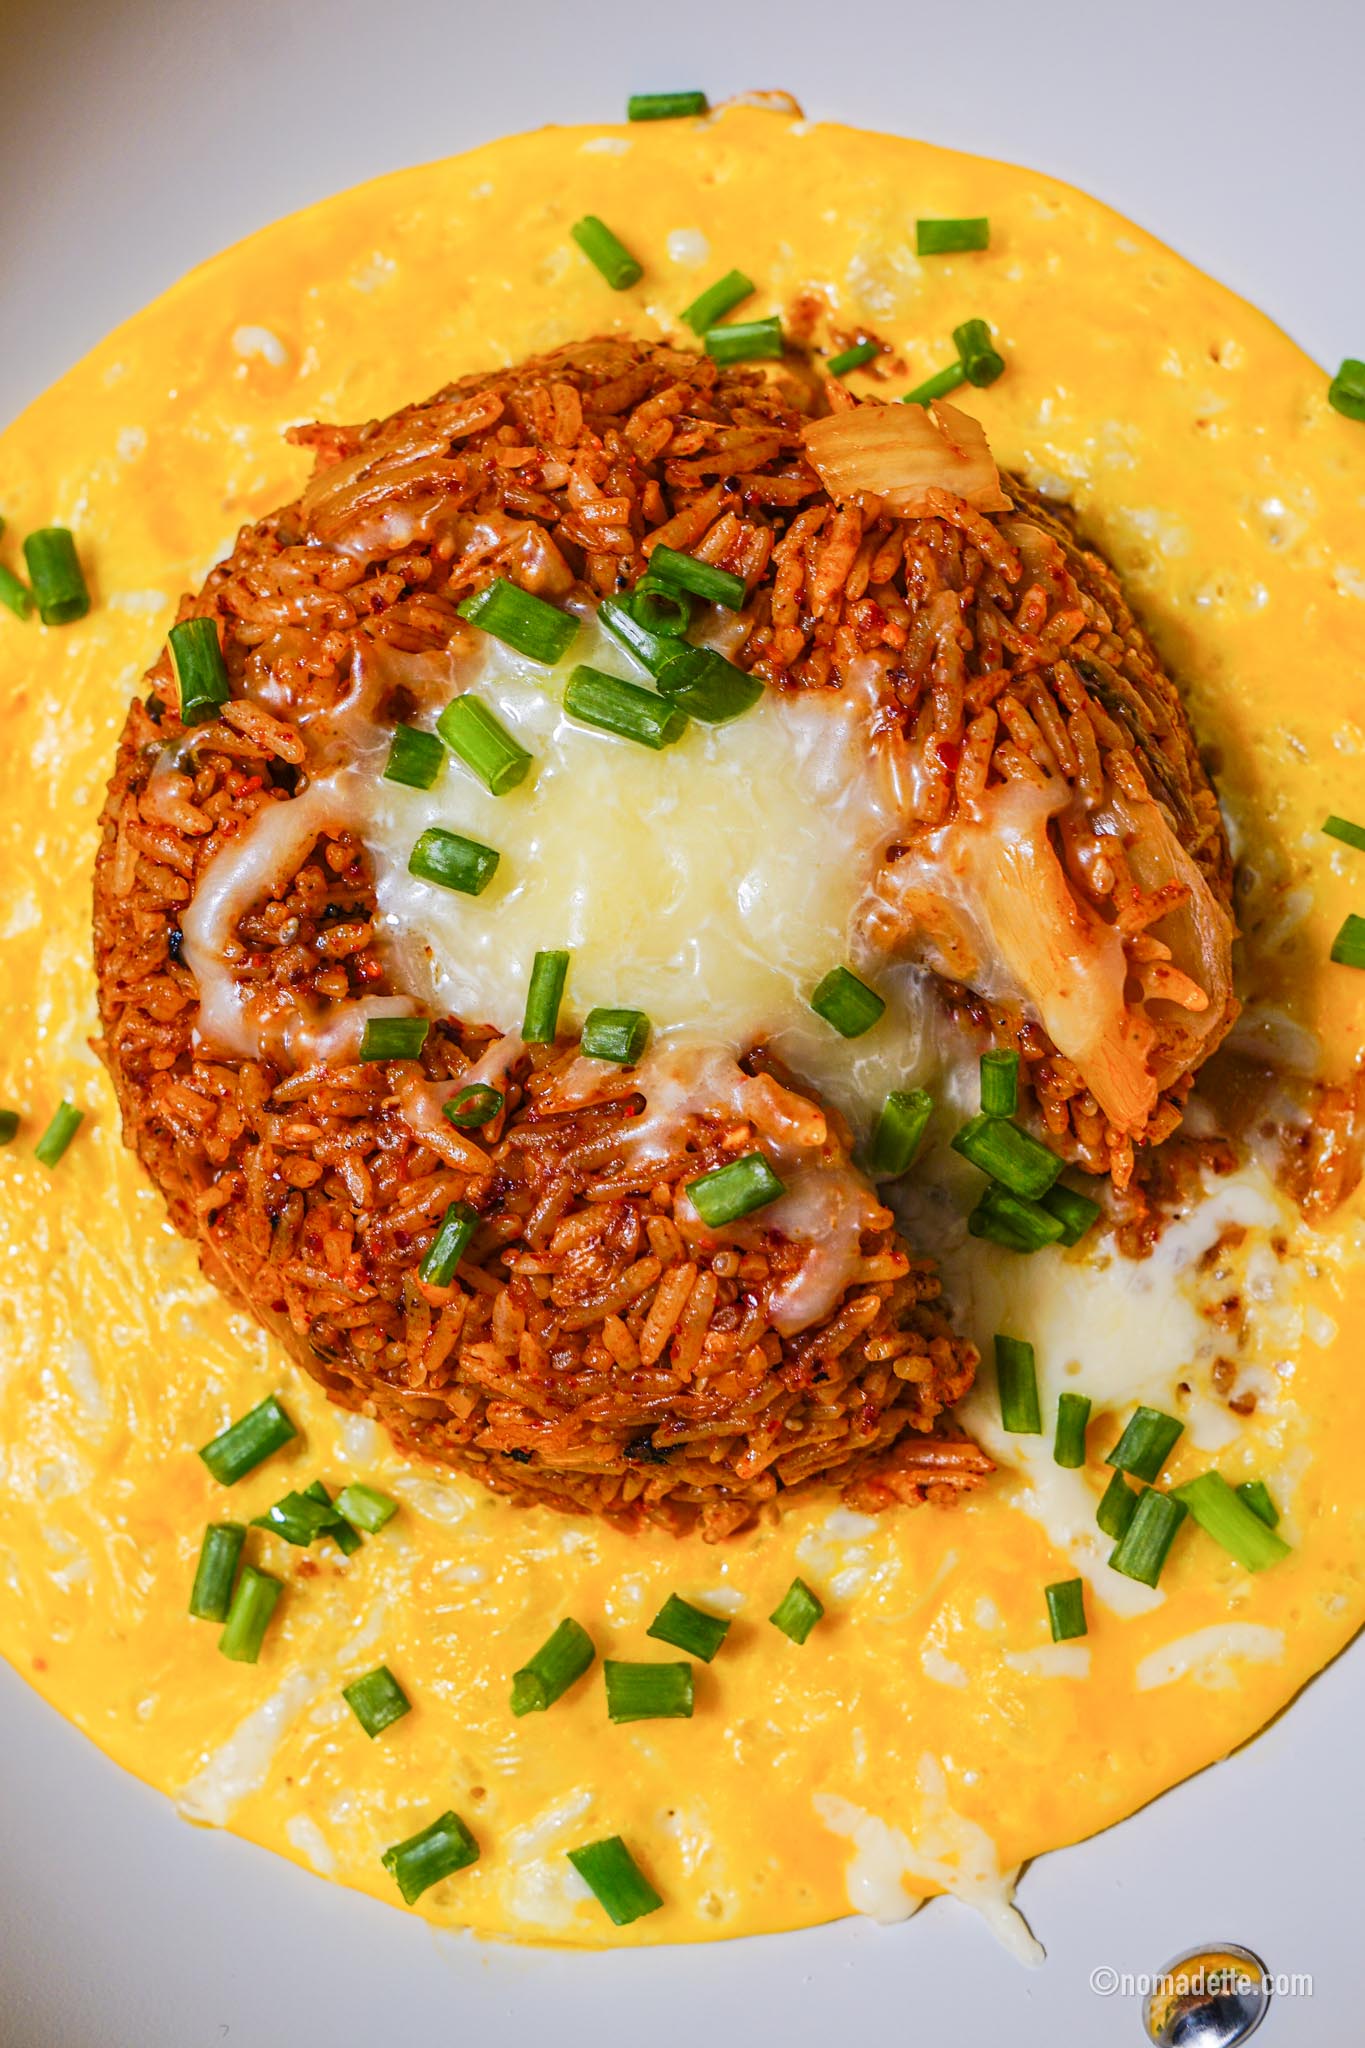
- With rice: Jasmine, brown, basmati, or fried rice — anything works
- With noodles: Toss in egg noodles, rice noodles, or udon noodles. Stir to coat.
- Meal prep lunchboxes: With rice, a boiled egg, and pickled veg on the side
Tips & Tricks
- Use freshly cracked black pepper: The flavour is way more intense and aromatic
- Pre-mix the sauce: This makes the stir fry process super smooth and quick
- Don’t overcook the veg: Keep them vibrant for that crunchy texture
- Double the sauce if you like things extra saucy!
Storing & Reheating
- Fridge: Store leftovers in an airtight container for up to 3–4 days
- Freezer: Freeze cooked stir fry in portions for up to 1 month
- Reheat:
- Microwave: Heat in 1-minute bursts until hot, stirring in between
- Stovetop: Add a splash of water and reheat over medium heat until warmed through
Watch How to Make This
This is the original recipe with the sweeter version! It’s pretty much the same steps, except with different sauce measurements:

Black Pepper Chicken Stir Fry
4
servings15
minutes10
minutesDinner in 30 minutes! Love bold flavours? This easy Black Pepper Chicken Stir Fry is sweet, savoury, and spicy.
Keep the screen of your device on
Ingredients
- Chicken & Marinade
300 g (10.5 oz) boneless chicken thighs or breast, sliced into bite-sized pieces
1 tsp light soy sauce
1 tsp white pepper
1 tsp cornflour (cornstarch)
- Black Pepper Sauce ver #1 Sweet Savoury
3 tbsp tomato ketchup
2 tbsp oyster sauce
1 tbsp light soy sauce
2 tsp sugar
2 tsp freshly cracked black pepper (adjust to taste)
2 tbsp water
1 tbsp dark soy sauce or kicap manis (optional, for colour)
- Black Pepper Sauce ver #2 Bold Savoury
1 tbsp tomato ketchup
2 tbsp oyster sauce
1 tbsp light soy sauce
1 tbsp dark soy sauce or kicap manis
1 tsp sugar
1 tsp vinegar (white or apple cider)
2 tsp freshly cracked black pepper (adjust to taste)
2 tbsp water
- Aromatics & Veg
1 inch piece ginger, sliced thinly
2 cloves garlic, chopped
1 red onion, sliced
1 cup mixed vegetables of choice: bell peppers, carrots, baby corn, broccoli, cauliflower, snow peas
1 fresh red chilli (optional), sliced
- Serve with:
rice
Directions
- Prep Ingredients
- Marinate the Chicken: Slice the chicken into bite-sized pieces. In a bowl, mix chicken with light soy sauce, white pepper, and cornflour. Let marinate for 10–15 minutes while prepping the sauce and vegetables.
- Prep the Vegetables: Cut or slice the vegetables to preference. Cut in about the same size as the chicken.
- Mix the Black Pepper Sauce according to which version you prefer: In a small bowl, combine to form a sauce. Taste and adjust to your preference, especially the black pepper. If the sauce is too salty, gradually add water to dilute the flavour. Set aside.
- Sear the Chicken
- Heat oil in a wok or pan over medium heat. Add the marinated chicken and stir fry until just cooked through.
If making crispy chicken:
1. After marinating, coat the chicken in extra cornflour until dry and powdery.
2. Shallow or deep fry until golden and crisp.
3. Remove from the oil, and scoop out any leftover flour bits or excess oil before continuing. - Push the cooked chicken to one side of the pan (or remove it, if using a smaller pan).
- Sauté the Aromatics
- Add a touch more oil if needed. Stir fry the ginger, garlic, and onion until fragrant and softened. Combine with the chicken.
- Add Veggies & Sauce
- Pour in the prepared sauce. Add vegetables and stir fry everything together. Stir just until the vegetables are tender but still crisp.
Note: If using harder vegetables (e.g. carrots or cauliflower), add them earlier with the aromatics or let them simmer slightly in the sauce to soften. - Finish and Serve
- If you removed the chicken earlier, or made crispy chicken, add it back in now. Toss everything together to coat. Let the sauce bubble and thicken slightly.
- Remove from heat and serve immediately over steamed rice.
Did you make this recipe?
Tag @nomadetteats on Instagram


This is a really nice recipe.
Made the BOLD version and the guest consensus was “winner, winner”.
Enjoyed with pineapple fried rice that provided a great contrast of flavours.
Thanks!