

Effortless, delicious and perfect for busy days – this one-pot Rice Cooker Bibimbap is the ultimate easy meal!

Let me tell you what my two current obsessions are: my rice cooker… and bibimbap! Everyday I’m falling more and more in love with my rice cooker for easy dump-and-go one pot meals, and bibimbap is that one dish you can make with any leftovers, and it’s going to end up DELICIOUS. Of course, I have to try turning this into a one-pot rice cooker meal – and unsurprisingly, the Rice Cooker Bibimbap is an absolute winner!
If you’re on a quest for a quick and delicious meal that’s as vibrant as it is flavourful, look no further than rice cooker bibimbap! This Korean sensation is a game-changer for busy days when you need something tasty and fuss-free. Let’s get our bibimbap on!
Jump to Recipe
Why You will LOVE Rice Cooker Bibimbap
Key Equipment for Rice Cooker Bibimbap

The ultimate multitasker: Rice Cooker! This can work with ANY standard rice cooker, but this is the one I use:
- Zojirushi NS-ZAQ10 Micom Fuzzy Logic (the exact one I purchased – this is the same as the model above; it’s labelled differently in Singapore/Southeast Asia. This is a ‘Made in Japan’ model.)
The Zojirushi range of rice cookers are well-loved for its reliability, effortlessly perfect rice each time and best of all… the musical chime when your rice is done! I enjoy my Zojirushi and highly recommend it.
It IS pricey, so again, you can use ANY rice cooker with this recipe.
Key Ingredients
For the rice cooker
- Rice: I use jasmine white rice, but you can also use short-grain or brown rice. Adjust the cooking time and water according to the type of rice you’re using.
- Protein: I usually use diced chicken, but thinly sliced beef, minced meat or tofu also work. If using meat, cut it into small pieces so it cooks through at the same time as the rice.
- Vegetables: This is where you can really customise the recipe. Carrots, mushrooms, zucchini, spinach, beansprouts and corn all work well.
- Kimchi: Optional, but highly recommended. Adding kimchi directly to the rice cooker gives the rice lots of extra flavour.
For the bibimbap sauce
- Gochujang
- Light soy sauce
- Honey or brown sugar
- Gochugaru, optional: for extra heat!
- Rice vinegar or apple cider vinegar, optional: This adds a slight tang to round off the sweet, savoury flavours.
- Sesame oil
- Garlic
- Water: this turns the sauce into a pourable consistency, adjust according to your preference – personally, I prefer a slightly runnier consistency for easier mixing into the rice… also gives it a creamier consistency!
The sauce is very forgiving, so feel free to adjust it to your taste. Add more gochujang or gochugaru for heat, more honey for sweetness, or a little extra vinegar for acidity.
To finish
- Eggs
- Sesame seeds
- Spring onions
How to Make Rice Cooker Bibimbap
1. Prepare the Rice
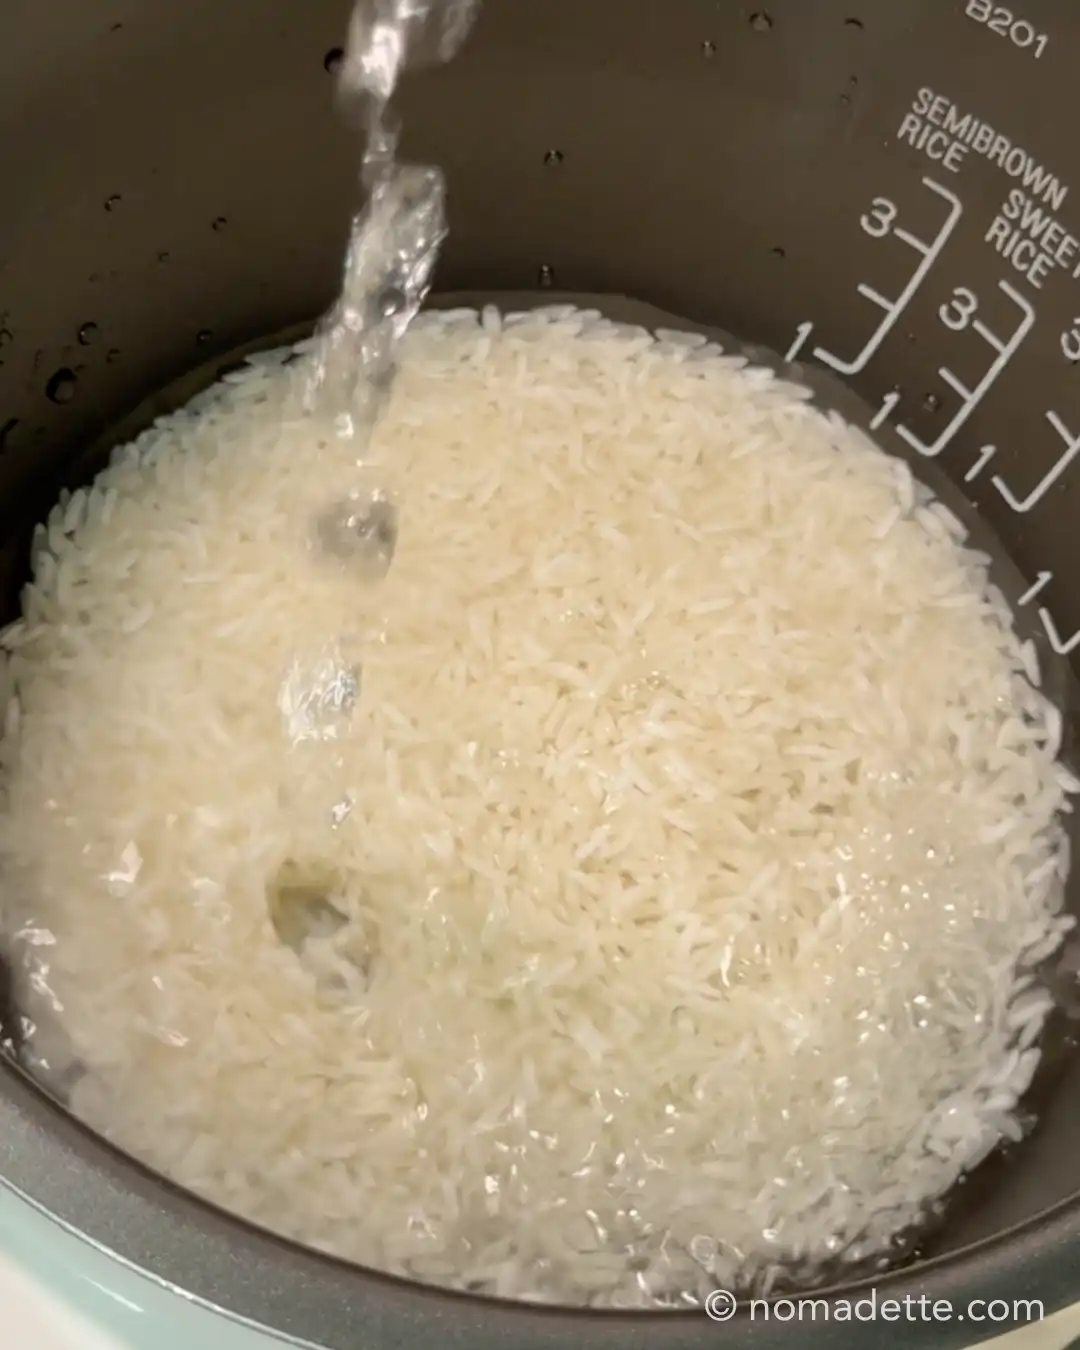
- Rinse the rice thoroughly, then add it to your rice cooker.
- Add water according to your rice cooker’s markings. If your rice cooker doesn’t have a water indicator, use the appropriate rice-to-water ratio for the type of rice you’re cooking.
2. Top with Proteins and Vegetables
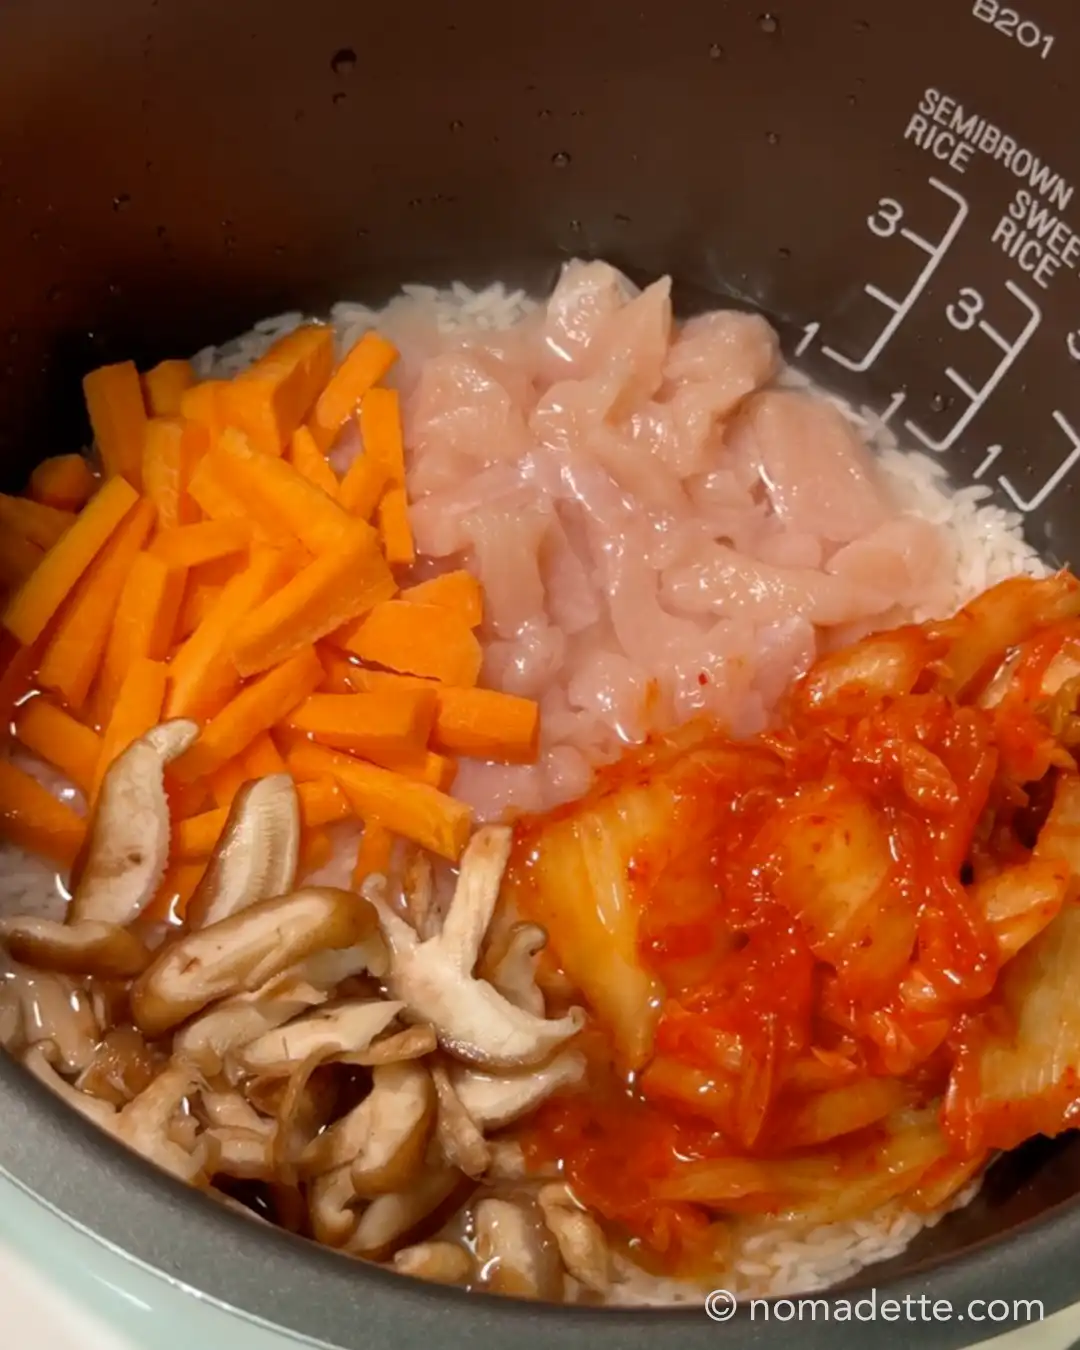
- Add your protein and vegetables directly on top of the uncooked rice.
- For this version, I’m using diced chicken, mushrooms, carrots and plenty of kimchi which is going to add so much flavour to the bibimbap as it’s cooking away.
- Try to cut your protein into small, evenly sized pieces so it cooks through by the time the rice is done.
- You can add spinach at this stage too, but I prefer adding it towards the end so it doesn’t become overly wilted.
3. Cook!
- Close the lid and start the rice cooker using your usual white rice setting.
- Then leave it to do its thing!
4. Make the Bibimbap Sauce

- While the rice cooks, combine the gochujang, soy sauce, honey, gochugaru, vinegar, sesame oil, garlic and water in a small bowl.
- Mix until smooth and set aside.
5. Add Leafy Veggies (optional)
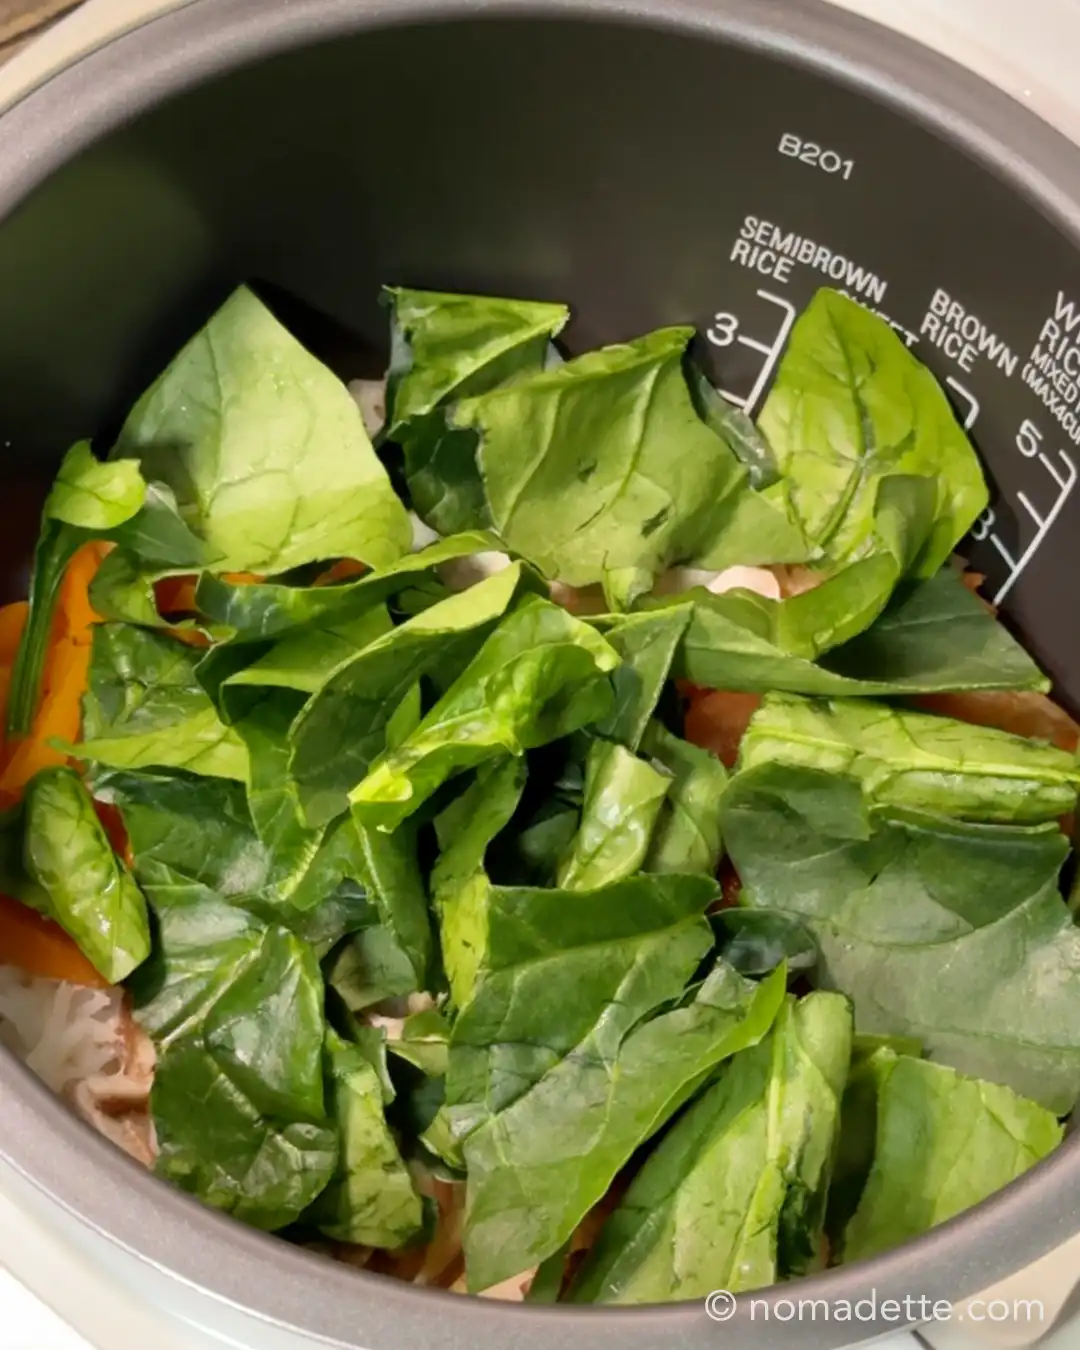
- About 5 minutes before the rice finishes cooking, carefully open the rice cooker and add your spinach or other leafy vegetables.
- Close the lid and let the vegetables steam until the rice is cooked.
My rice cooker has a timer to indicate the last few minutes. If your rice cooker doesn’t have a countdown timer, don’t worry. You can add the vegetables when the rice is nearly cooked and there is still a little moisture in the pot.
6. Combine!

- Once the rice cooker finishes, carefully open the lid.
- Immediately add the eggs, sesame seeds and spring onions, followed by the bibimbap sauce.
- Use your rice paddle to mix everything together while the rice is still hot. Serve immediately and enjoy!
The residual heat from the rice will partially cook the eggs as you mix, giving the bibimbap a lovely creamy texture.
If you prefer your eggs fully cooked, you can either:
1. Add eggs in earlier (at the last 5 minutes, with the green veggies!), while rice is still cooking.
2. Fry the egg separately while the rice is cooking.
Tips for the Best Rice Cooker Bibimbap
How to Serve Rice Cooker Bibimbap
- Rice Cooker Bibimbap is best served hot and freshly mixed, while the rice is still warm and the egg is creamy. Give everything a good toss with your rice paddle so the gochujang sauce coats the rice, vegetables and protein evenly.
- For a more traditional bibimbap experience, serve it with extra gochujang, sesame seeds and sliced spring onions on top. You can also add a drizzle of sesame oil for extra nuttiness.
- I like serving mine as-is for an easy one-bowl meal, but you can also serve it with a side of kimchi or other Korean banchan for a more complete meal.
Storage & Reheating
- To store: Let the bibimbap cool, then transfer leftovers to an airtight container and refrigerate for up to 3 days. If possible, store the extra gochujang sauce separately so you can add more when reheating.
- To reheat: Microwave until piping hot, stirring halfway through. Add a splash of water if the rice has dried out, then mix in a little extra gochujang or sesame oil before serving.
For best results, reheat only the portion you plan to eat and avoid repeatedly reheating the same batch.
- Freezing: You can freeze the cooked rice, vegetables and protein, although the texture of some vegetables may soften after thawing. I recommend adding a fresh fried egg and extra sauce after reheating rather than freezing the egg.
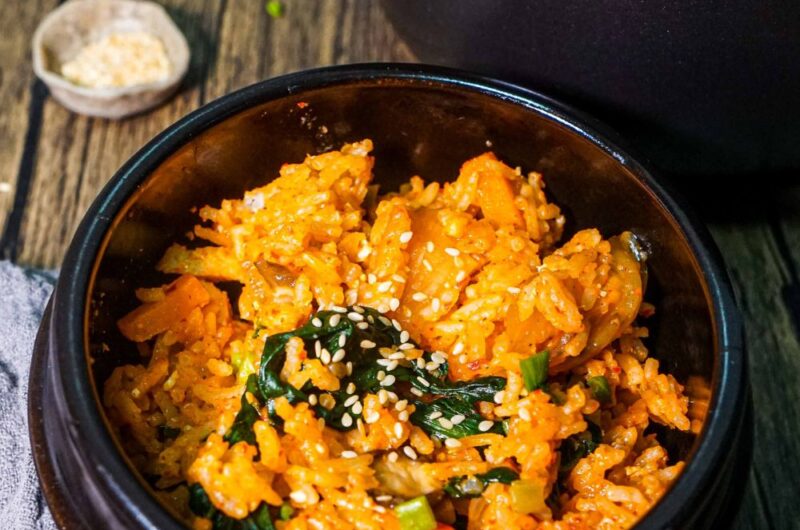
Rice Cooker Bibimbap
2
servings10
minutes30
minutesKeep the screen of your device on
Ingredients
1 cup white rice (short grain or medium preferred)
1 cup water (or as indicated on rice cooker)
1 cup vegetables of choice, sliced or diced, loosely packed (such as beansprouts, carrots, spinach, mushrooms)
1/4 cup kimchi
100 g 100g chicken, diced (or protein of choice such as beef or tofu)
1 egg
spring onions and sesame seeds, for garnish
- Bibimbap Sauce
2 tbsp gochujang
1 tbsp honey
1 tsp gochugaru (optional)
1 tsp soy sauce
1 tsp sesame oil
1 tsp apple cider vinegar (optional)
1 clove garlic, minced or grated
2 -3tbsps water
Directions
- Prepare Rice
- Rinse the rice until the water runs clear. Add the rinsed rice to the rice cooker pot.
- Add water, according to rice cooker instructions.
- Add Toppings
- Top the rice with diced chicken or protein of choice, vegetables and kimchi, evenly spreading the ingredients in a single layer.
NOTE: If you have leafy vegetables, such as spinach, you can add it at this stage (if you don’t mind overcooked greens), or within the last 5 minutes of cook time. - Cook
- Close the lid and turn the rice cooker on. Cook at regular white rice cooking setting. If your rice cooker has only one setting, use the setting.
- Optional: If you did not add your leafy vegetables earlier, add it in at this stage. About 5 minutes before the rice is done, carefully open the lid.
Add spinach or any green leafy vegetables that you have. Close back the lid and allow the rice cooker to complete the cooking process. - Make the sauce
- While the rice cooks, mix together the ingredients for the sauce: gochujang, honey, soy sauce, sesame oil, vinegar and garlic. Add 2–3 tablespoons of water until you have a thick but pourable sauce. Taste test, and adjust flavours to preference accordingly.
- Mix everything together and serve
- Once the rice cooker finishes, check a piece of chicken in the centre of the pot. It should be completely cooked through. To be extra cautious, you can check that it has reached 165°F (74°C) internally.
- While the pot is still hot, immediately add raw egg, the bibimbap sauce, spring onions and sesame seeds.
ALTERNATIVELY: for eggs that are more cooked, add it in earlier in the last 5 minutes of cooking (with the green vegetables), or separately fry eggs while rice is cooking. - Give everything a mix to combine. Serve immediately and enjoy!
Did you make this recipe?
Tag @nomadetteats on Instagram



This sounds delicious. But I don’t have a rice cooker. I do have an instant pot. Any idea how I can adapt this to the instant pot? Or to the stovetop?
Hi Aj! If you’ve made rice in the instant pot, this recipe will be a breeze and easily adaptable. Double the amounts in the recipe here at least, the instant pot is too large to just cook 1 cup of rice.
Follow the directions exactly, except change the timings as per instant pot. Once the pressure is released, carefully open the lid. Add leafy vegetables (I recommend using a quick-cook one like spinach), and place the lid back on for another 5 minutes, making sure the mode is on Warm. Once veggies are cooked, immediately add egg (you can even add this with the leafy vegetables if you want the eggs more cooked), garnish and mix to combine!
I will definitely try this! Being constantly tired coming home from work, this sounds like a very easy and healthy recipe I can use both for dinner and/or lunch for the following day!
Just a question, as for the spinach, do you think it would be ok to put them in frozen together with everything else? I’m not too sure about the timing.
I absolutely feel you with cooking ANYTHING after a long work day! You can dump in frozen spinach with the rest of the ingredients at the beginning of the recipe (unlike in the last few minutes), and it will heat/cook in time with everything else.
If you have a bitttt more energy, and don’t want to deal with overly cooked spinac, just give the frozen spinach a quick rinse under water to thaw. Place over a colander to drain any excess liquid while the rice is cooking. Then add at the last 5-10 mins as per recipe to heat it through!
This is so far from bibimbap that it is simply insane to call it this…. this is a steamed pot of stuff with some gochujang…🤣… that being said, it doesn’t sound bad.