

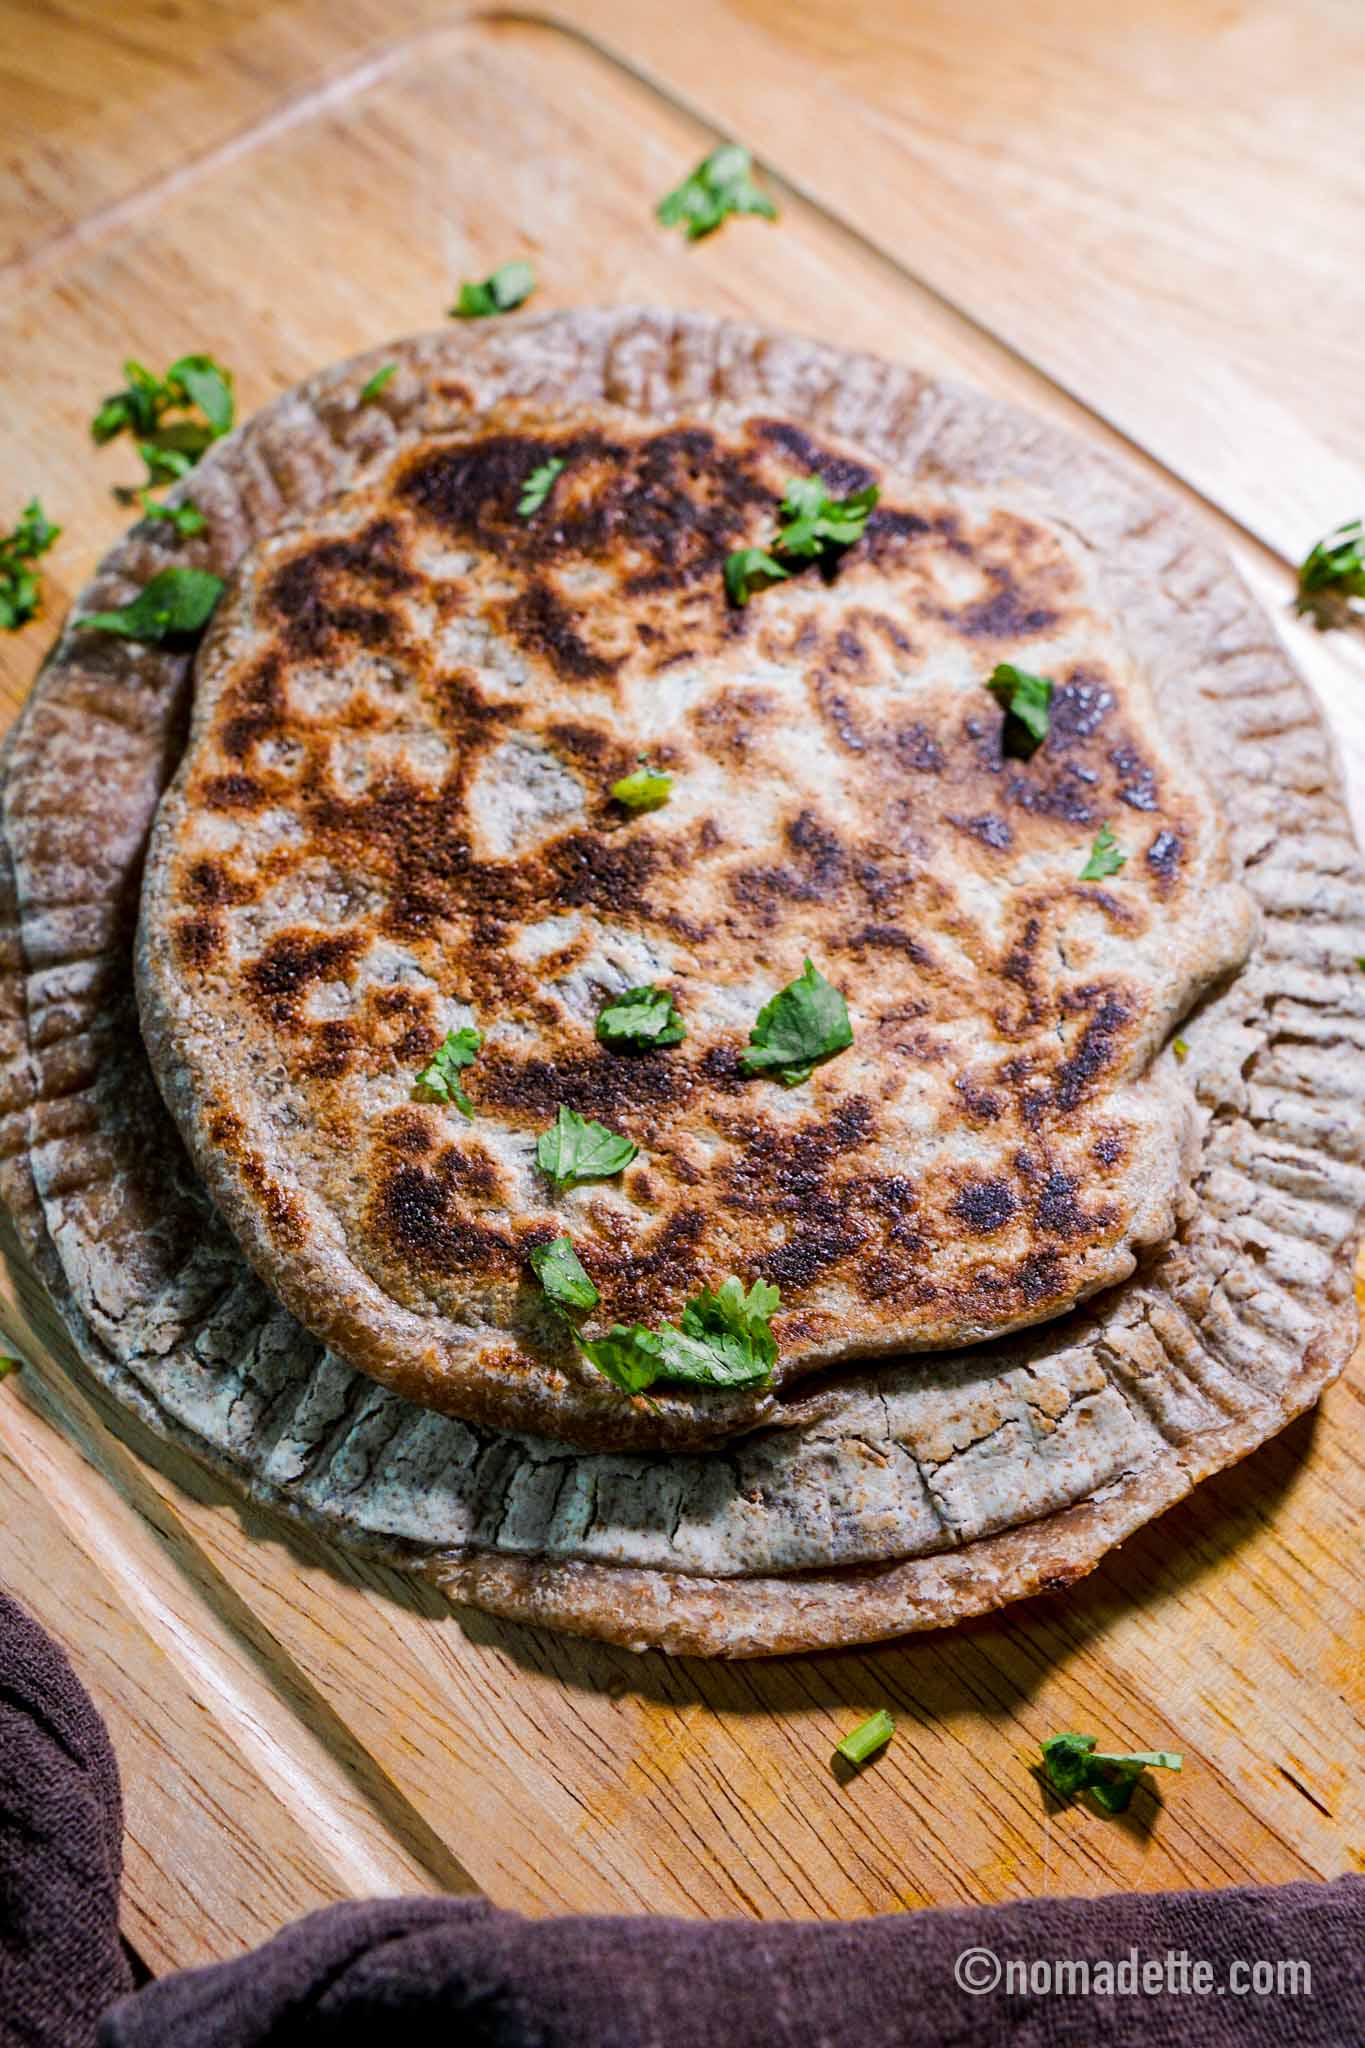
Craving a snack? Try this curry puff-inspired Stuffed Prata using instant frozen pratas: crispy, flavourful, and oh-so-easy to make!
This recipe was inspired by my current love for instant frozen pratas and epok-epoks, or curry puffs! This stuffed prata combines the convenience of frozen pratas, with the deliciousness of a savoury curry mince filling.
Since it’s Ramadan, I’ve been making a batch of this, and storing in the freezer or fridge. For sahoor, I just need to fire up the stove and toast this – you can also air fry for more hands-off cooking.
Once you start making this, you’re going to be hooked! It’s easy AND fun to make.
Why You’ll Love Stuffed Prata
- Quick and Easy to make: Perfect as a quick breakfast, instant snack, or for busy days and lazy evenings!
- Versatile: Customize your fillings to suit your taste preferences.
- Portable: Ideal for on-the-go snacking or packing in lunchboxes.
- Crowd Pleaser!: Crispy on the outside, flavorful and satisfying on the inside.
Key Ingredients for Stuffed Prata
- Frozen Pratas: These thin, flaky Indian flatbreads are a staple in many Asian households… I always have a frozen pack in my fridge at all times! They’re typically made with flour, water, and oil, then frozen for convenience.
- Curry mince chicken filling: A delicious mixture of ground chicken, aromatic spices, and veggies for extra nutrition and to fill it up. This is epok-epok or curry puff-inspired, using very minimal ingredients but still pack a flavour punch!
To make the easy curry mince filling, you just need:
- Mince Chicken or minced protein of choice
- Onion, Garlic and Ginger Pastes: You can also finely mince onions, garlic and ginger.
- Curry Powder: Any meat curry powder will work, I like the ones from Baba’s and House Brand.
- Frozen Vegetables: Or vegetables of choice! Boiled potatoes would be so good in this, but for convenience I just whack out my ready pack of frozen chopped veggies.
Key Steps to Making Stuffed Prata
1. Prepare the Filling
- Add oil to a pan and saute onion, garlic and ginger until fragrant.
- Add curry powder to create a paste with the ginger, garlic and onions.
- Add chicken mince, or mince of choice, and salt to season. Stir fry with the curry paste and allow chicken to cook through.
- Add frozen vegetables (or veggies of choice!) next. Once vegetables are tender, turn off the heat. Let cool before you assemble the stuffed pratas.
2. Assemble Stuffed Pratas
- Remove frozen pratas from the freezer and let thaw slightly just until it’s slightly flexible and will not break at a touch. This will be quick, just about 2-3 minutes (in Singapore’s weather!)
- Lay out a piece of frozen prata, no need to peel off the plastic separator piece at the bottom. Do not throw away the separators! Reuse them to separate the stuffed pratas if storing.
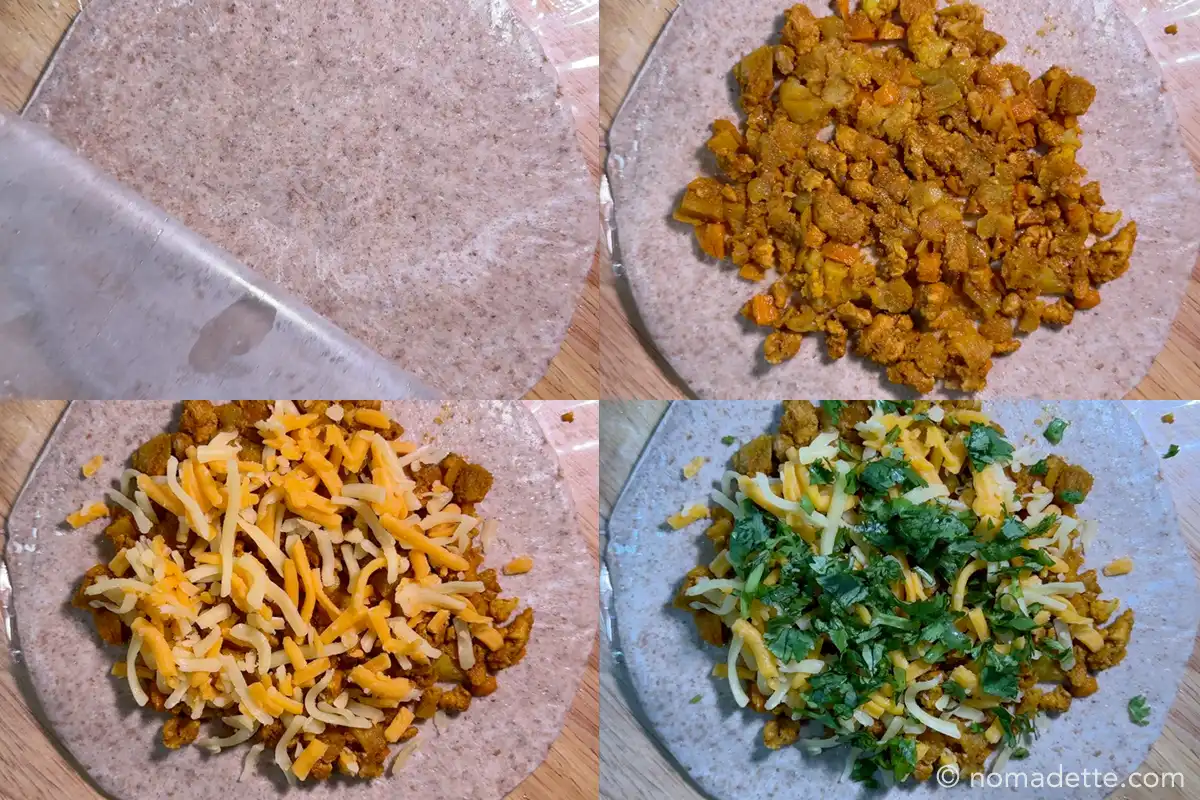
- Spoon filling in the middle, and spread out. Do not overstuff! Just about 2-3 tablespoons worth of stuffing will do.
- Add cheese and cilantro (optional).
- Lay another piece of thawed frozen prata over the filling, making sure it covers, but there is still free space along the edges.
3. Seal Pratas
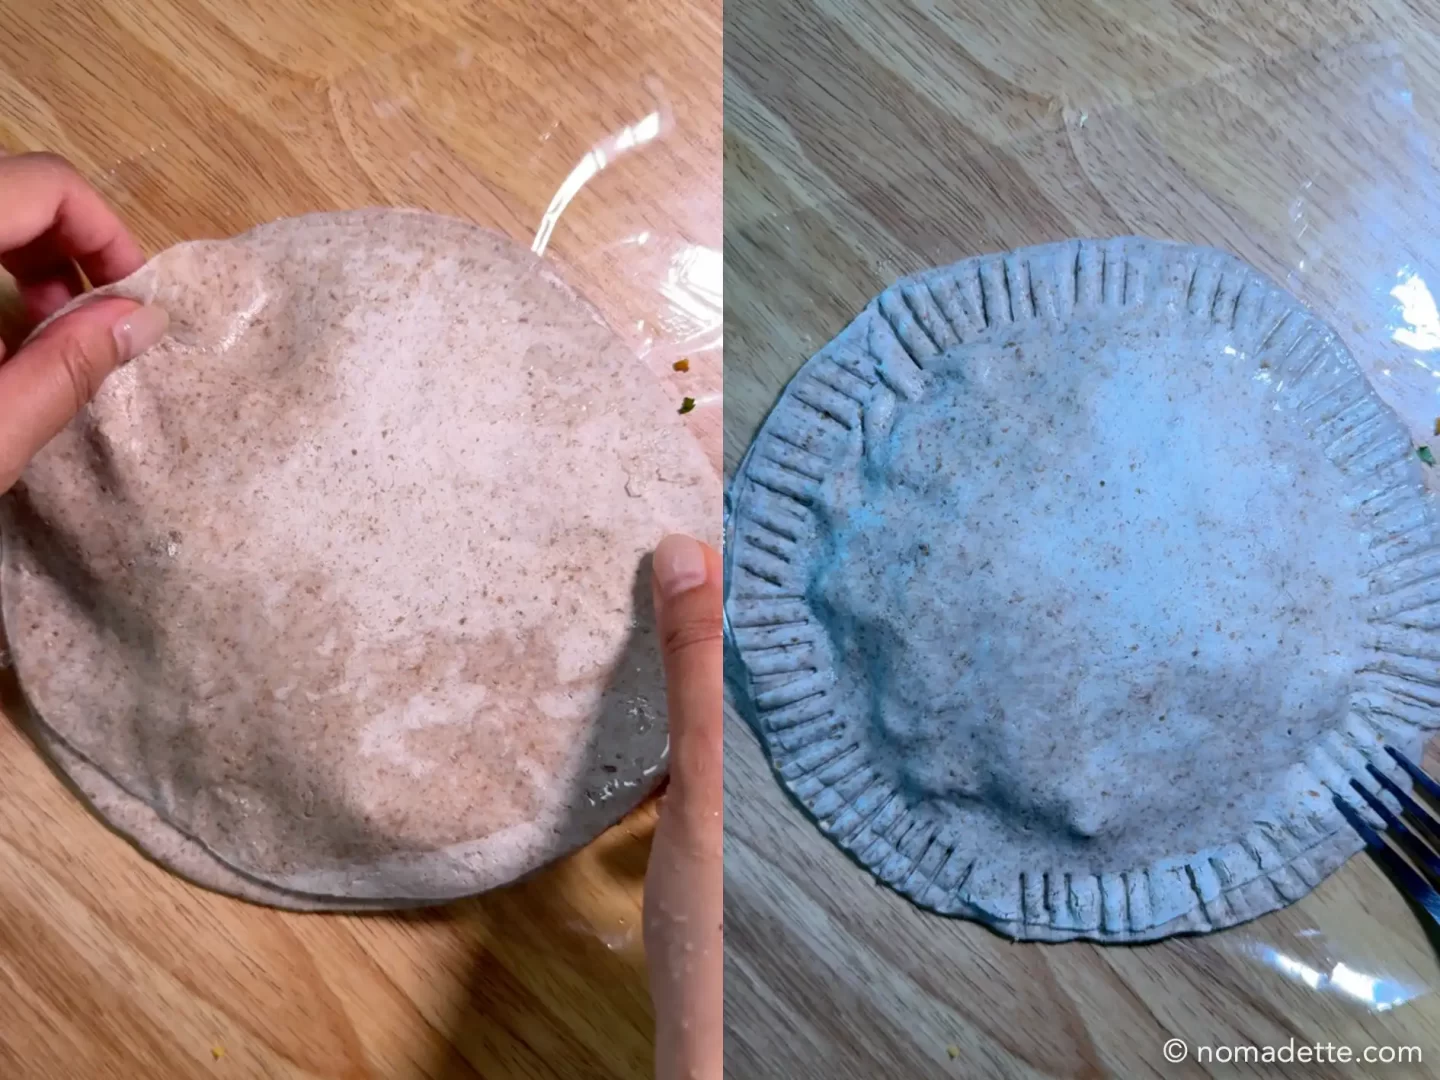
- Seal the two pratas by either pinching the edges, or use a fork to press the two edges in place.
4. Store or Cook to Serve!
- Store the frozen pratas in the fridge, separating the pieces with the plastic separator sheets.
OR
- Cook immediately to enjoy! When you’re ready to enjoy the stuffed pratas, there are 2 easy ways:
1. Toast in a Pan
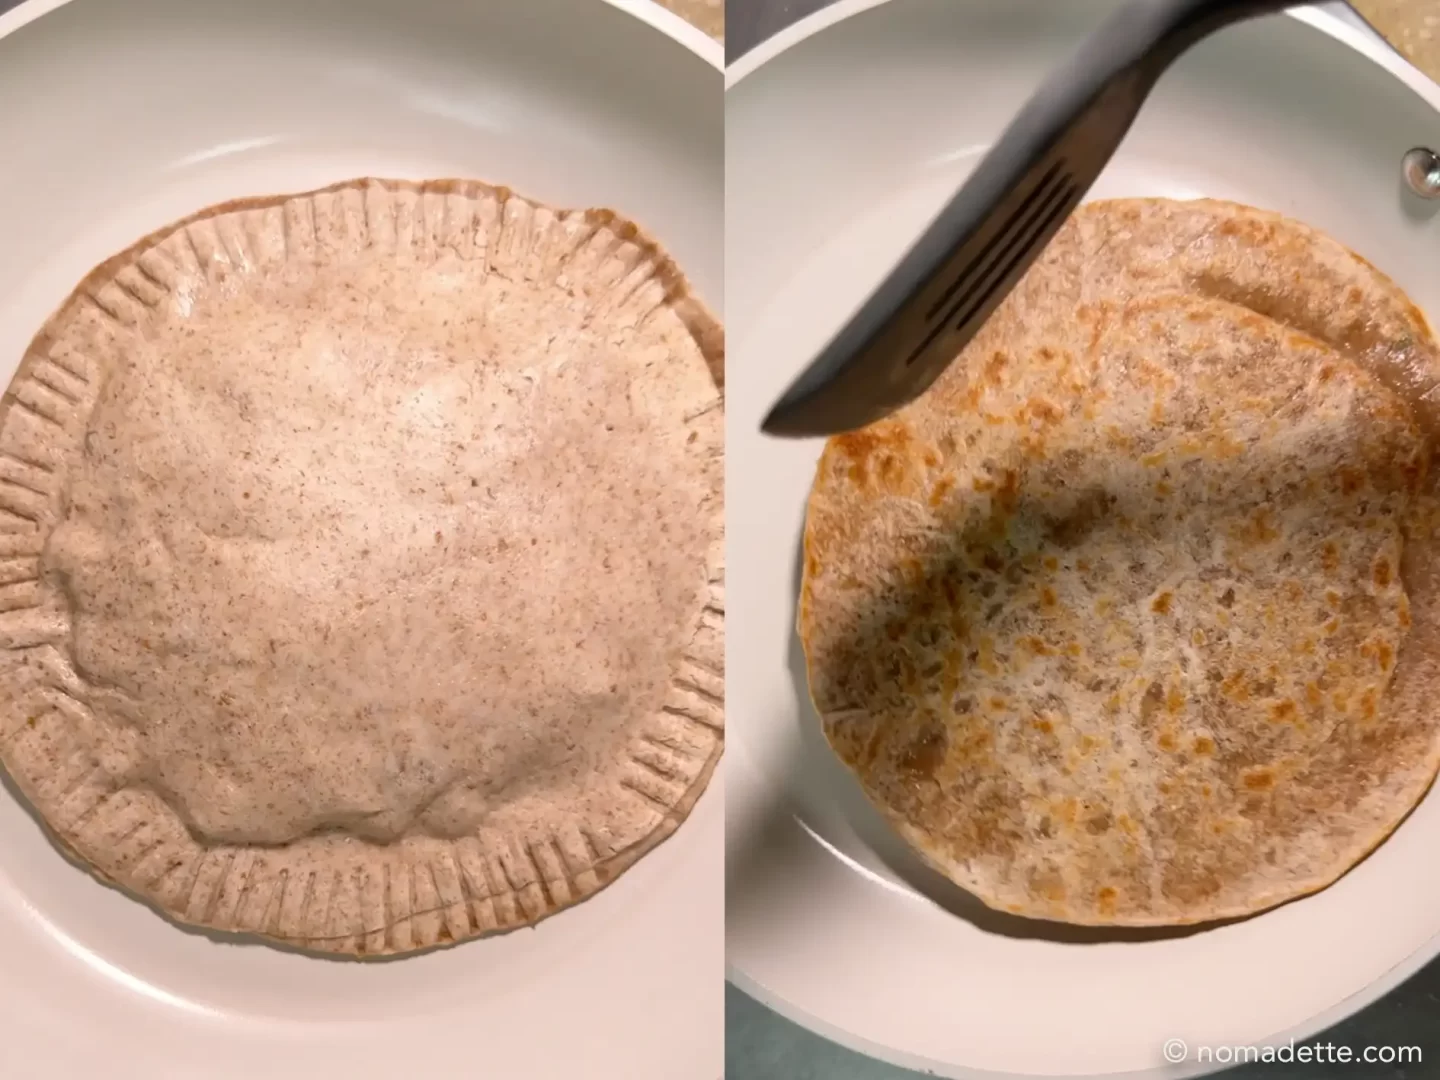
- Place the stuffed prata in a dry pan.
- Toast until golden brown and crispy on both sides. Follow the packet instructions on how long to cook the pratas.
2. Air Fry
- Place stuffed pratas on the air fryer rack and air fry for 10 minutes at 200°C.
- The air fryer method is the easiest and most hands-free method, but I usually dry toast this. My air fryer can only accommodate one stuffed prata at a time, which may not be practical if you need to toast a few stuffed pratas at a time!
- When dry toasted, I can easily cook up 3 at one go using my different burners. Dry toasting is almost hands-free too – once the pratas hit the pan, there is no need to touch them until it’s time to flip!
Other Filling Options
The filling options are endless and easily customisable to what you enjoy! Try these options instead:
- Scallion Pancake: For a twist on tradition, try stuffing your prata with a savoury scallion pancake filling. Simply mix chopped scallions, sesame oil, and a pinch of salt for a fragrant and delicious filling.
- Kimchi Bokkeum: Spice things up with a Korean-inspired kimchi filling. Saute chopped kimchi with mince of choice, garlic, and soy sauce for a tangy and umami-packed option.
Storage Instructions
- Make a batch of stuffed pratas and freeze them for later use.
- Once assembled, wrap each stuffed prata individually in foil or plastic wrap. I reuse the same plastic sheets they came with. This is important – so they don’t stick to each other!
- Store in an airtight container or freezer bag. Store in the fridge for a week, or in the freezer for up to 1 month. I used back the packaging the frozen pratas come in!
- Pratas stored in the fridge can be cooked immediately. To reheat frozen pratas, I recommend thawing in the refrigerator overnight before cooking. While frozen pratas can be toasted frozen, the fillings will not heat through in time if not defrosted first!
How to Serve
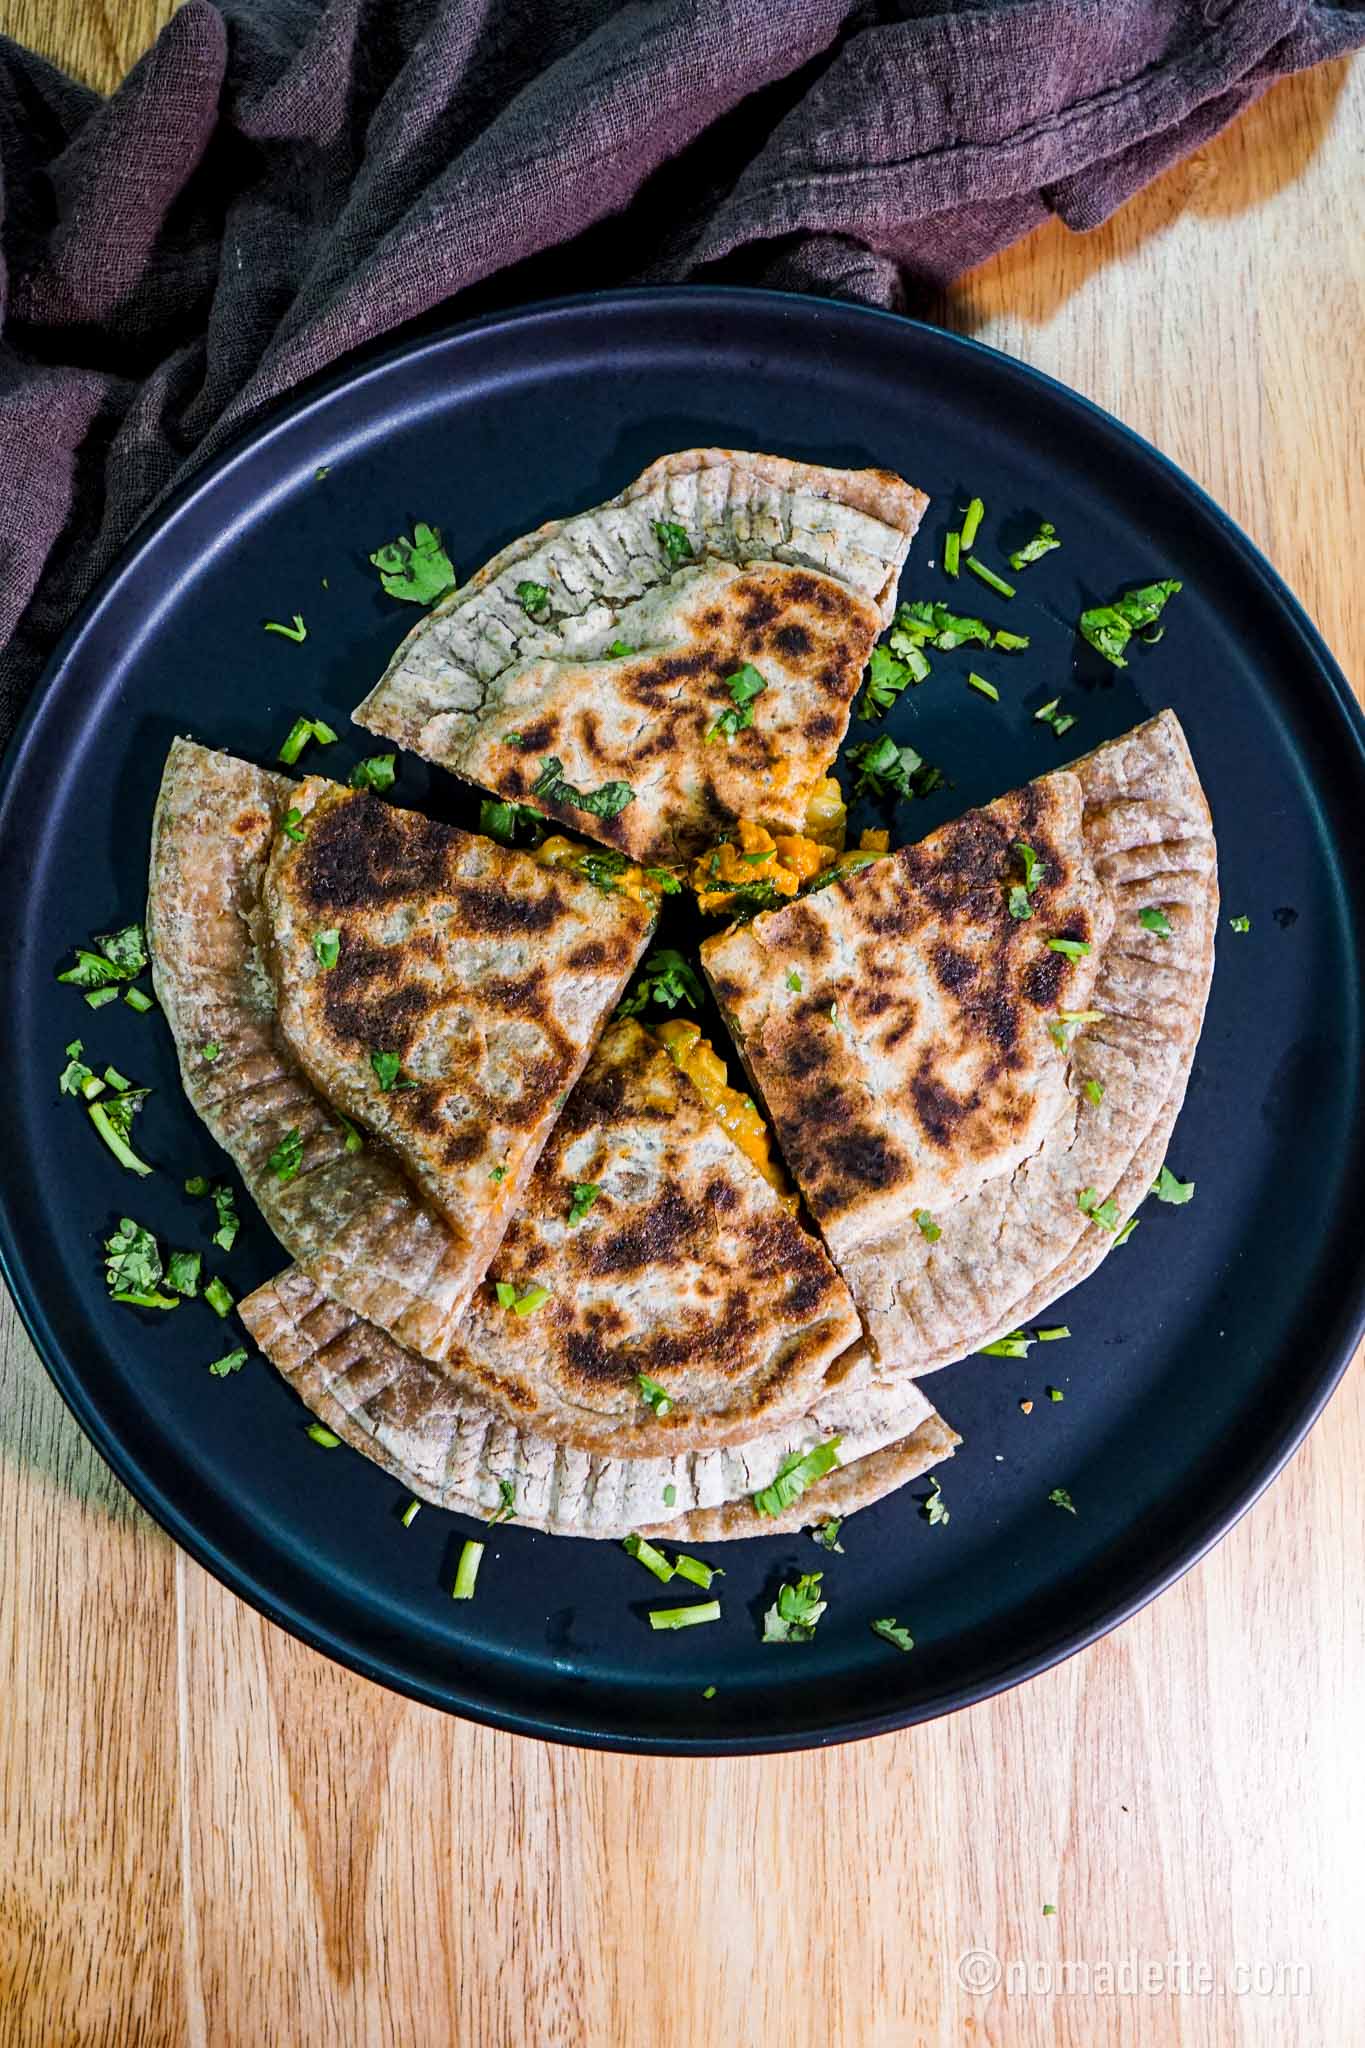
- Enjoy stuffed prata hot off the pan! Slice into half or quarts for easier snacking.
- Perfect for breakfast, lunch, dinner, or as a satisfying snack any time of day.
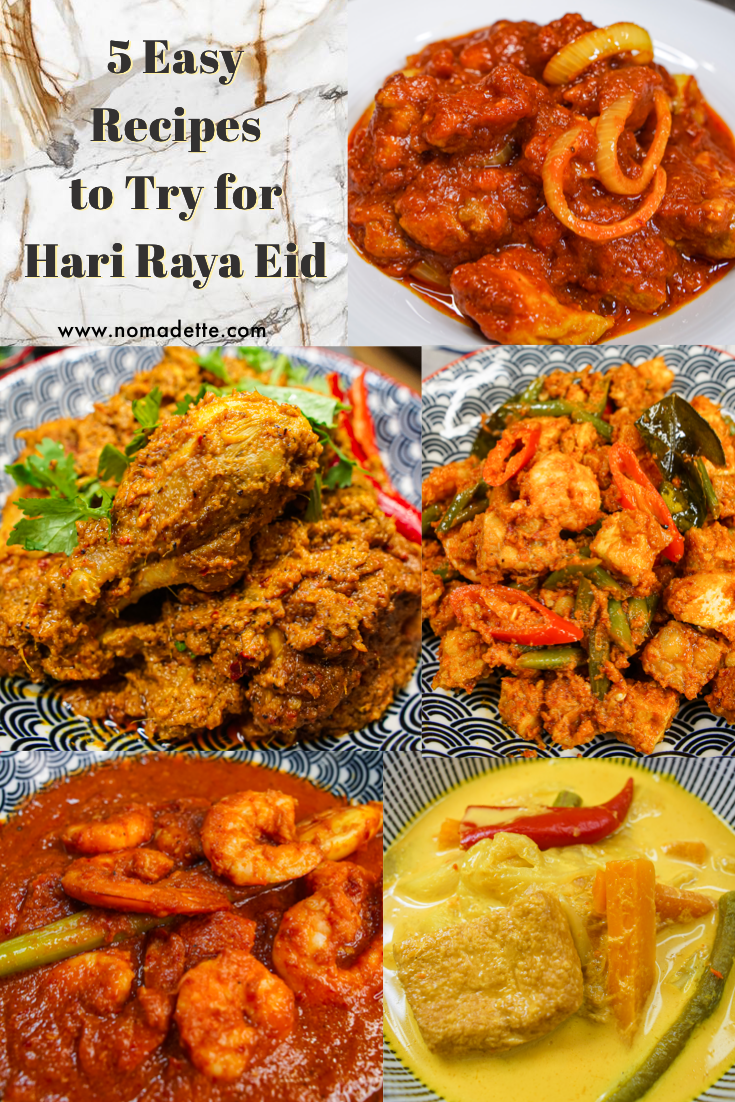
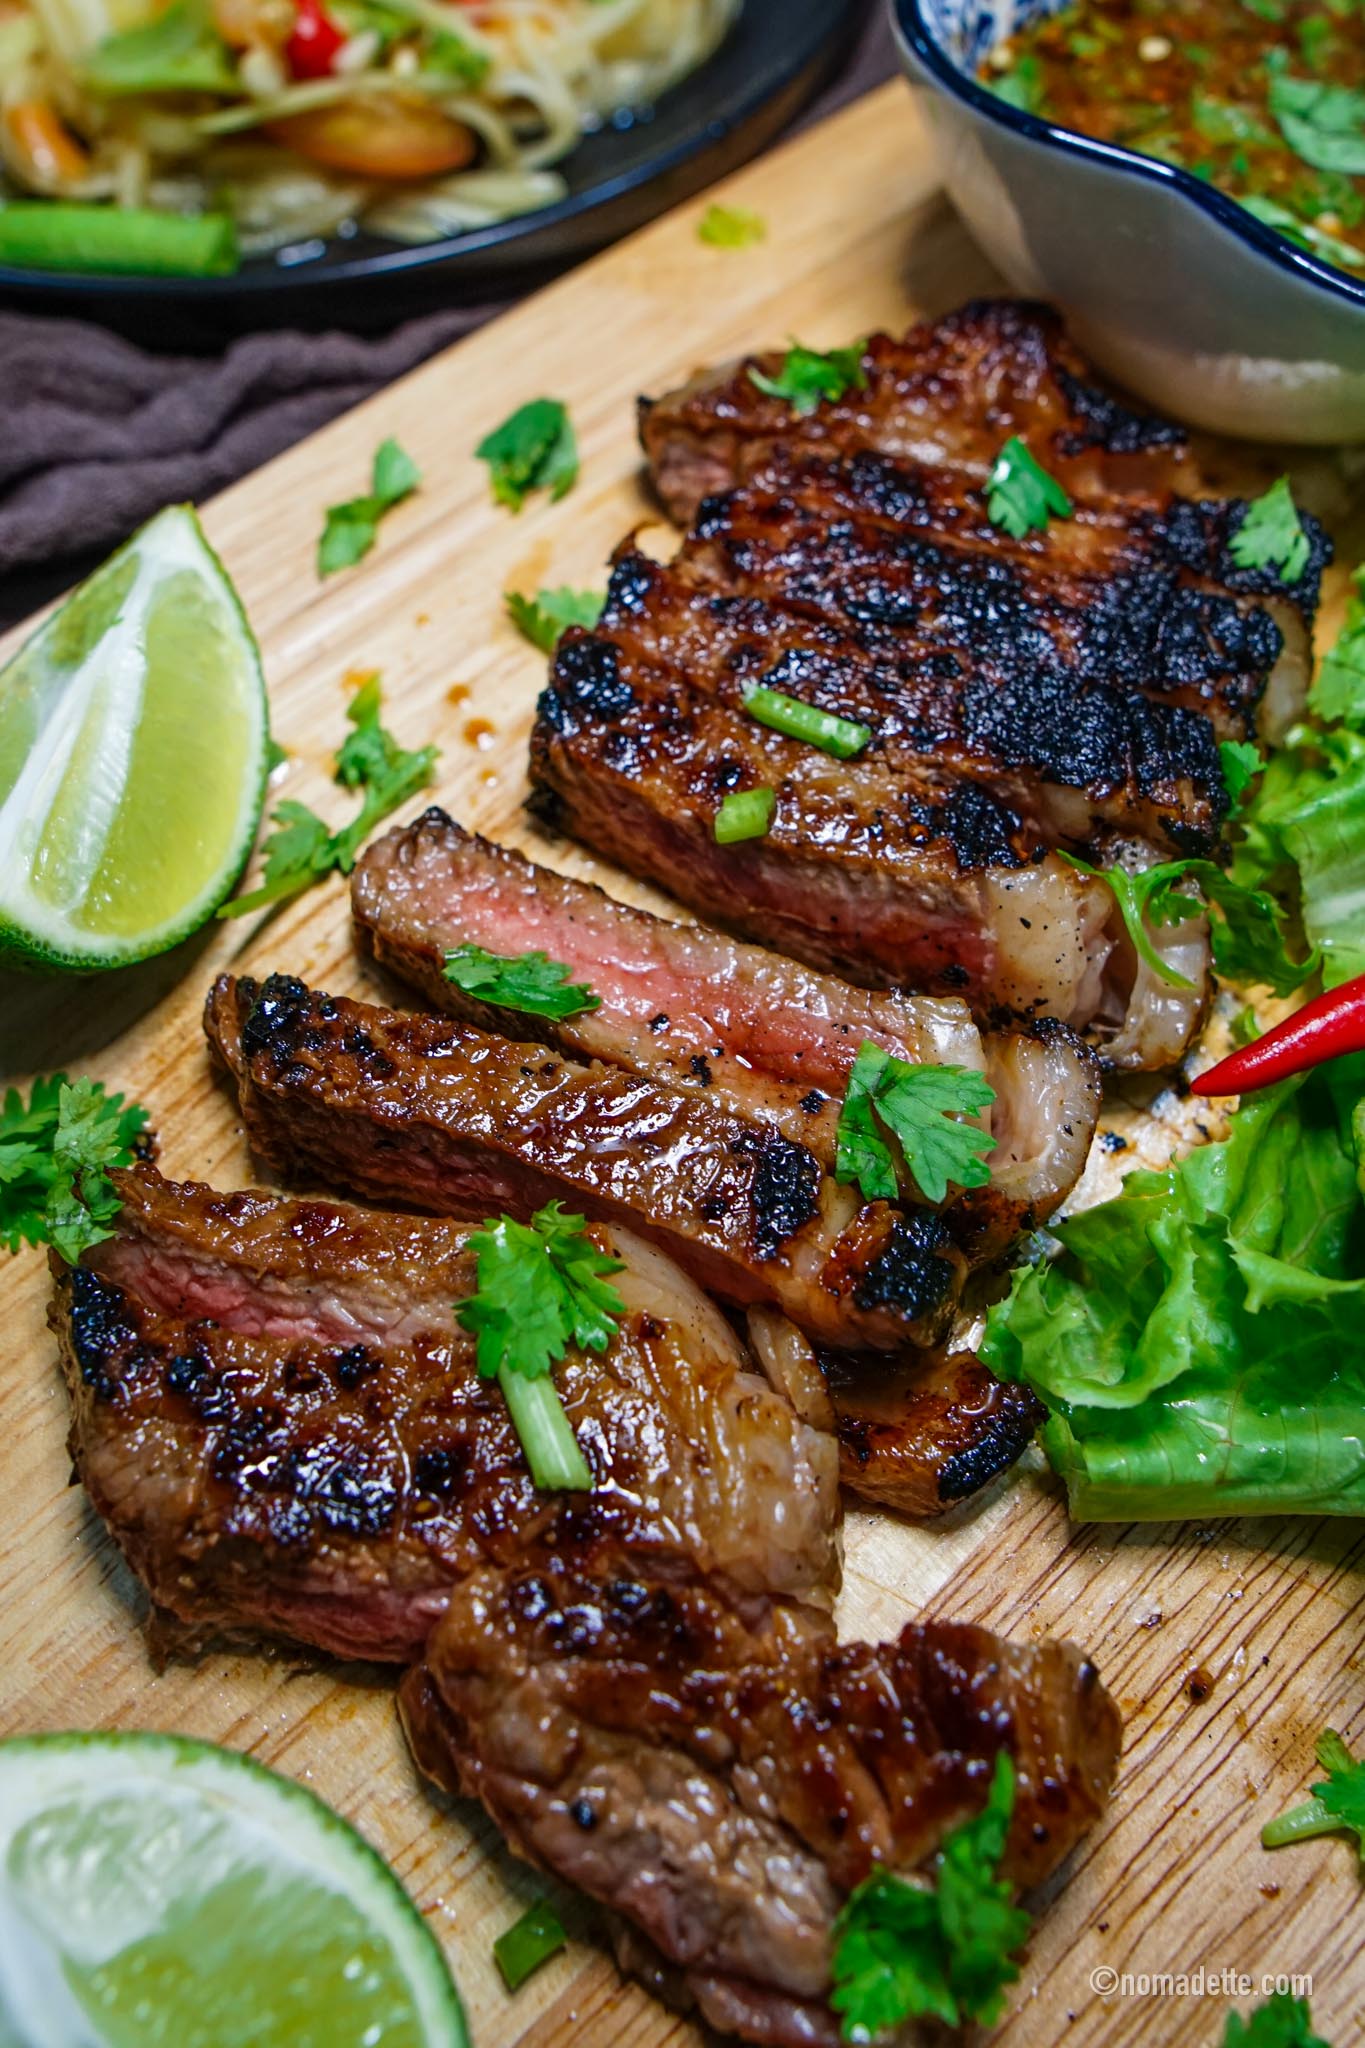
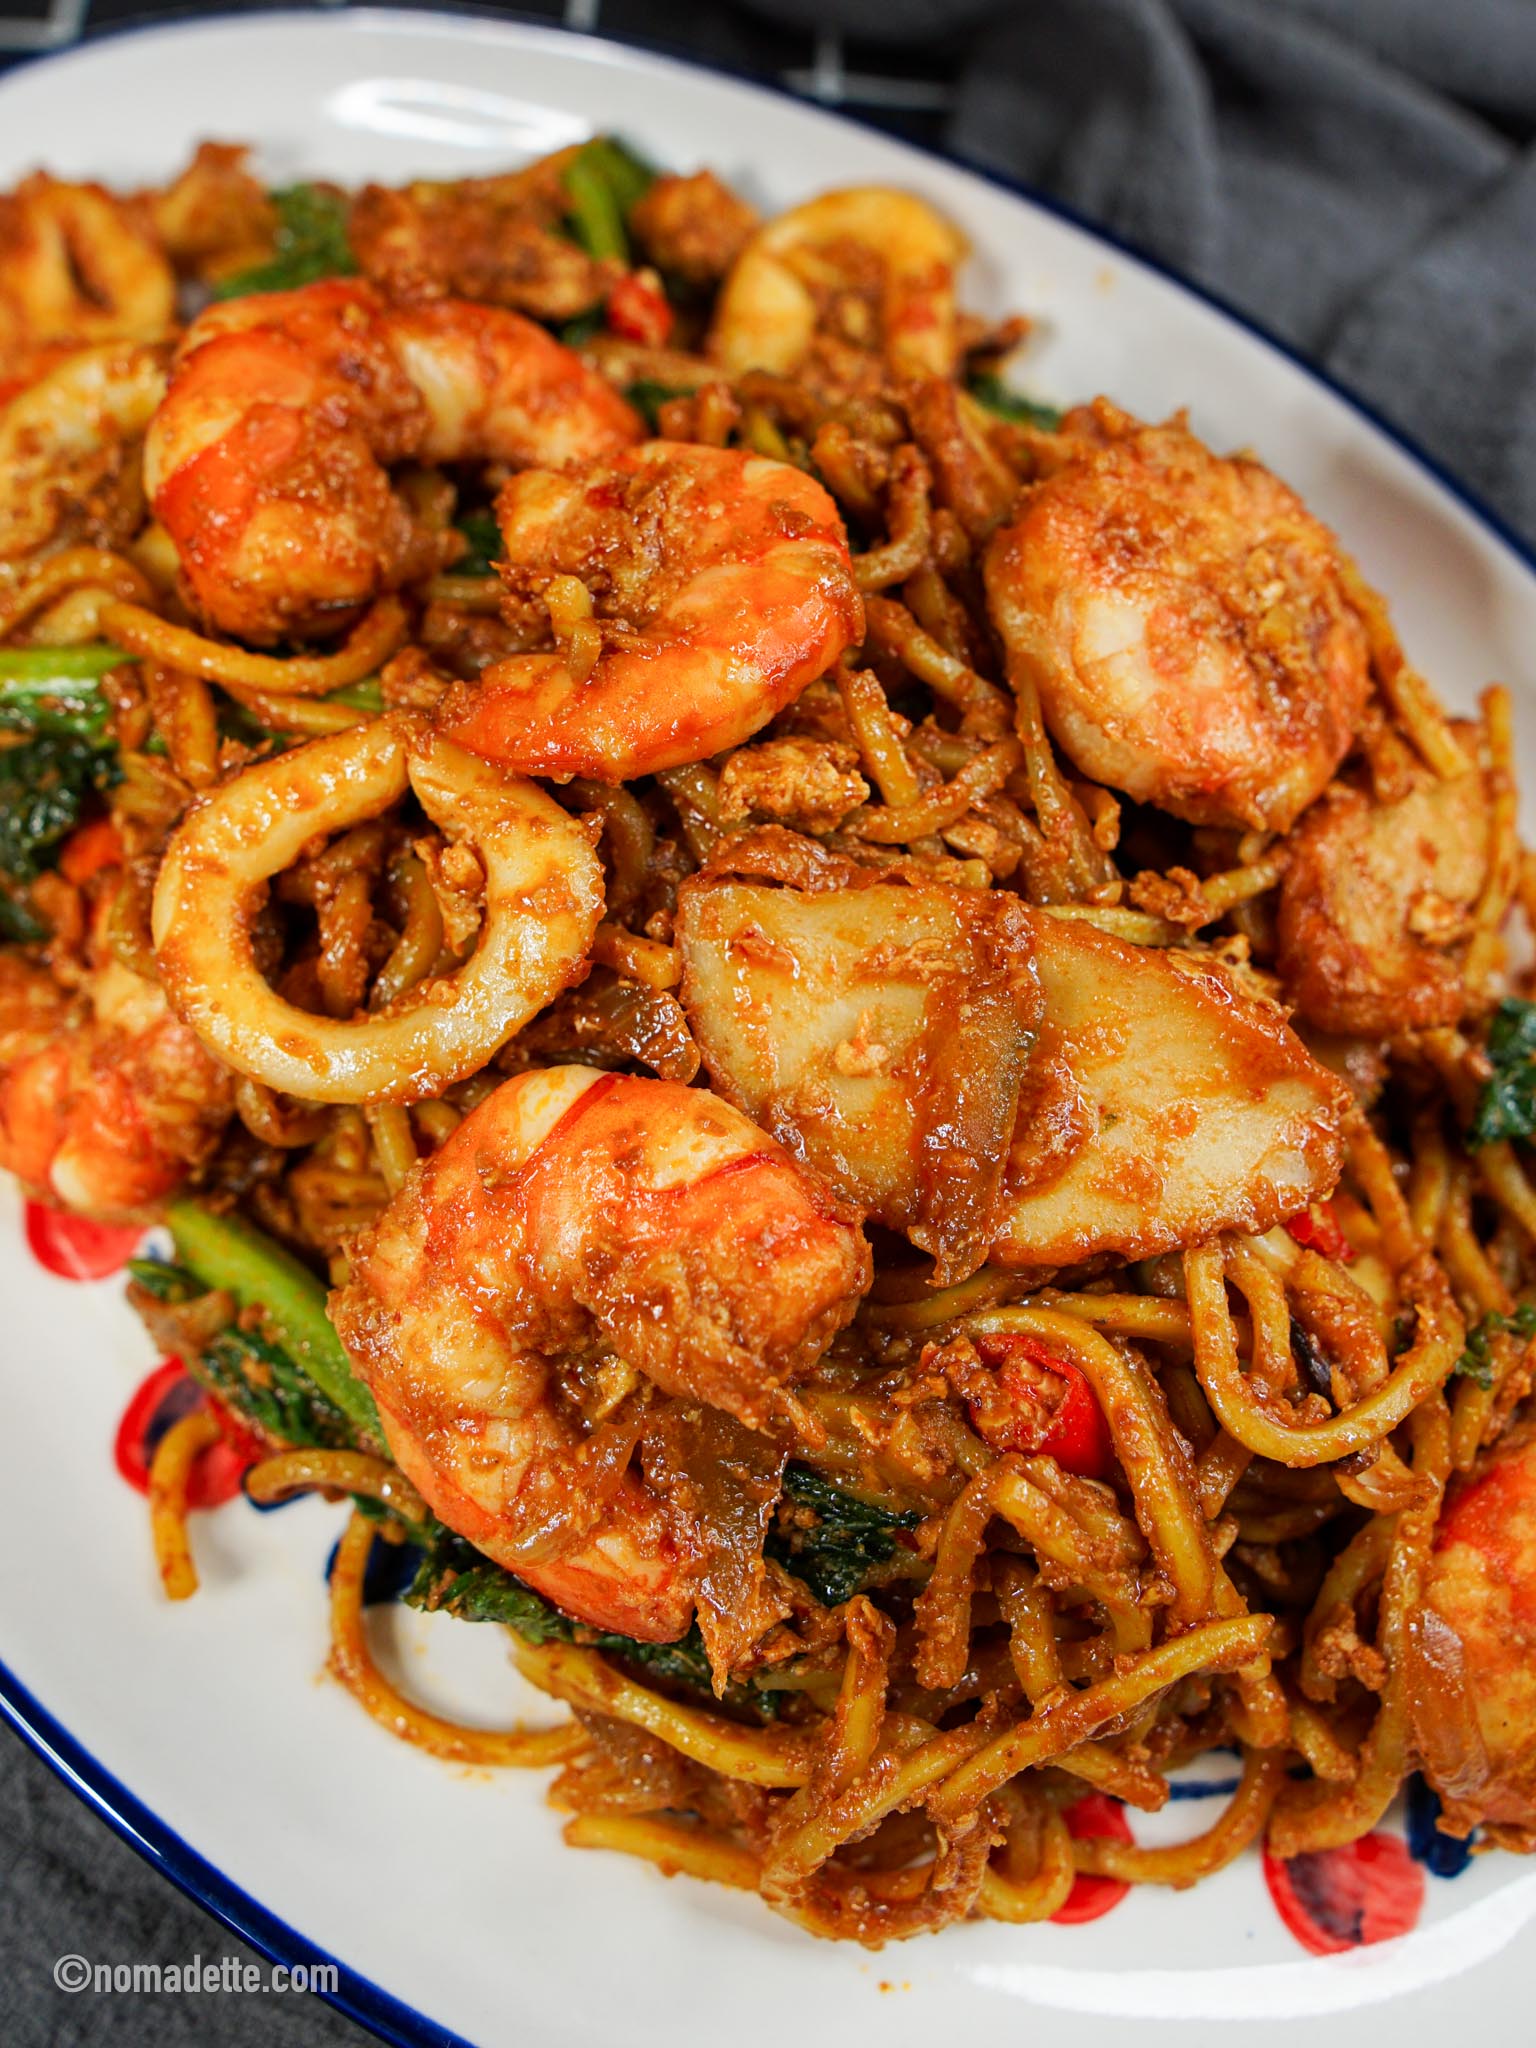
More Recipes Like This

Stuffed Prata (instant frozen prata recipe!)
1
servings10
minutes10
minutesCraving a snack? Try this Stuffed Prata using instant frozen pratas: crispy, flavourful, and oh-so-easy to make! Perfect for any time of day.
Keep the screen of your device on
Ingredients
2 instant frozen pratas
2 tbsps curry chicken mince filling
1 tbsp cheese (blend of mozzarella and cheddar, optional)
fresh cilantro, chopped (optional)
- Curry Chicken Mince Filling (for 4 servings of Stuffed Prata)
200 g chicken mince (or ground protein of choice)
1 tbsp onion paste or minced onions
1 tsp garlic paste or minced garlic
1 tsp ginger paste or grated ginger
1 tbsp curry powder
1/2 cup frozen vegetables
1/2 tsp salt and pepper, or to taste
Directions
- Curry Chicken Mince Filling
- Heat the vegetable oil in a large skillet or pan over medium heat. Add onion paste, garlic paste, and ginger paste to the pan, stirring for about a minute until fragrant.
- Add the curry powder next, and stir to form a curry paste with the aromatics.
- Add the chicken mince or ground meat of choice to the pan, and stir to combine with the curry paste, breaking the mince up with a spoon or spatula. Cook until the chicken is cooked through, about 5-7 minutes.
- Stir in the frozen vegetables, mixing well to combine. Cook for an additional 2-3 minutes, or until the vegetables are heated through.
- Season with salt and pepper to taste, adjusting as needed.
- Once cooked, remove the curry mince chicken filling from the heat and let it cool before using it as a filling for your stuffed prata.
- Stuffed Pratas
- Remove frozen pratas from the freezer and let thaw for about 2-3 minutes. Do not overthaw as they will be difficult to work with.
- Lay one frozen prata flat and remove the top separator sheet. No need to remove the bottom separator. Spoon on about 2 to 3 tablespoons of filling in the middle of the frozen prata, making sure there is space along the prata edges. Do not pile on too much of the filing.
- If using, sprinkle cheese and chopped cilantro over the filling.
- Gently place the second prata over the filling. Seal the two pratas in place by either pinching the edges or pressing down the edges with a fork.
- To freeze or store, layer each stuffed prata with the separator sheets. Alternatively, you can use baking paper.
- To cook the stuffed pratas:
1. Toast in Pan
– Heat a pan over low to medium heat. Place stuffed pratas on the dry heated pans and let toast for about 4-5 minutes on one side, before flipping over the other side to evenly cook for another 4-5 minutes.
– Once golden brown, remove from the pan and plate to serve. Option to slice the stuffed pratas for easier munching!
2. Air Fry
– Place stuffed pratas on the air fryer rack and air fry for 10 minutes at 200°C.
– Once golden brown, remove from the air fryer rack and plate to serve. Option to slice the stuffed pratas for easier munching!
Did you make this recipe?
Tag @nomadetteats on Instagram


)