

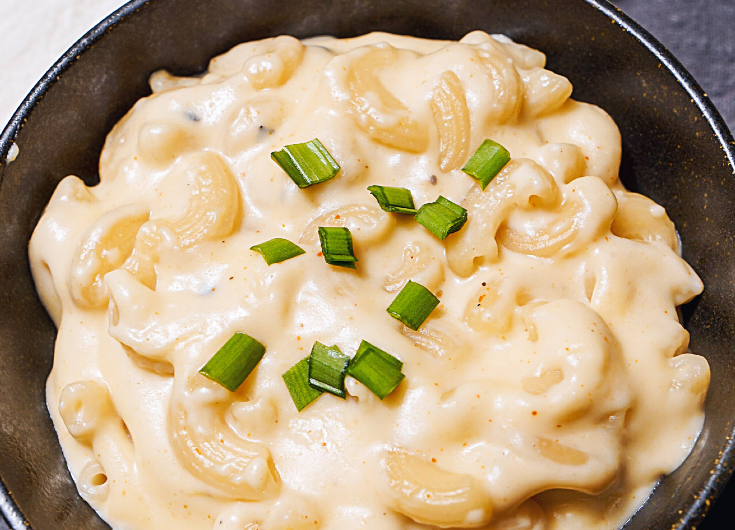
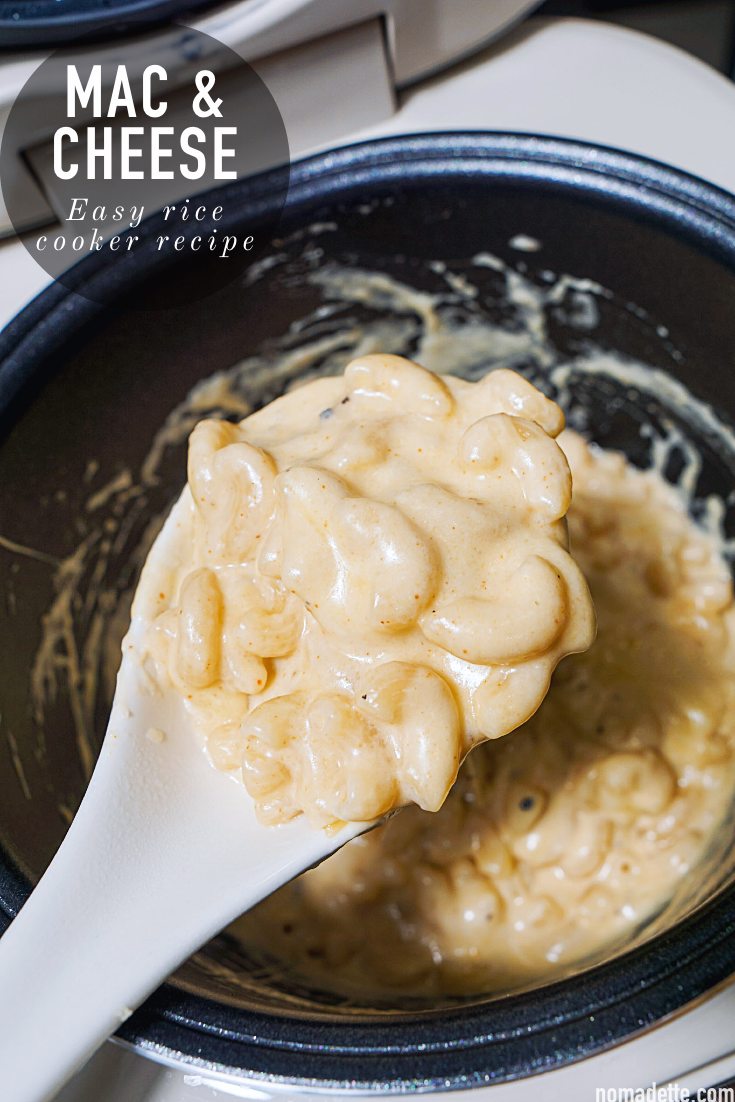
This is the easiest Mac and Cheese you’ll ever make – in a rice cooker!

Mac and cheese is easy enough to make already. This is an even easier version! It requires ZERO active cooking time, and it yields creamy mac and cheese every time. This can be the perfect, easy side dish for meals… or more likely, a quick midnight snack. Bonus: I would eat this straight out of the rice cooker pot, and save myself the the extra dishes.
What Rice Cooker to Use?
Any rice cookers will work. This rice cooker mac and cheese is cooked on the regular rice cooking setting. I am using a Japanese rice cooker, which tends to be multifunctional. For this recipe, just use the regular ‘rice’ setting. I use the Zojirushi NS ZCC-10 or NS ZAQ-10 model. Other popular and accessible brands include Panasonic and Toshiba.
Type of Pasta for Rice Cooker Mac and Cheese
I might be traditional, but I can’t have mac and cheese without macaroni. You can use any pasta of choice. The elbow macaroni pasta will work best, but so will conch shells. Spirals too, as it will grab at the cheesy sauce.
Noodle pastas would not work as well, simply because you cannot fit it whole in the pot.
How Long to Cook Pasta?
In the recipe, I indicated a total cook time of 25 minutes, this is for elbow macaroni pasta to cook to al dente – that is perfectly cooked with a slight bit of bite. You might need more or less time, depending on your pasta type AND the type of rice cooker that you have.
For reference, Macaroni pasta requires 8-10 minutes on the stovetop. Cooking in the rice cooker requires a significantly longer cook time since we are cooking the pasta cold, instead of in already-boiling water. Rice cookers also tend to warm up gradually, attributing to the longer cook time for this recipe.
Extra creamy Rice Cooker Mac and Cheese
Cooking this in milk will allow the mac and cheese to be extra creamy! The gluten from the pasta will thicken the milk to become a nice creamy pot of mac and cheese.
The milk can be replaced with any dairy-free milk, I like coconut milk and oat milk. You can use heavy cream if you want to, but cream will also thicken. You will also need to use the same amount of of cream as milk to achieve a nice creaminess. Unfortunately this will also increase the fattiness, which sounds yummy, but actually might be too heavy. You might get sick of your mac and cheese after a few bites.
To use heavy cream, I recommend increasing the amount of stock used instead.
What Cheese to Use?

Mac and cheese is all about the cheese. If you want good mac and cheese, you HAVE to use tasty, delicious cheese. Personally, I love using a blend of cheddar and gouda for my Mac and Cheese. It’s a lot of delicious cheesy flavour. I also wanted a nice cheesy pull, so I added some mozzarella cheese in the mix too! Mozzarella cheese gets you a nice cheese pull, but it does not add much of a cheesy flavour.
If you want to use cheese slices, you can as well. Tear it up into smaller chunks so it melts easier.
Optional Seasonings

Guess what? You can make this rice cooker mac and cheese with just macaroni, milk, and cheese! Three ingredients, that’s it.
I levelled mine up by using pantry staples. I used stock made with bouillon cubes, onion powder, garlic powder, cayenne pepper and a sprinkling of black pepper. You can adjust depending on what you have in your pantry – or not at all! Like I said, you just need pasta, cheese and some milk.
Do you need Salt?
In my experience, not at all! I’m usually using stock from bouillon cubes which are already salted. In additional, cheese has salt.
This is why I indicated in the recipe to add salt at the end, after tasting it.
How do I make more servings?
TOO EASY! Since the ingredient ratio here is 1:1:1, simply multiply the amount.
1 cup of macaroni is about 4 servings.
How to Serve Rice Cooker Mac and Cheese for later?

This is best served immediately! When cooled, the mac and cheese will thicken up that it becomes clumpy; this is the same even with stovetop version since pasta will continue to absorb liquid.
This is why I always like to add an additional 1/2 cup of milk to mac and cheese to the pot and stir through right before serving. This additional milk will help to revive it and keep it nice and creamy.
If you are not serving this immediately, I recommend stopping the cooking process (i.e. turn the rice cooker off) once the pasta is al dente.
- Warm it up before serving and add a splash of milk (or even water will work) to revive the Mac and Cheese, and make it creamy again.
- My rice cooker has a “warm” setting, which is what I used. Regular rice cookers with just one switch should also have this setting. Typically it’s the “cook” switch turned the other way.
Similarly, if you’re making this to serve guests (or to bring to a potluck party), add more milk or water so you get a slightly soupy mac and cheese. Before serving, heat it up in the microwave or oven to get creamy mac and cheese again!
More recipes like this:
If you like this rice cooker recipes, you might like these too:
- KFC Fried Chicken rice cooker
- Rice cooker Lo Ma Gai, Chinese sticky rice
- Easy Hainanese Chicken Rice with rice cooker
- Rice cooker Cheesecake
Easy Rice Cooker Mac and Cheese
2
servings5
minutes25
minutesKeep the screen of your device on
Ingredients
1 cup macaroni pasta
1 cup milk
1 cup chicken stock, (or 1 cup water + 1/2 chicken stock cube)
1 cup of shredded cheese (I use a blend of cheddar, mozarella and Gouda)
1 tsp salt, or to taste
extra 1/2 cup of milk (optional)
- Seasonings (optional)
1/2 tsp onion powder
1/2 tsp garlic powder
1/2 tsp cayenne pepper
1/4 tsp ground black pepper
Directions
- In the rice cooker pot, add macaroni, milk and chicken stock. Option to add the seasoning mix. Stir to combine well.
- Close the lid and turn the rice cooker on. Cook at regular rice settings for 20 minutes. At the 20-minute mark, the macaroni should be al dente. If it is still too firm, close back the lid and continue to cook, checking every minute or so until the pasta is al dente.
- At the 20-minute mark, or once macaroni is al dente, open the lid. With the rice cooker still on, add the cheese. Continuously stir until the cheese has completely melted. Taste, and add salt, if needed. Once combined, rice cooker mac and cheese is done! Serve immediately while hot!
- OPTIONAL: If the mac and cheese is looking dry, stir in the extra 1/2 cup of milk into the pot, as needed. Continuously stir until milk has disappeared into the Mac and Cheese. Once the milk disappears, turn off the heat and serve immediately.
Did you make this recipe?
Tag @nomadetteats on Instagram


You said to put all ingredients except cheese and salt. Then you say at the end to put in milk.
Hi Michelle, I meant to add in the additional, optional 1/2 cup of milk at the end – only if the mac and cheese is looking dry after stirring in the cheeses. The recipe has been updated for clarity, thanks for the highlight!
really good!!
Had tried several mac & cheese recipes and couldn’t find one I liked. From now on this is the one I will make for me and my grandson