

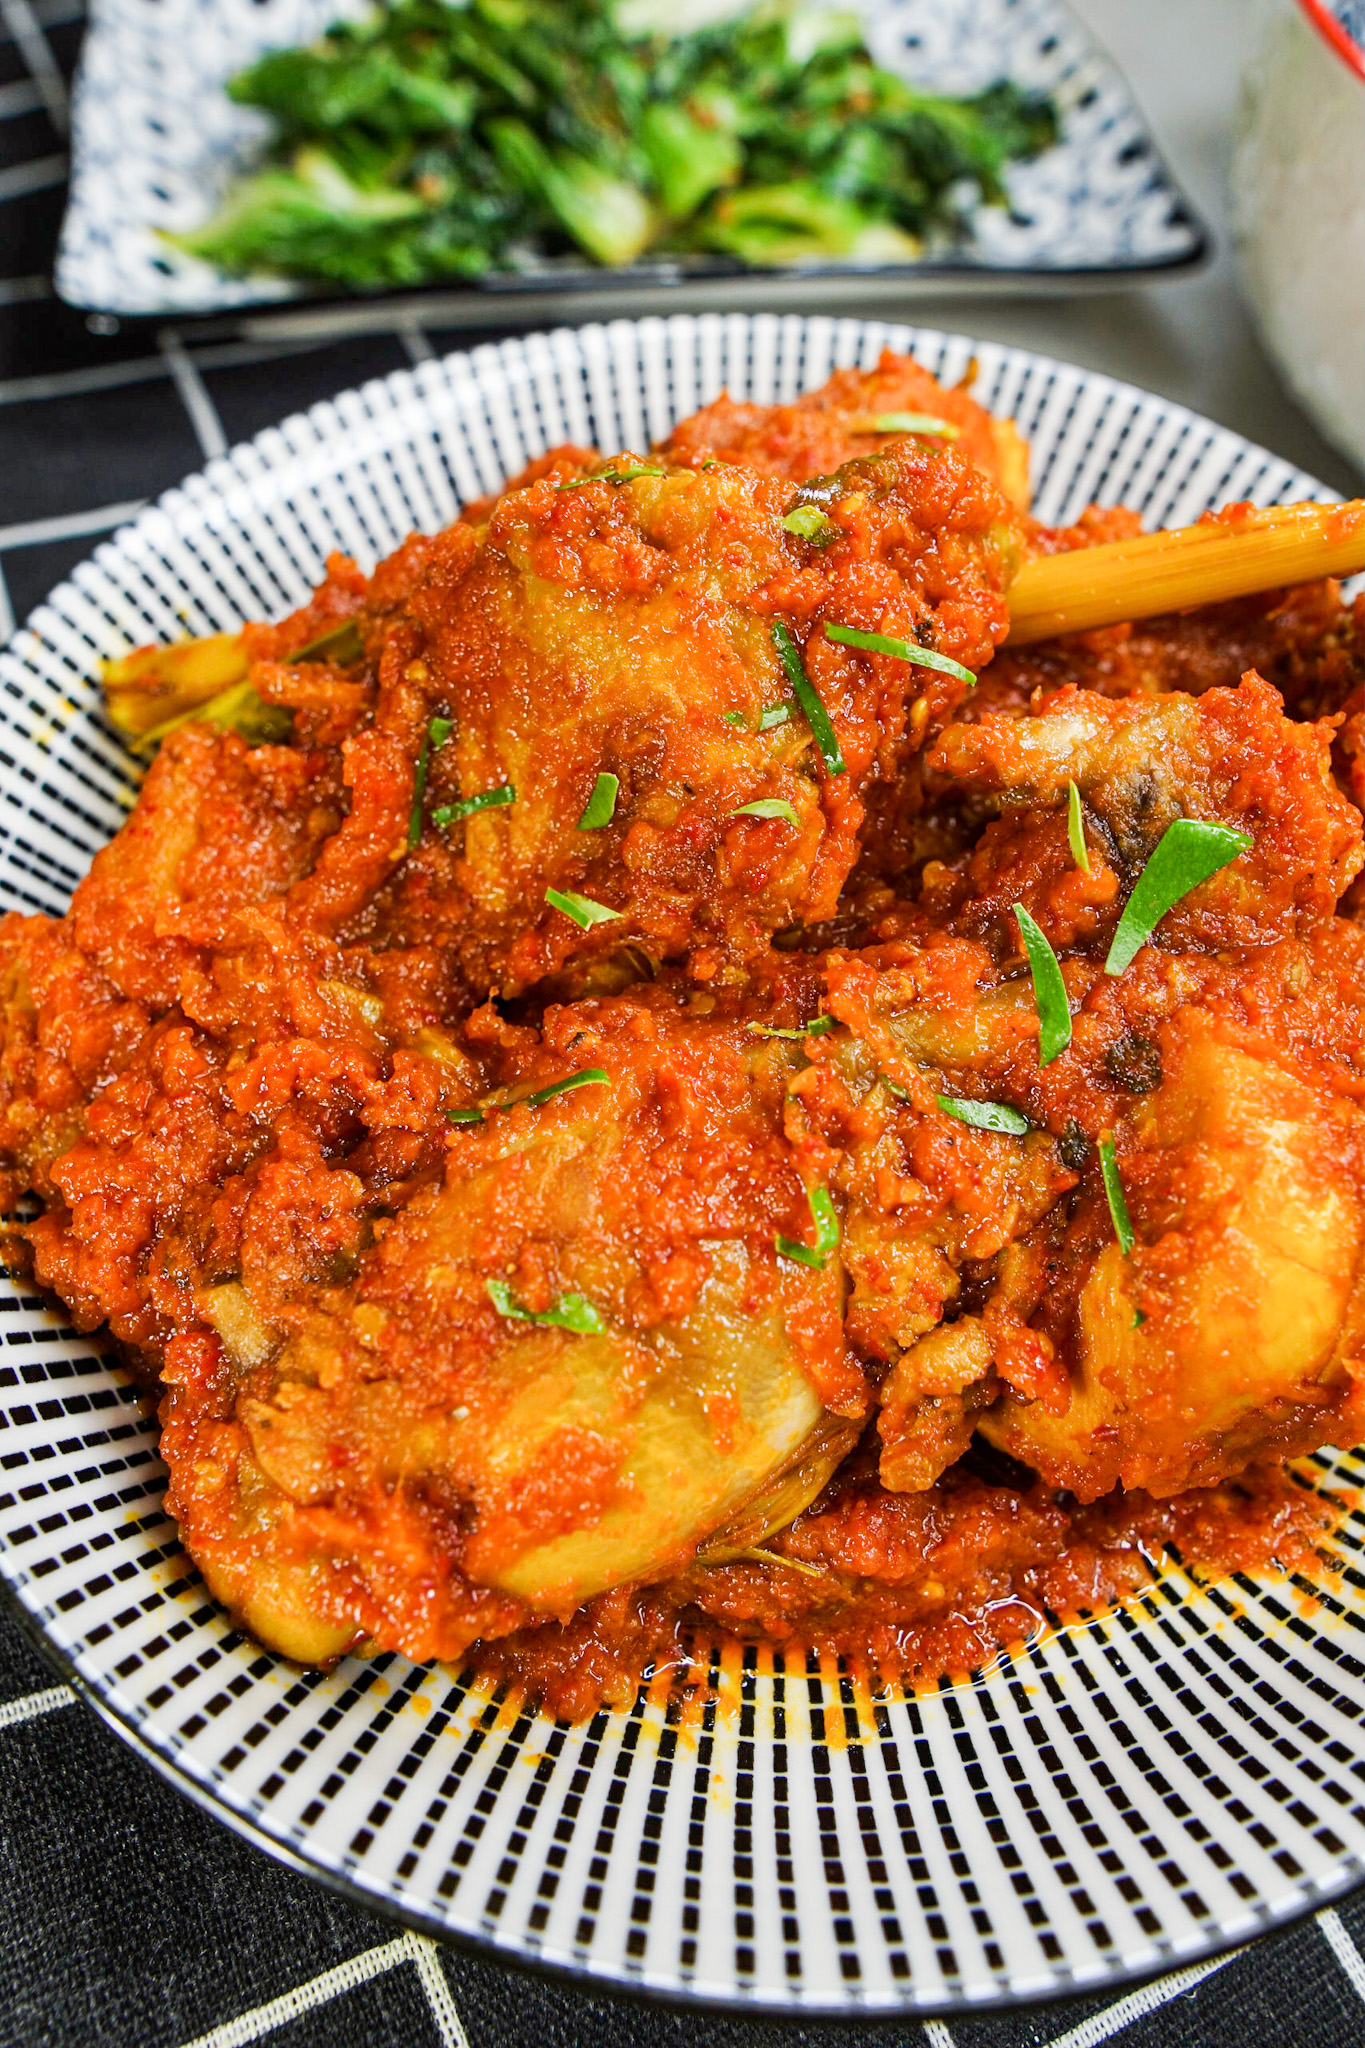
A molten cheesy twist on kimchi fried rice! Spicy rice with a gooey cheese sauce center — fast, comforting, and viral for a reason.

This Cheese Sauce Kimchi Fried Rice is so good, that I had it for 3 meals in a row… and nope, they were not leftovers.
I have never jumped on a viral Korean recipe this fast! Though full disclosure, Korean viral recipes haven’t been part of my usual scroll algorithm lately. I found this one by chance.
I was watching this Korean variety show that showcases celebrities in their full “normal human” mode at home. In one snippet, actor Seo Bum June made a version of kimchi fried rice with a cheese sauce pool in the middle. He said it was “crazy” good and later compared it to risotto when it’s cooled down… sold, sold, SOLD!
I made it, and yes, this was SO GOOD it’s crazy! Not too sure about the risotto claims, but it’s very possible I scarfed it down too fast for the cheese sauce to cool and thicken into risotto-like creaminess.
What I love most is how easy it is to make! And how it instantly upgrades the humble kimchi fried rice into something indulgent, gooey, and fun. If you’ve got leftover rice and kimchi sitting in the fridge, you’re basically ten minutes away from this spicy, tangy, melty-cheesy heaven.
Jump to Recipe
What is Cheese-Sauce Kimchi Fried Rice?
At its core, this dish is just kimchi fried rice. The magic of this version comes from the molten cheese sauce center. The fried rice itself is smoky, tangy, and slightly spicy from the kimchi and gochujang-based seasoning.
When you create a little well in the middle and pour in cream + cheeses, it melts into a luscious, gooey sauce you can scoop rice into as you eat.
It’s the perfect mix of spicy, tangy, and creamy, with a hint of indulgence from the cheese sauce, making it a dish you’ll want to eat straight away… and maybe even make a second pan!
By the way, I’m no stranger to levelling up kimchi fried rice. See my recipes:
Why You’ll Love This Recipe
Key Ingredients
Fried Rice
- Cooked rice – doesn’t need to be day-old, as this is a ‘wetter’ fried rice, yay!
- Kimchi and the juice – tangy, spicy, and full of umami. Save the kimchi juice as well. If you’re not a fan of strong kimchi flavour, feel free to omit.
- Garlic – adds fragrance and depth! I also added onions, but this is optional.
- Protein – I used thinly sliced beef as a healthy protein, Korean recipes recommend spam, bacon, or sausage for convenience. Canned tuna is a good option as well.
- Eggs – optional, but it adds richness.
- Seasoning sauce – a mix of gochujang, honey (or sugar or sweetener of choice), sesame oil, is all you need! If you want it more spicy, add gochugaru or chilli flakes.
Cheese Sauce
- Heavy cream or evaporated milk – creates a smooth, creamy base.
- Shredded cheese – melts into a gooey sauce! Mozzarella or cheddar is best.
- Cheese slice – helps build that molten “cheese pool” in the middle.
- Garnishes – spring onions and sesame seeds for freshness and crunch.
Key Steps to Making It
1. Toast the kimchi and garlic

- Heat a little oil in a pan over medium heat. Add the kimchi and garlic (plus onions if using).
- Sauté until fragrant and slightly charred. This adds smoky depth and mellows the sharp sourness of kimchi.
2. Add protein and egg

- Add your thinly sliced beef or protein of choice and stir-fry with the kimchi until cooked through.
- Push everything to one side, crack in the egg.
- Scramble until almost set, and mix it all together.
3. Add rice and seasoning

- Add the cooked rice, kimchi juice, if using, gochujang, and honey.
- Stir until every grain is glossy and evenly coated.
- Drizzle in the sesame oil at the end and mix well.
4. Create the cheese center

- Make a small well in the middle of the rice mound.
- Pour in the heavy cream (or evaporated milk), shredded cheese, and place the cheese slice on top.
- Cover the pan for about 1 minute until the cheese melts into a gooey, molten center.
5. Garnish and serve immediately

- Remove the lid and top with spring onions and sesame seeds.
- Stir the melted cheese so it forms one luscious, creamy sauce.
- Dig in while everything is hot and melty!
How to Serve
- Serve straight from the pan while the cheese is molten and dip-able.
- Scoop the fried rice into some cheese sauce and eat!
- Optionally, portion the rice into bowls and let everyone dig into the cheesy center themselves.
- Works perfectly with a simple side of kimchi or light salad to balance richness.
Tips & Tricks
Storing & Reheating
- Storing: Keep leftover fried rice (yes, along with the cheese sauce!) in an airtight container in the fridge for up to 2 days.
- Reheating: Reheat in a skillet over low heat, adding a splash of water or cream (and more cheese, why not!) to revive the cheese sauce moisture. For the cheese sauce, melt fresh cheese over the rice when reheating. You can also microwave your leftover rice, but avoid microwaving the cheese sauce for long periods; it can become grainy.

Cheese-Sauce Kimchi Fried Rice (The Viral Korean Recipe!)
1
servings5
minutes10
minutesA molten cheesy twist on kimchi fried rice! Spicy rice with a gooey cheese sauce center — fast, comforting, and viral for a reason.
Keep the screen of your device on
Ingredients
- Fried Rice
1 cup cooked rice
2 tbsp kimchi, chopped
1 clove garlic, minced
1 egg
2 tbsp protein of choice: thinly sliced beef, bacon, Spam, sausage, or tuna
1 tbsp oil for cooking
2 tbsp kimchi juice (optional)
1 tbsp gochujang
1 tbsp honey
1 tsp sesame oil
- Cheese Sauce
1/4 cup heavy cream or evaporated milk
1 tbsp shredded cheese
1 cheese slice
- Garnish
spring onions, chopped
sesame seeds
Directions
- Toast the kimchi and garlic
- Heat a little oil in a pan over medium heat. Add the kimchi and garlic (plus onions if using).
- Sauté until fragrant and slightly charred — this adds smoky depth and mellows the sharp sourness of kimchi.
- Add protein and egg
- Add your protein of choice and stir-fry with the kimchi until cooked through.
- Push everything to one side, crack in the egg, and scramble until almost set. Mix it all together.
- Add rice and seasoning
- Add the cooked rice, kimchi juice, gochujang, and honey. Stir until every grain is glossy and evenly coated.
- Drizzle in the sesame oil at the end and mix well.
Note: sesame oil added at the final stage gives the fried rice the best aroma and flavour! - Create the cheese center
- Make a small well in the middle of the fried rice.
- Pour in the heavy cream (or evaporated milk), shredded cheese, and place the cheese slice on top.
- Cover the pan for about 1 minute until the cheese melts into a gooey, molten center.
- Garnish and serve immediately
- Remove the lid and top with spring onions and sesame seeds.
- Mix the melted cheese so it forms one luscious, creamy cheese sauce.
- Dig in while everything is hot and melty! Scoop rice, and spoon it with a bit of cheese sauce – eat!
Did you make this recipe?
Tag @nomadetteats on Instagram


)