

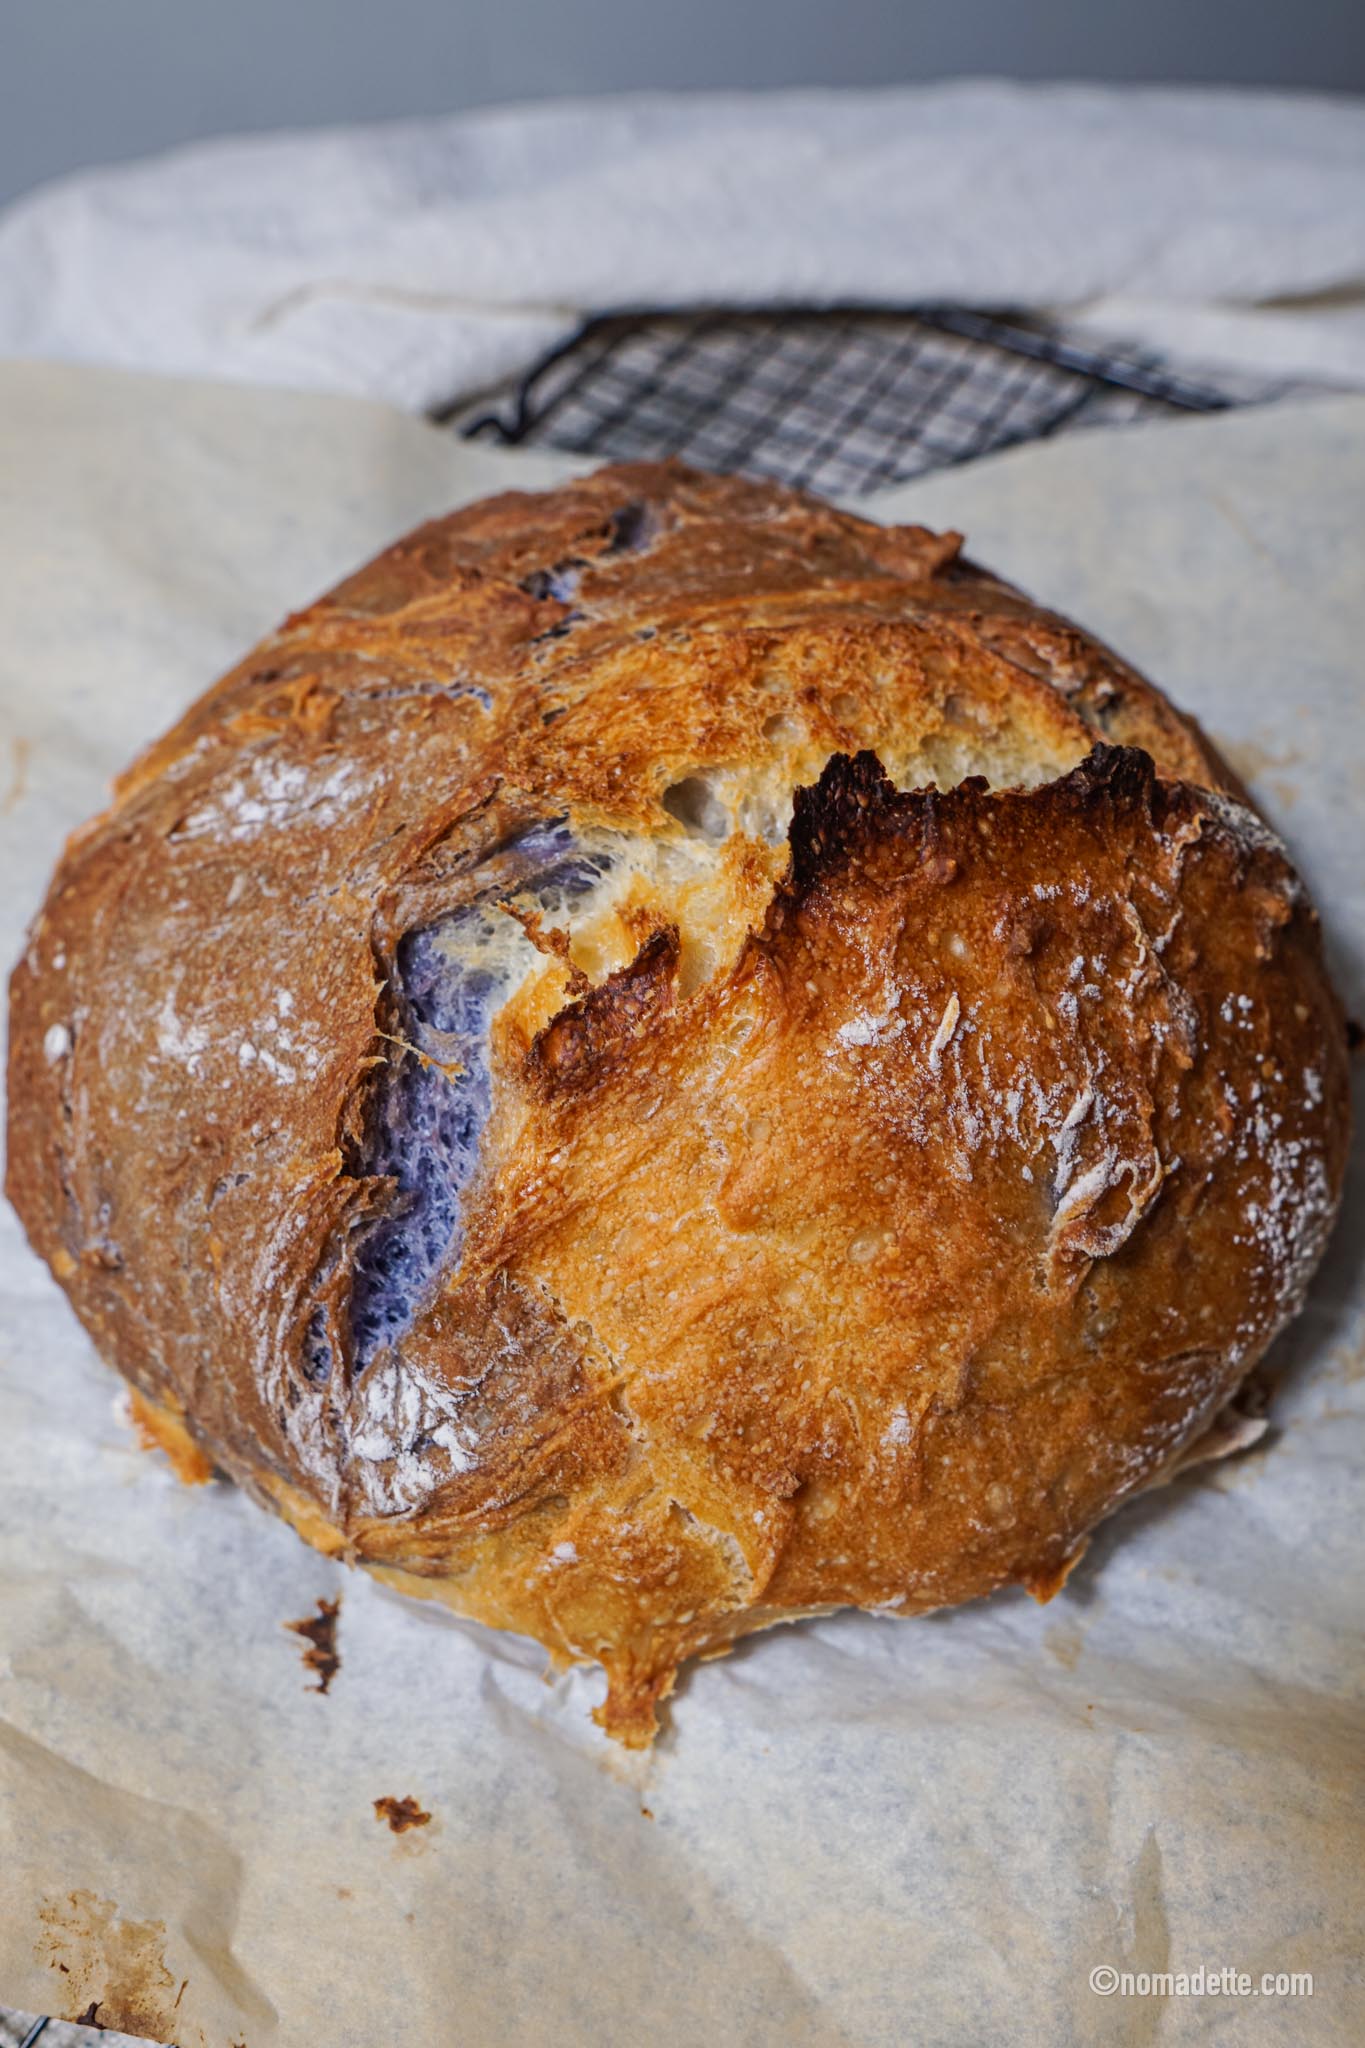
How to make an easy, no-knead bread with blue pea swirl!

I’ll be real – I was never interested to make bread until I came across this recipe from RecipeTin Eats. It required very minimal ingredients, and completely foolproof. As a complete baking fool, I wholeheartedly concur.
I attempted this at first try and got such amazing results, that now I’m a bread-making convert! Well, almost. I’m largely impatient, so bread-making will continue to be shelved under the “meh, if i feel like it” column.
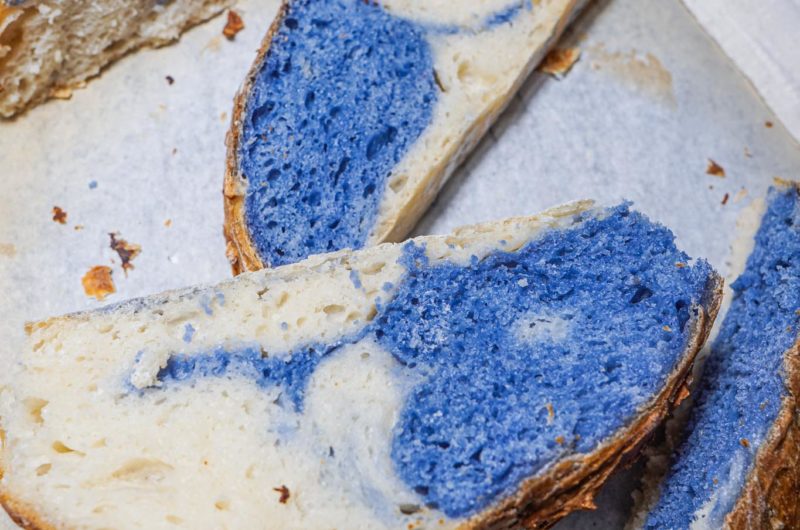
I had some leftover dried butterfly blue pea flowers from my Blue Pea Nasi Lemak recipe, so I decided to attempt this! I loved the results.
I especially love how professional and ~artisanal~ it looks… with not much effort.
How to make Perfect Bread
This recipe is so foolproof that you can afford a few missteps… and it will still come out good. The directions here might seem a bit all-over-the-place, but are laid out for maximum efficiency. There are really only 3 main components:
Forming the Dough and Proofing
This is where you combine all of the ingredients to form a sticky, wet dough, and allow it to proof for 2-3 hours.
Prepping Dough for Baking
After the dough has proofed adequately, this part is all about shaping it into a round shape.
The less effort here the better; messing with dough too much might disturb the holes that has already formed in the dough.
Prepping Oven for Baking
First, you have to preheat the oven to 230 deg C for 30 minutes to ensure a hot, hot oven. You might need to set two timers for this – one at 1.5 hours to turn on the oven, and the other at 2 hours for the proof time for the dough. When the timer goes off at 2 hours, put the kettle on and let it boil. By the time you finish prepping the proofed dough for baking (it’s super quick!), your water should be boiling hot.
Place a regular baking pan underneath the rack that you’ll be baking the bread on.
Place the baking paper with the proofed dough on the rack, and immediately pour in boiling hot water on the baking pan underneath. Immediately close the oven.
That’s it!
Instant Yeast
I used instant yeast for this recipe, and I’ll be upfront in saying I’ve never used regular yeast. The instant yeast that I use comes in a box with a few sachets. Each sachet is 11g, and for reference, 1 teaspoon of instant yeast is about 5g. If I do not use up the pack, I would just toss it away.
Yeast is best used immediately after opening, since they’re pretty much useless when exposed to heat and moisture – including moisture from the air. In humid Singapore, we have plenty of that.
If you want to keep your leftover yeast, you can prolong their freshness by storing immediately in an airtight container, and storing in the fridge or freezer.
Have extra yeast? Go make some easy stove top pita bread!
Butterfly Blue Pea Flowers
The blue colour comes from Dried Butterfly Blue Pea Flowers. These are used frequently in Southeast Asian cooking, especially for desserts and as fun drinks. They do not have much flavour; except perhaps a mild, floral, very slightly tangy taste.
To extract the blue colouring, simply steep the dried flowers in water. The colour will leach out immediately. The colour is bright blue from the get-go.
If you want a darker shade, you can do this:
- Steep more flowers in lesser water.
- Steep for a long period of time – try overnight!
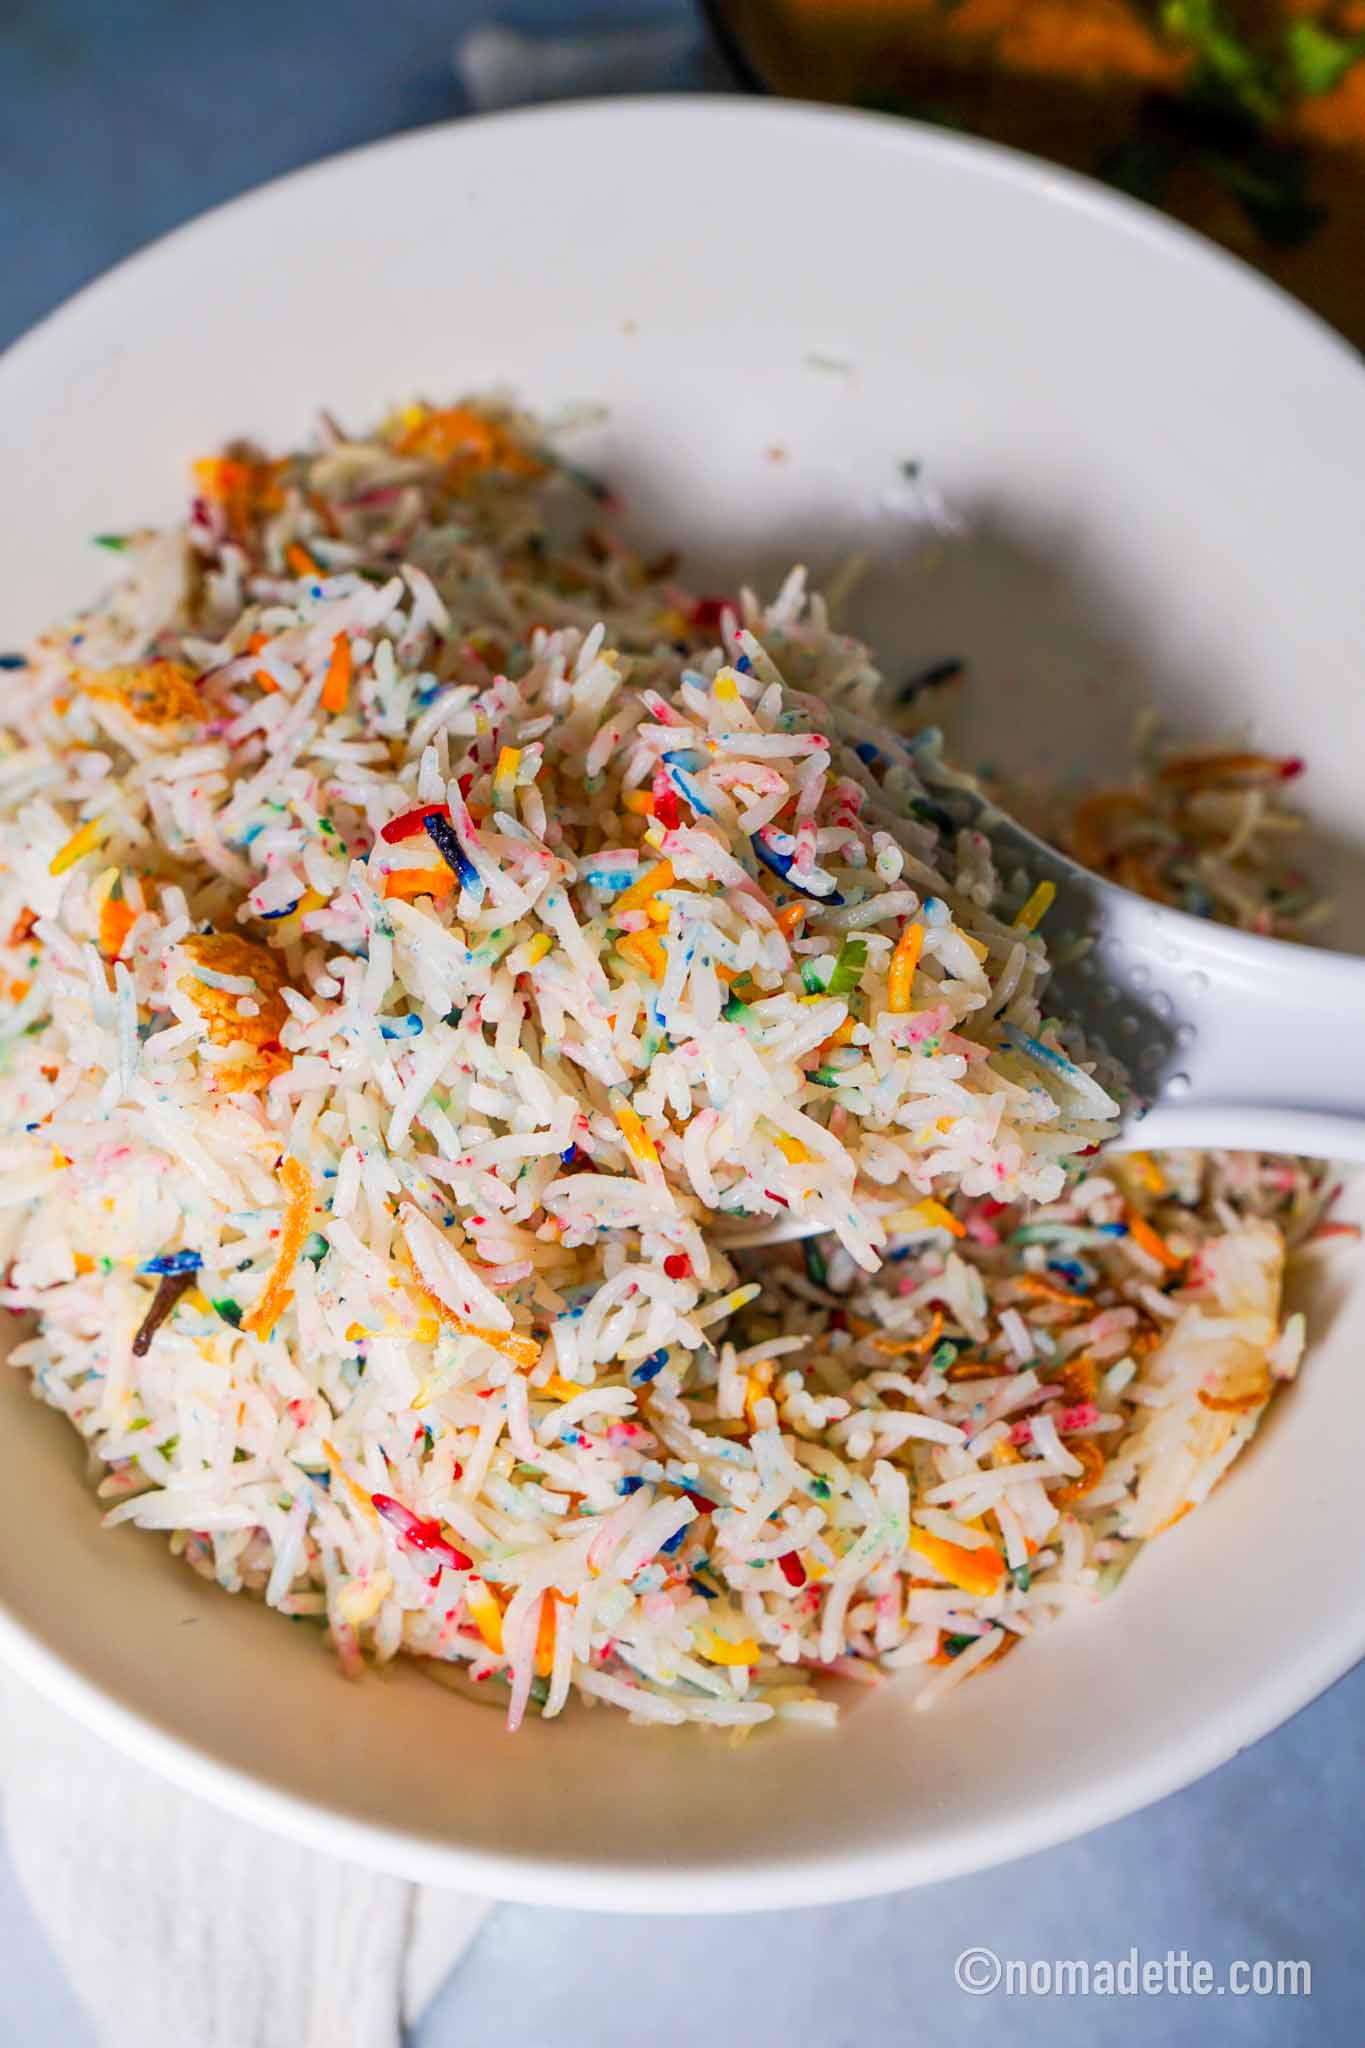
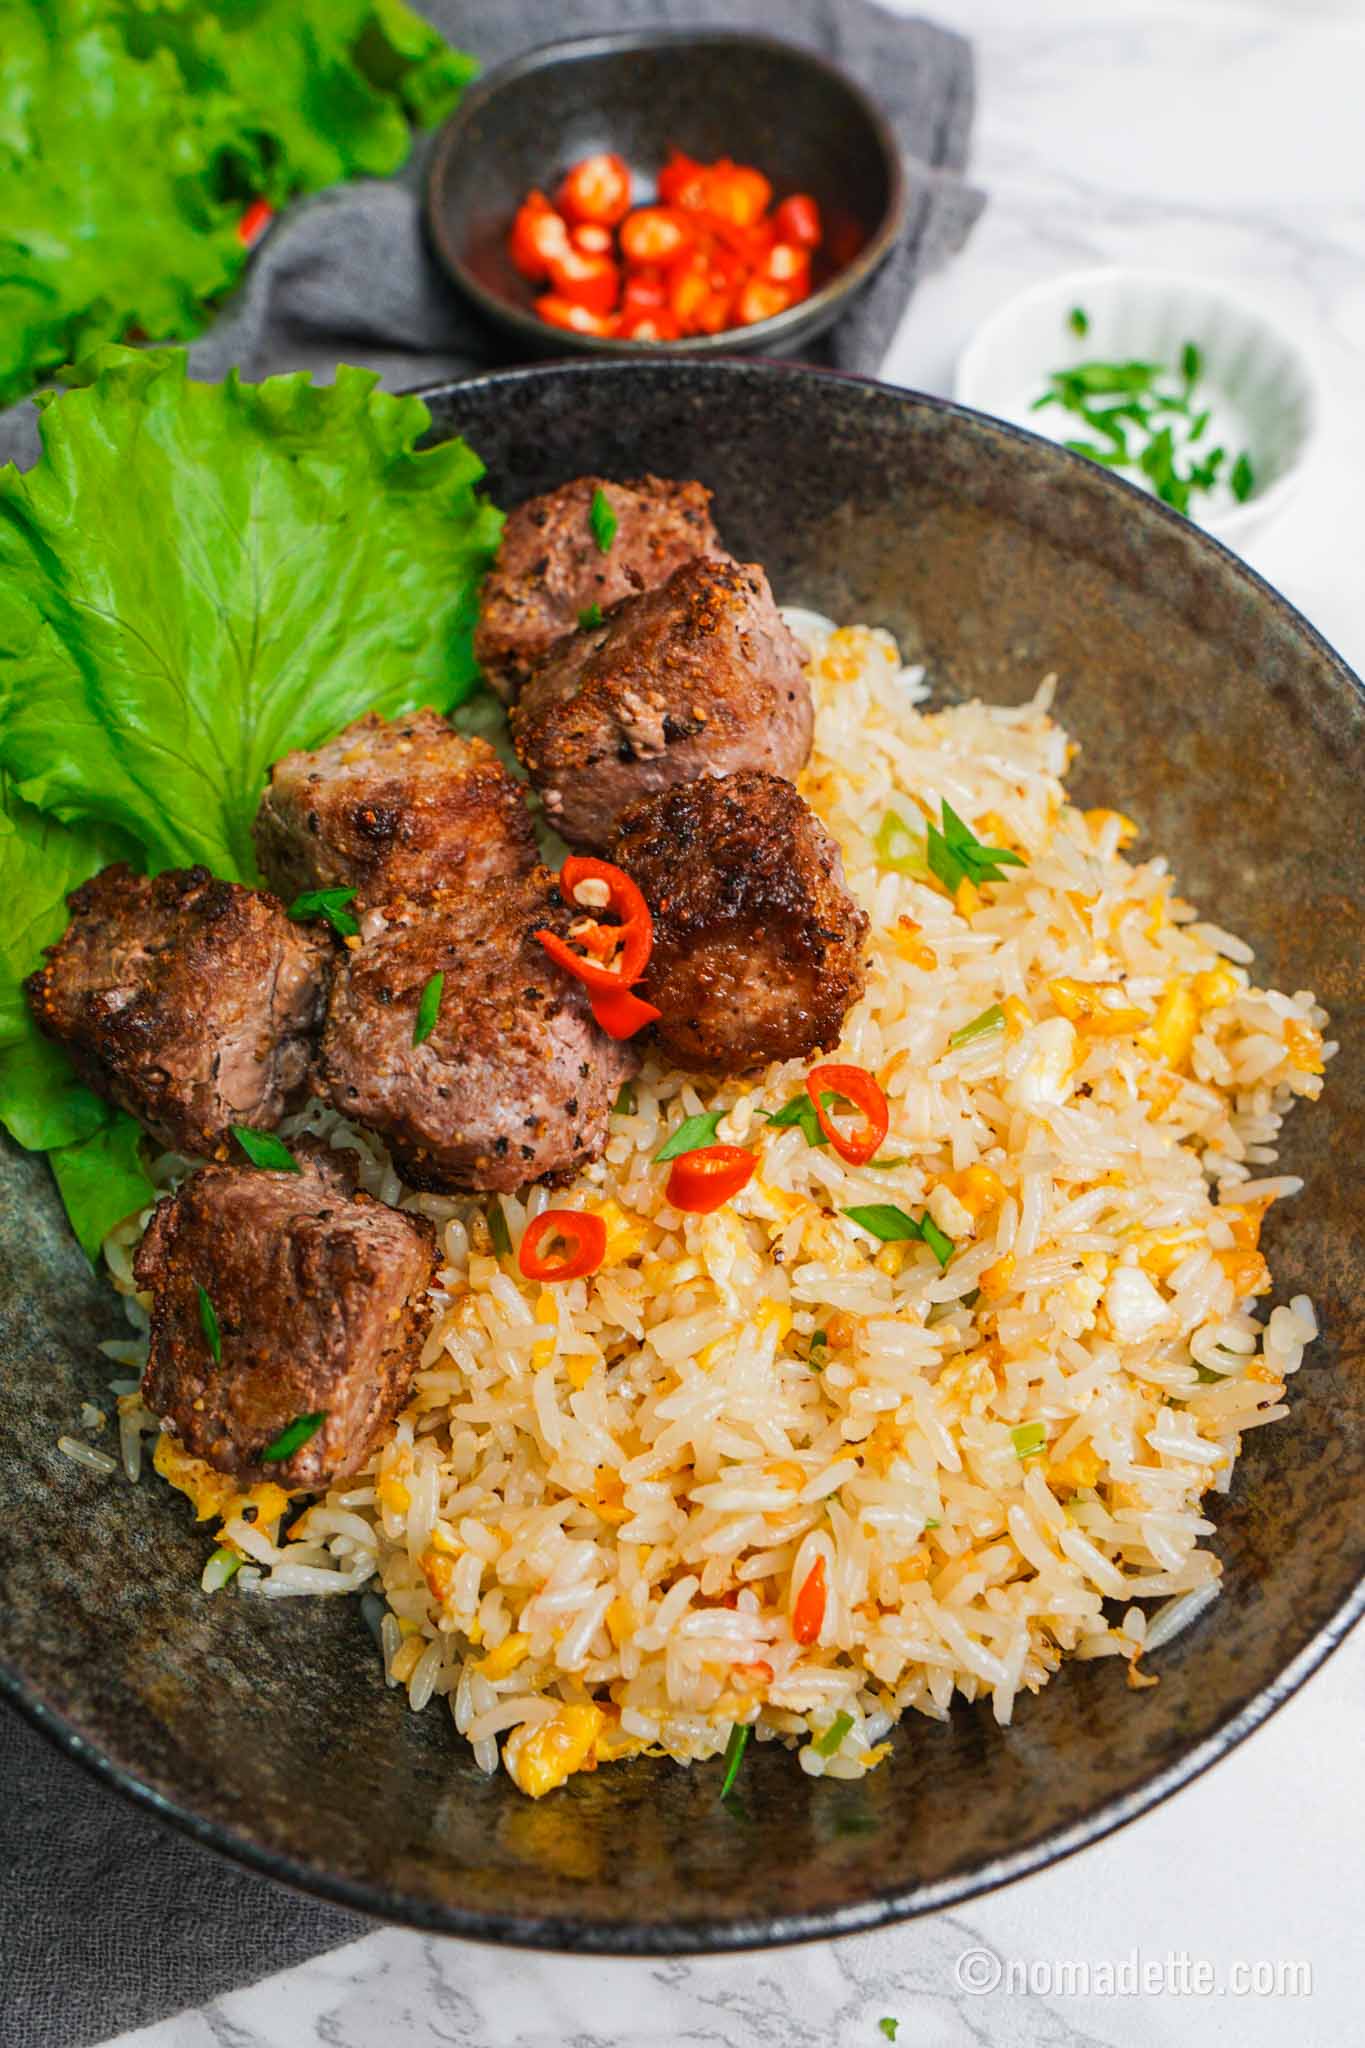
If you have a surplus of dried butterflu blue pea flowers, use them for these:
Easy Butterfly Blue Pea Swirl Bread
4
servings30
minutes40
minutesKeep the screen of your device on
Ingredients
- A: White Dough
225g flour
1 tsp instant yeast
1 tsp salt
190ml warm water*
- B: Blue Pea Dough
225g flour
1 tsp instant yeast
1 tsp salt
2 tbsps butterfly blue pea flowers (add more for a darker blue)
190ml of warm water*
- Other Ingredients:
additional flour, for dusting
Directions
- Steep the butterfly blue pea flowers in very warm water for about 5-10 minutes, or while you prepare the White Dough in Step 2.
- White Dough: Combine the ingredients for Part A and and stir to combine. Use a spatula or a spoon to mix the dough. You should get a shaggy, sticky wet dough. You might need to add more flour, or water to get the wet dough.
- Blue Dough: Strain the blue pea mixture to remove the flowers so you end up with blue water. Repeat step 2 with the blue water. Do the same for Part B.
- In a bigger bowl, add the white dough and the blue dough. With a spatula, gently swirl and push the two doughs together so it becomes one big dough. Use a spatula to push the two doughs together to become one big dough. As you’re sweeping the two doughs to combine, some light swirling will happen. Option to swirl a chopstick through for more swirling. Cover this bowl and allow to rise for about 2 hours.
- Preheat oven to 230 deg C for 30 minutes.
- After 2 hours, the dough should have risen to twice its original size. Scrape the dough out onto a lightly floured surface. I just do this straight on the baking paper I’m going to use for the oven.
- With a scraper, or spatula, form a round shape with the dough. With a folding motion, scrape the dough inwards. There is no need to be meticulous here, we are just forming a rough round shape.
- Place a baking pan underneath the rack to bake the bread on. Boil water on the kettle.
This is a quick process: Once the kettle boils, place the baking paper with the proofed bread dough on the rack. Immediately pour the hot boiling water on the baking pan underneath this rack. Immediately close the oven door, to create a steaming effect. Bake for 40 minutes. - Once baked, allow to cool for at least 10 minutes before slicing!
Notes
- *The water should be very warm, you should be able to stick your finger in and it will not burn, but it will not be comfortable.
Did you make this recipe?
Tag @nomadetteats on Instagram


