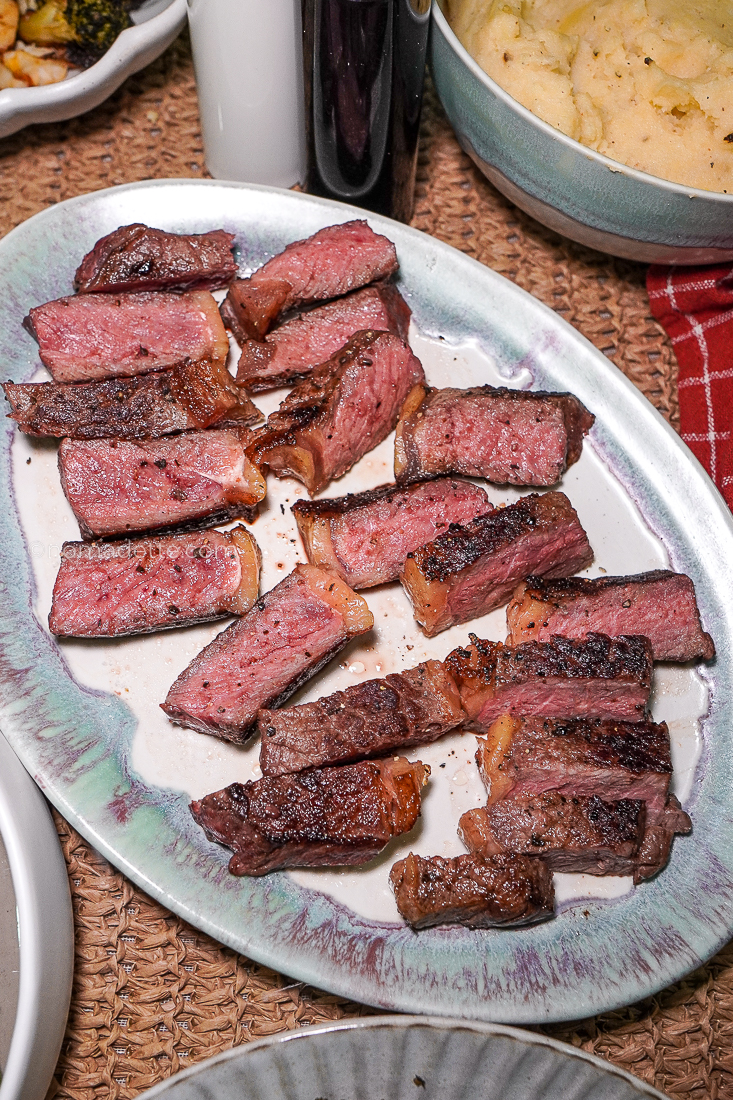

I’ve found the best way to cook chicken thighs! Learn how to make cold seared chicken thighs with perfectly crispy skin and juicy meat.
Introduction
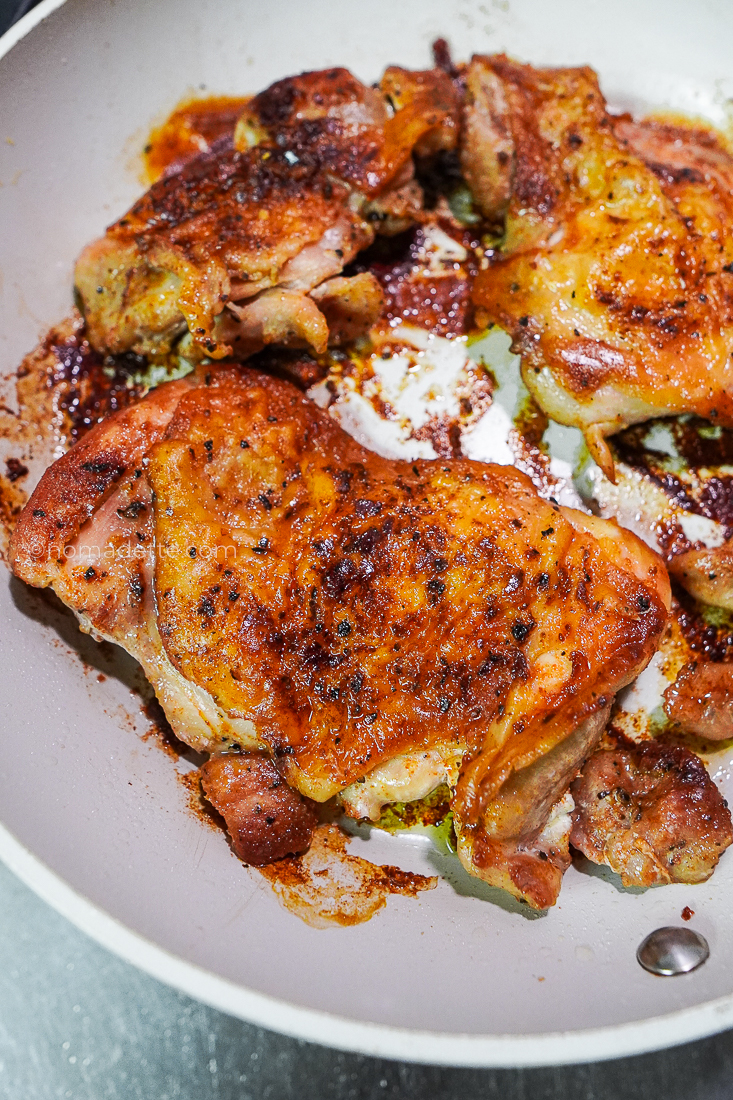
If you love crispy chicken skin but don’t want to deal with bone-in chicken, this cold seared chicken thigh recipe is for you.
I thought the air fryer was the best way to cook chicken thighs effortlessly… until I tried cold searing. I tried this method after the success of my experimenting with cold searing steak, by the way.
Starting the chicken in a cold pan sounded completely backwards, but after testing it for myself, it’s one of the best and easiest ways to get crispy skin and juicy meat, with no added oil!
What is Cold Searing?
Cold searing is a cooking technique where meat is placed in a cold pan before the heat is turned on.
What is a cold pan? No, I don’t mean putting your pan in the fridge first! A “cold pan” simply refers to a pan that’s at room temperature and hasn’t been preheated. Instead of heating the pan first, you place the chicken in the pan while it’s still cold, then turn on the heat.
As the pan gradually heats, the fat slowly renders out, allowing the skin to crisp while preventing scorching.
While cold searing is often associated with duck breast or bone-in chicken thighs, it also works beautifully with boneless, skin-on thighs. Since boneless thighs cook more quickly, they’re perfect for an easy weeknight dinner.
Why You’ll Love This Method
Key Ingredients
- Boneless or bone-in, skin-on chicken thighs: This method works best with thighs with the skin still attached. The skin is what makes cold searing so effective.
- Salt
- Pepper
- Optional spices: if I have it within easy reach, I’d also sprinkle on garlic powder and paprika. Dry, powdered spices that don’t burn easily would be best.
How to Cold Sear Chicken Thighs
1. Pat the chicken dry
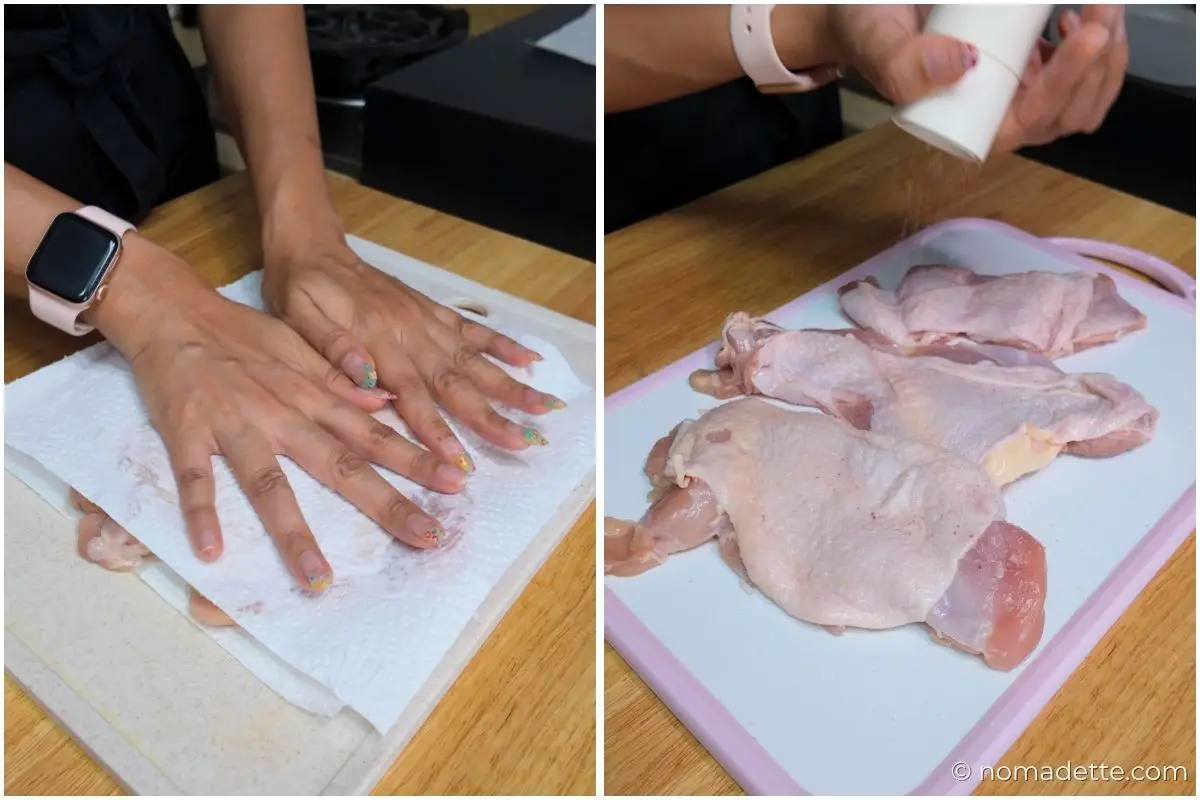
- Use paper towels to thoroughly dry the chicken thighs, especially the skin. Season both sides generously with salt and pepper.
NOTE: if you have time, let this sit for an extra 15 minutes or so, to draw out even more moisture. Pat with paper towels again right before cooking.
2. Start in a cold pan
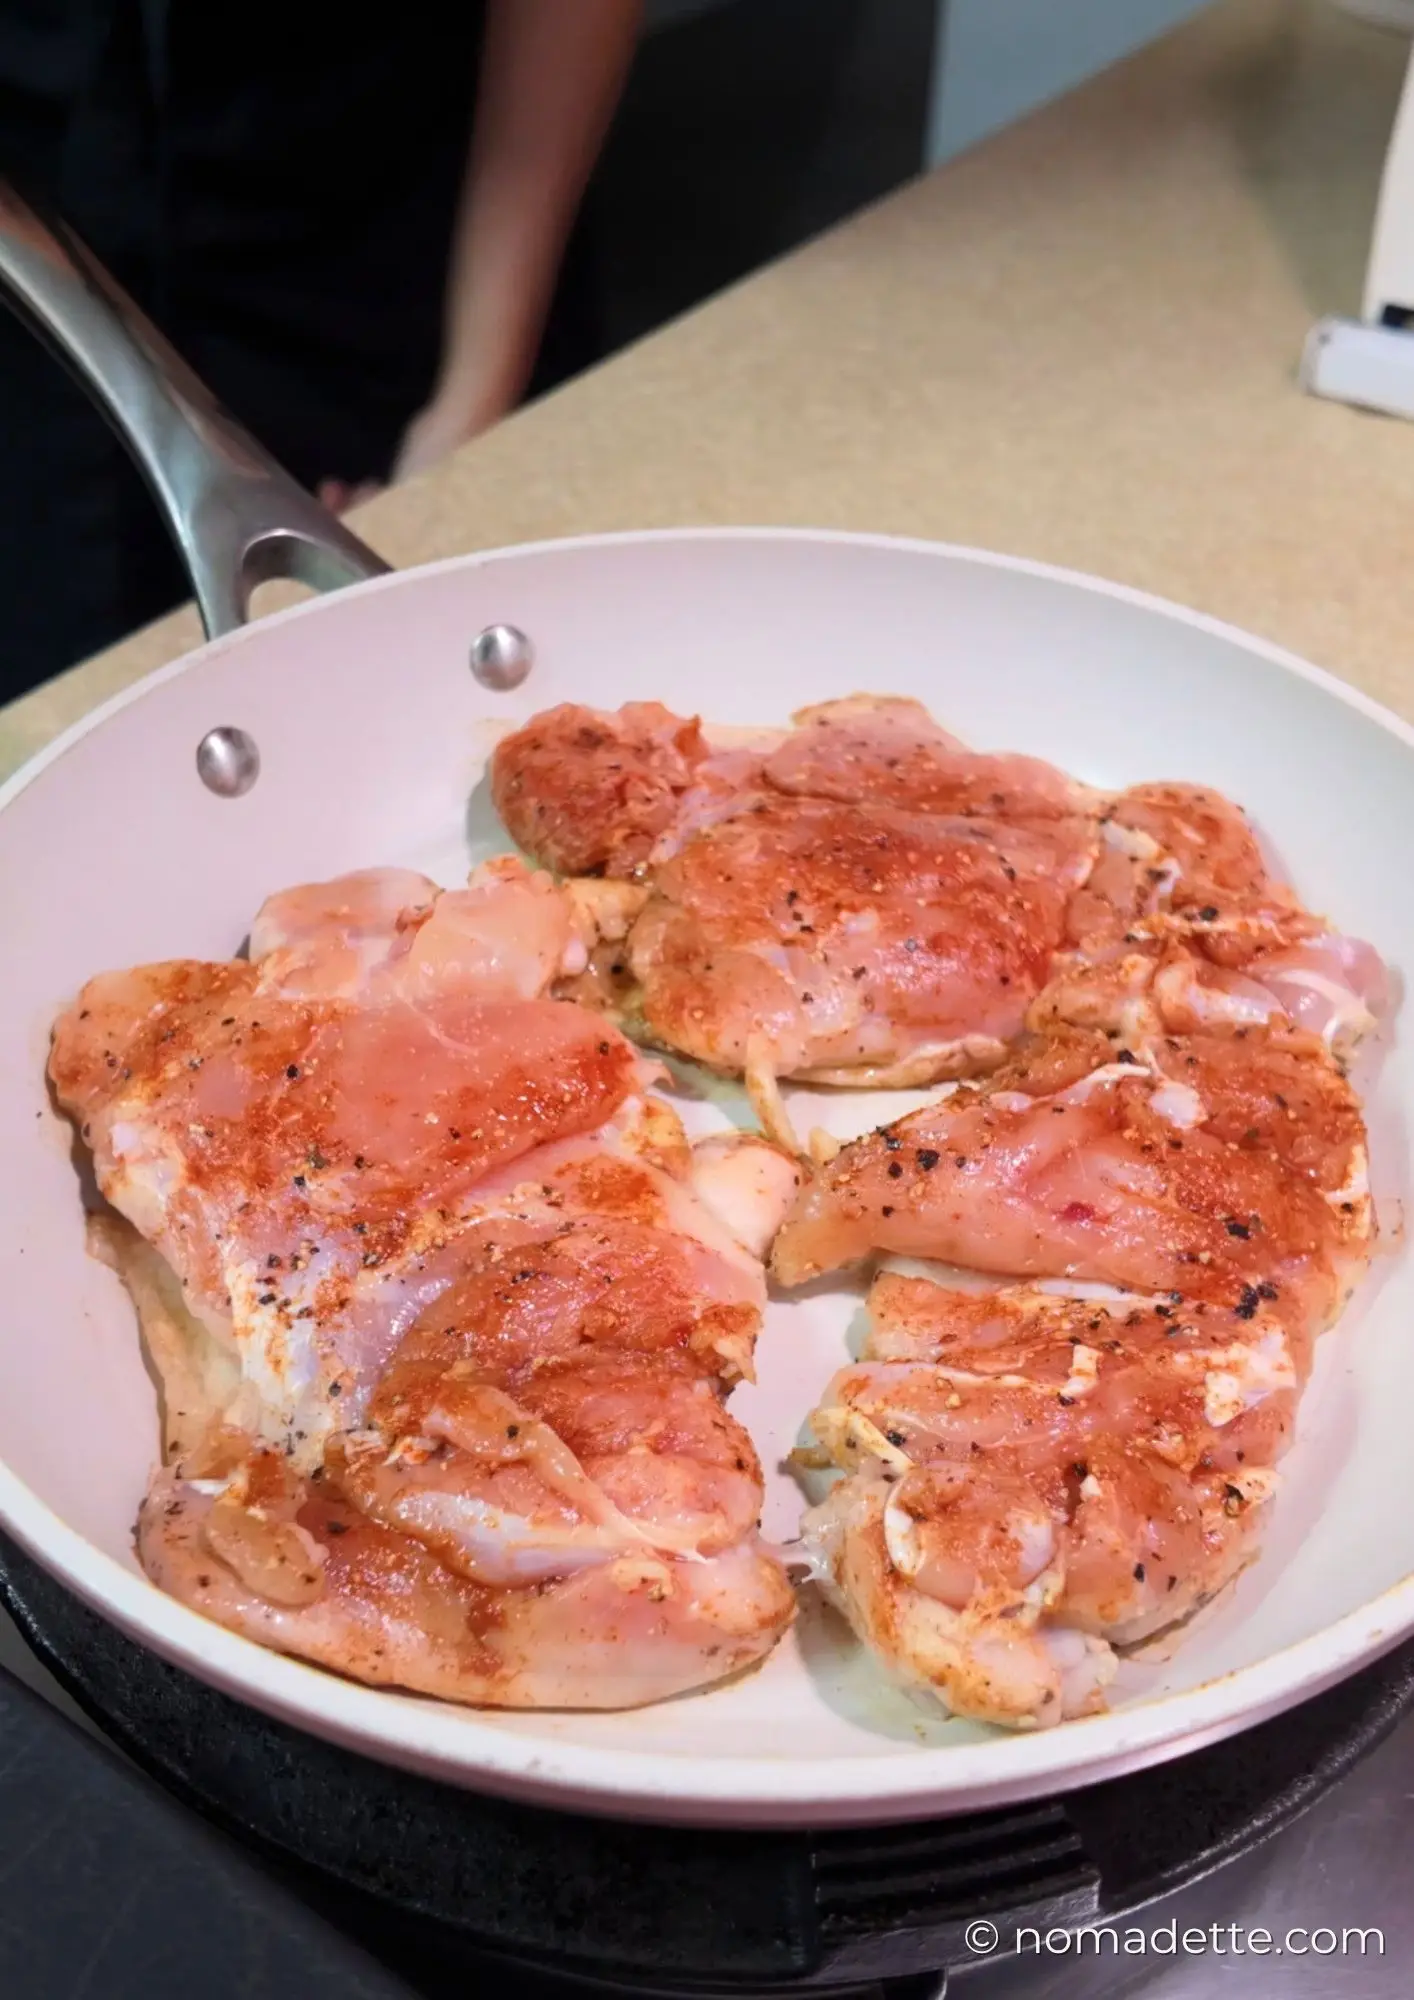
- Place the chicken thighs skin-side down in a cold, dry skiller, making sure they sit in a single layer without overlapping.
- NO NEED TO ADD OIL! The chicken will render plenty of its own fat.
- Turn the heat to medium.
3. Start on low heat
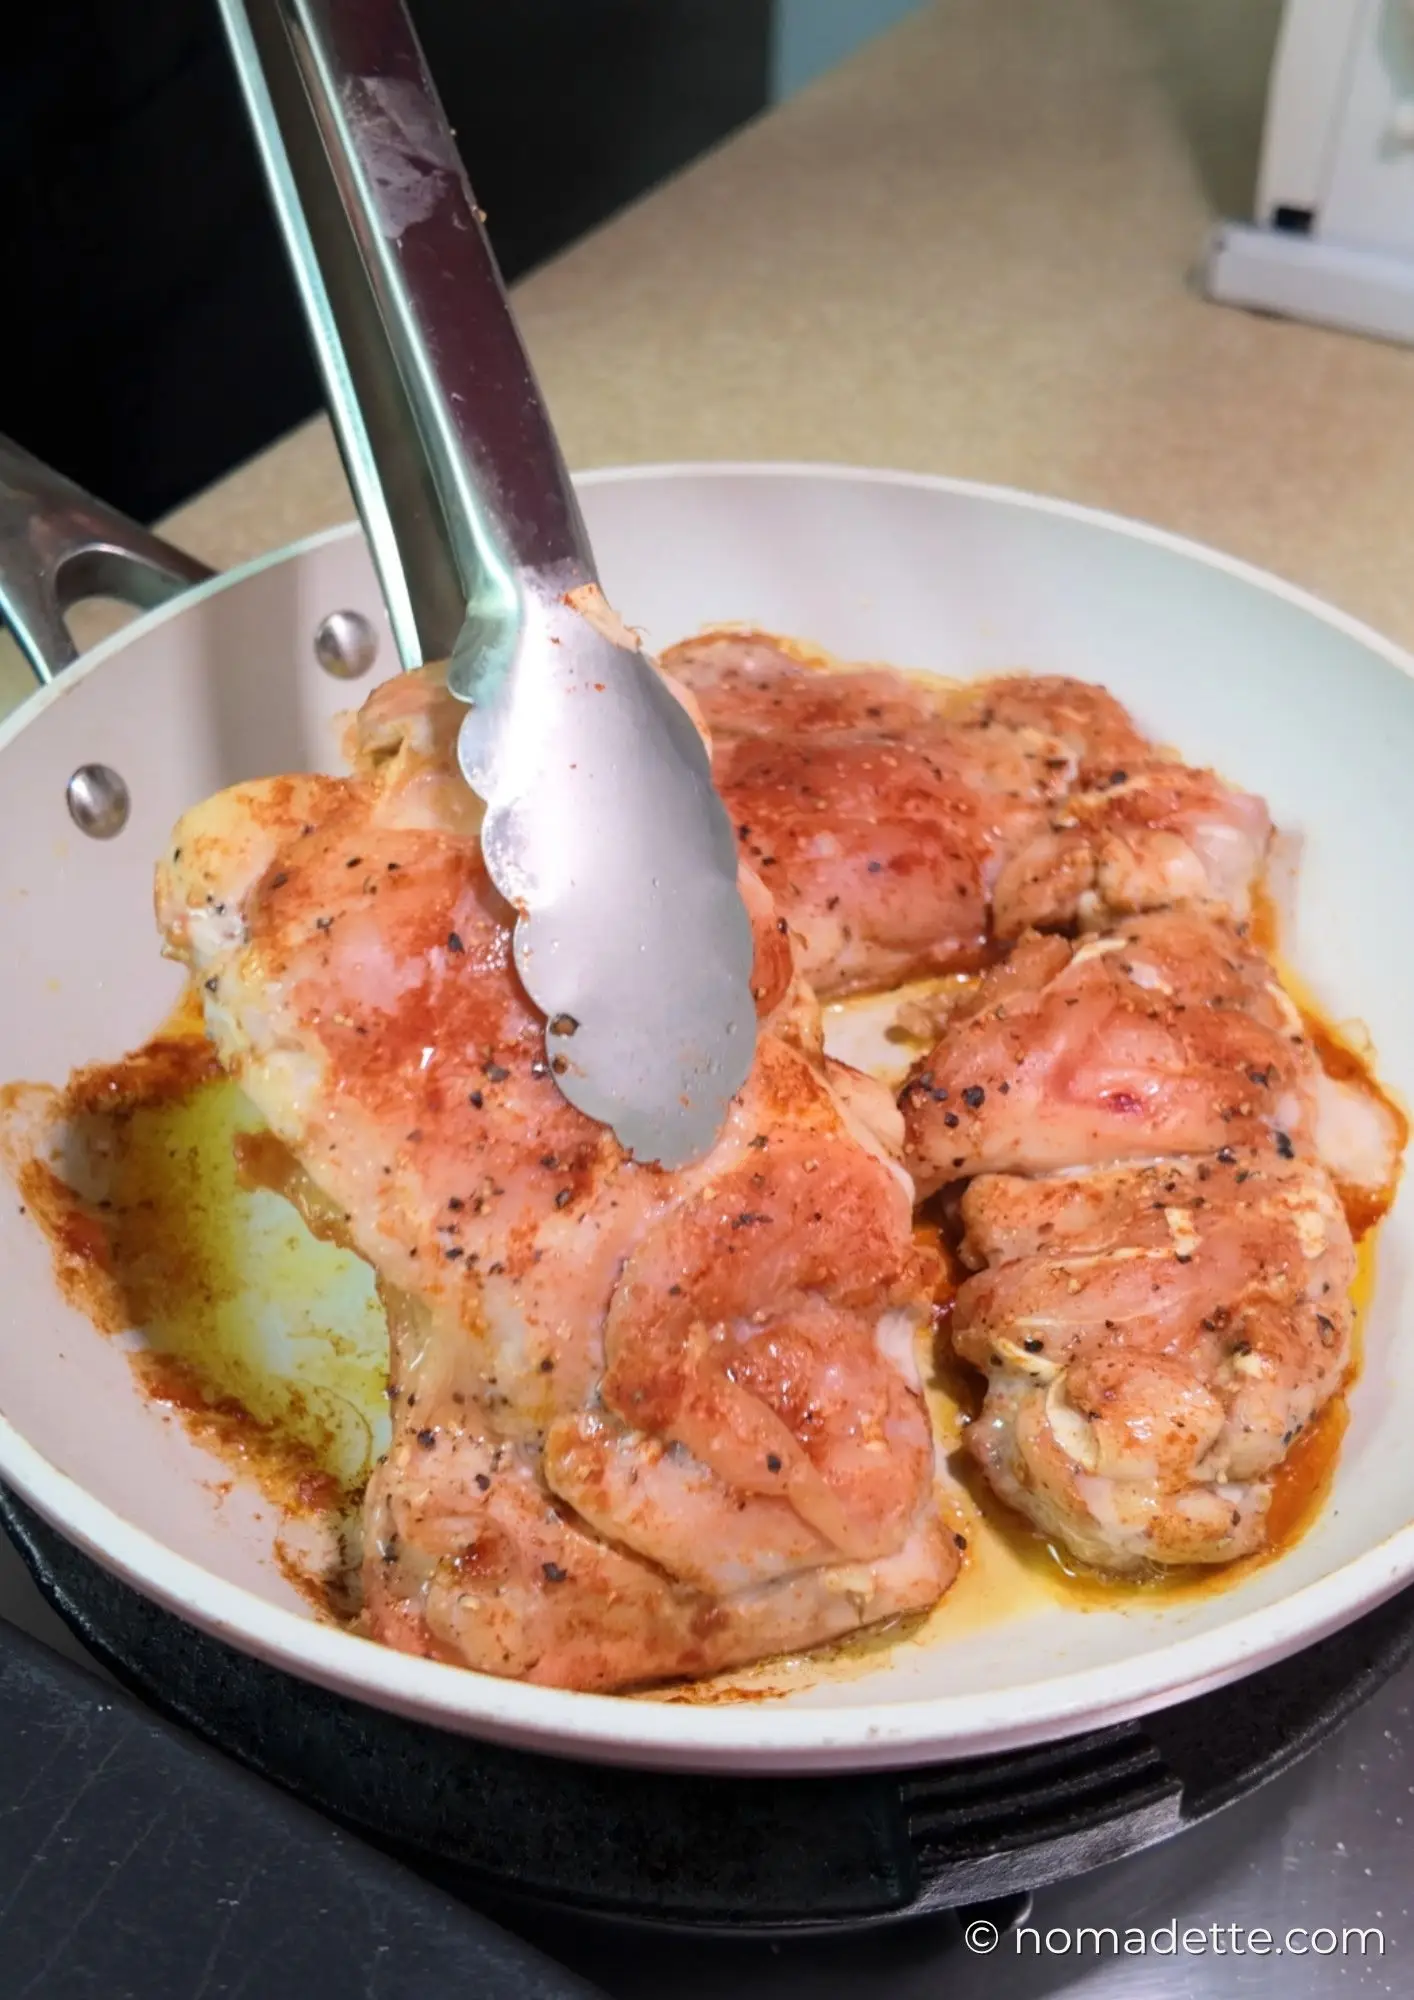
- Let the chicken and pan gradually heat up together. Leave it alone! There’s no need to fuss over it, we’re giving the fat under the skin time to render without burning the skin.
4. Cook the skin side
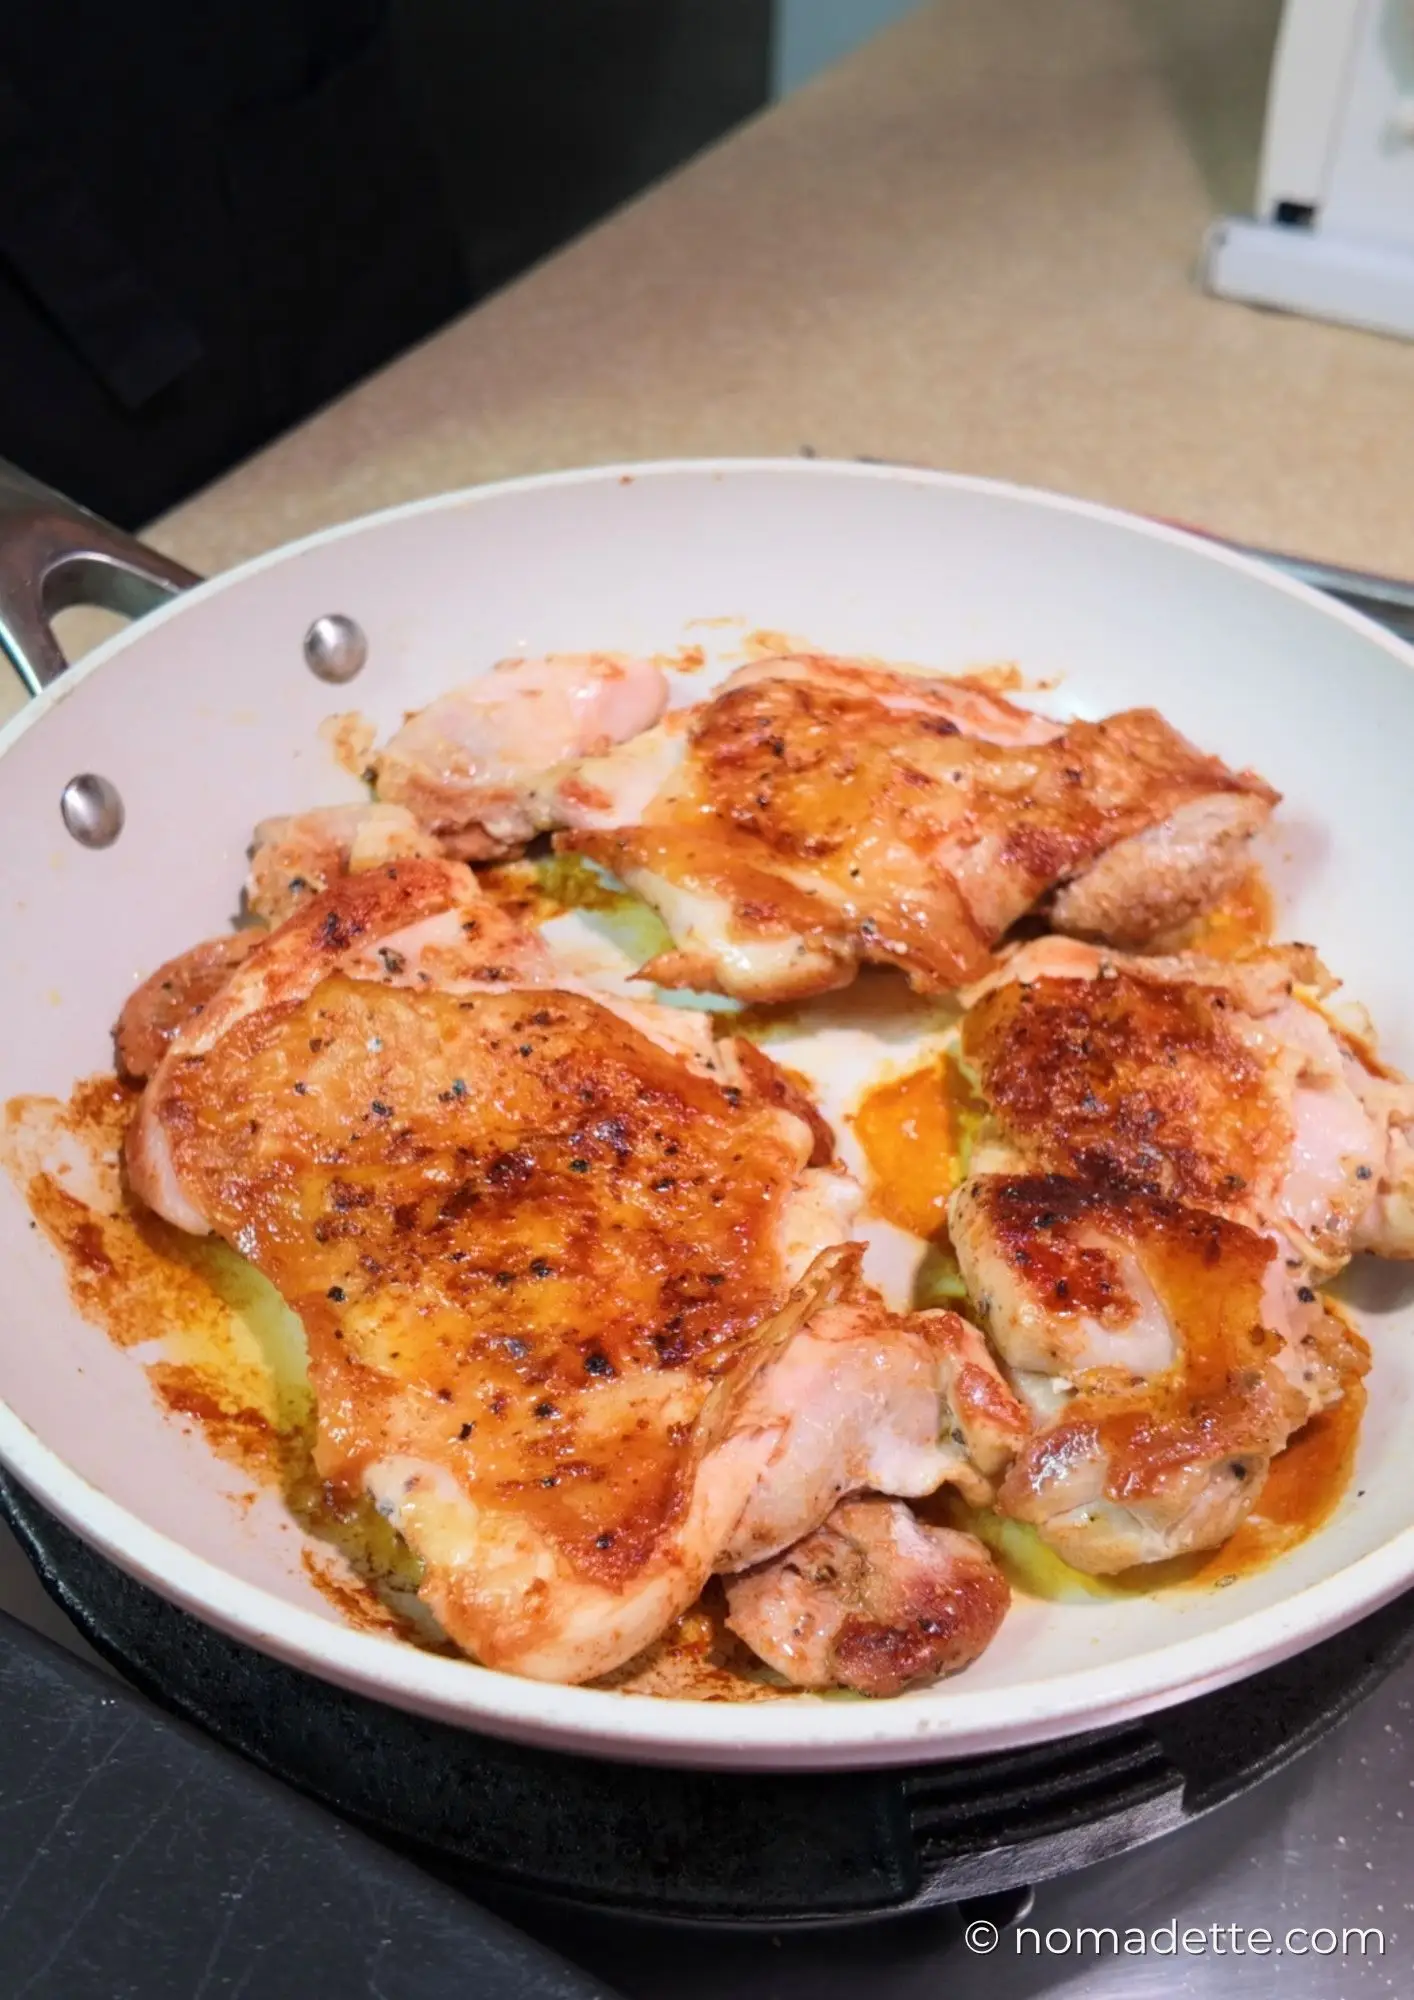
- Cook for approximately 10–15 minutes, depending on the size and thickness of your chicken thighs. You’ll see the fat slowly render into the pan and the skin gradually turn golden brown.
- You know it’s ready when it releases easily from the pan. With tongs, you can gently try to lift the chicken. If it still sticks, let it cook longer.
5. Flip and finish cooking
- Once the skin is crisp, flip the chicken thighs and cook for another 3–5 minutes.
- If you want to be even more precise, use a meat thermometer to make sure the thickest part of the chicken reaches 74°C/165°F..
Note: Cooking times will vary depending on the size and thickness of your chicken thighs and the type of pan you use. The times above are a guide, so use the colour of the skin and an instant-read thermometer to know when your chicken is ready.
6. Rest before serving
- Transfer the chicken to a plate and let it rest for 5 minutes before serving.
- Be patient! Resting will give juices a chance to redistribute… which means juicy chicken while the skin stays crisp.
BONUS
While the chicken rests, make sauce with all the leftover, remaining fat and juices in the pan!
Tips for Extra Crispy Chicken Skin
Getting crispy chicken skin is all about removing moisture and giving the fat enough time to render. Here are a few things that make a big difference:
- Pat the skin completely dry: Before seasoning, use paper towels to thoroughly pat the chicken skin dry. The lesser moisture we have, the crispier our skin! The drier the skin, the better it will brown and crisp.
- Let it sit on paper towel: After salting, let the chicken sit skin-side down on a paper towel for another 15 minutes or so to absorb even more moisture.
- Dry it overnight: After salting the chicken, place it skin-side up in the fridge, uncovered, and leave it overnight. This gives the skin even more time to dry out and results in extra crispy skin.
- Start on low heat: Resist the temptation to crank up the heat. Starting on low to low-medium heat gives the chicken fat time to slowly render without burning the skin. Once the fat has rendered and the skin is beginning to turn golden, you can increase the heat slightly to help it crisp and brown.
- Don’t move the chicken around: Once the chicken is skin-side down, leave it alone! If you keep touching or moving it around, the skin won’t be able to stay in contact with the pan long enough to develop a proper crust.
- Don’t flip until the chicken releases easily: This is one of the easiest cues to look for. When the skin is properly browned, it will naturally and easily release from the pan. If the chicken feels stuck when you try to lift it, give it a little more time. You’re looking for deeply golden, crisp skin before flipping.
- Press the chicken down for extra crispy skin: This isn’t a tip I usually bother with, but if you want really crispy, evenly browned skin, press the chicken down with a heavy pan or grill press while it cooks. This helps keep the skin in direct contact with the cooking surface for an even crust.
- Rest the chicken skin-side up: Once cooked, transfer the chicken to a plate and let it rest skin-side up. Don’t cover it, as the trapped steam can turn that beautifully crisp skin soft.
Cold Seared Chicken Thighs vs. Air Fryer Chicken Thighs
Now… the ultimate question: which is better, cold seared chicken or air fried chicken?
Air frying used to be my default method. Just season or marinate the chicken, pop it into the air fryer, and let it do its thing. My only gripe? The chicken almost always cooks through before the skin gets properly crisp. If I want the skin to brown and crisp up nicely, I usually have to cook it a little longer, which can sometimes leave me with drier chicken.
A drizzle or spray of oil is also needed to help the skin brown and crisp more quickly.
That said, the biggest advantage of the air fryer is convenience. It’s truly hands-off cooking, and cleanup is about as easy as it gets.
With cold searing, though, I get exactly the chicken thigh I want: crispy skin and juicy, tender chicken. Sure, it’s not completely hands-off, but it doesn’t require constant hovering either. In fact, you’ll get the best results if you leave the chicken alone. And the cue couldn’t be easier: when the chicken easily lifts from the pan and the skin is deeply golden and crisp, it’s ready to flip!
Another thing I love is that I don’t need to use any oil at all. As the chicken slowly cooks, it renders enough fat to crisp up its own skin beautifully.
I will not sugarcoat it though: there is a little oil splatter, though FAR LESS than if you were to pan fry the usual way with oil.
So if easy cleanup is your top priority, the air fryer still wins. But honestly, if I’m only cooking one or two chicken thighs, there’s barely any oil splatter so the cleanup is minimal.
Which method should you choose?
Choose cold searing if you:
- Love extra crispy, deeply browned skin
- Want juicy, tender chicken every time!
- Don’t mind spending a little time at the stove
- Want to cook without adding oil
Choose the air fryer if you:
- Prefer a completely hands-off cooking method
- Want the easiest cleanup
- Don’t mind sacrificing a little browning and crispness for convenience
- Want to simply set a timer and let the air fryer do the work
As a lazy girl, I feel like I should say the air fryer is still my go-to because it’s so convenient… but lately I’ve been LOVING the cold sear method. It’s incredibly easy, gives me foolproof crispy skin every time, and the chicken stays so much juicier.
Safe to say, I’m officially converted.
FAQs
Can I use boneless, skinless chicken thighs?
No. The whole point of this method is that delectably crisp skin. No skin, no crisp.
But yes, technically you can cold sear the chicken to COOK IT. The skin provides the fat needed for cold searing though, so you’ll need to add oil to the pan, or you might end up with burnt chicken that sticks to your pan.
Can I use bone-in chicken thighs?
Absolutely! The method is exactly the same, but they’ll need a little longer to cook through than the boneless version in this recipe.
Can I use frozen chicken?
Yes, but make sure it’s completely thawed before cooking. Pat the chicken thoroughly dry before seasoning and following the rest of the directions.
Can I freeze the seasoned chicken?
Yes. You’ll need to completely thaw it first. After thawing, be sure to pat the chicken dry again before cooking, even if you’ve dried it before marinating. Freezing creates condensation, and removing that extra moisture will help the skin crisp up beautifully.
What pan can I use for this method?
I’ve had great results with both a cast iron skillet and a nonstick pan. A stainless steel skillet would in theory work well too; I don’t cook with stainless steel skillet, so I can’t personally confirm this. The key is to start with a cold pan and let the chicken render its fat gradually.
Does this work with chicken breast?
Yes, as long as you’re using skin-on chicken breast. Since chicken breast is much leaner than thighs, you’ll need to keep a closer eye on it to avoid overcooking. It’s perfectly fine to add a little oil to the pan if it needs it. Cook until the internal temperature reaches 74°C/165°F.
MORE RECIPES LIKE THIS
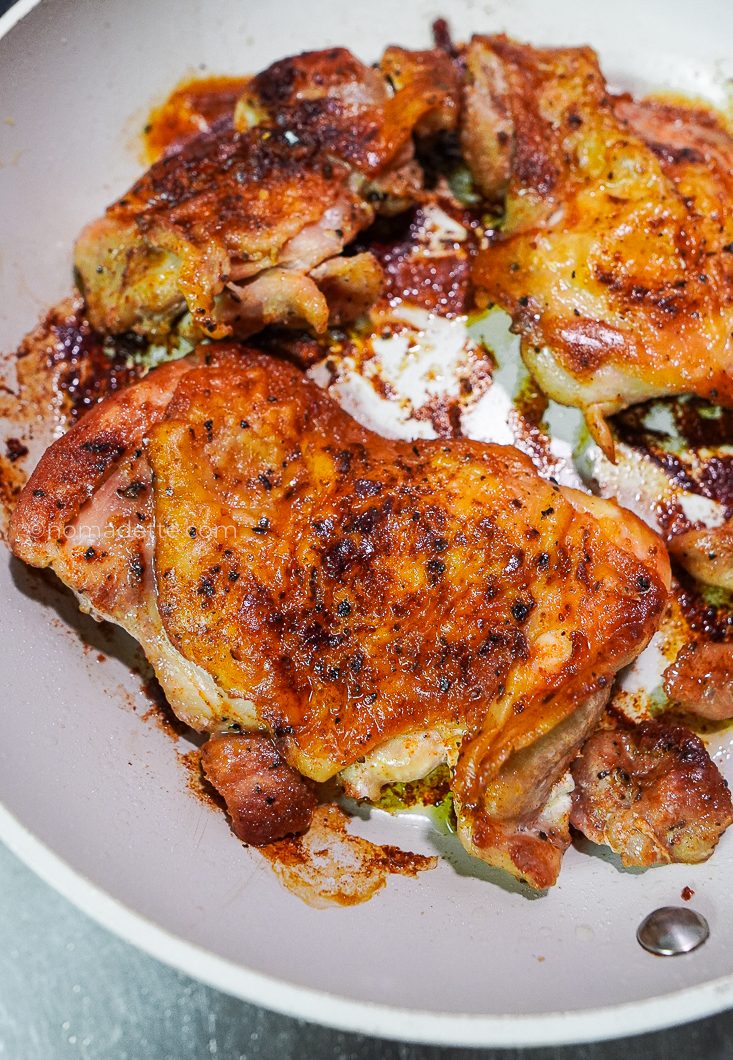
Cold Seared Chicken Thighs
2
servings5
minutes20
minutesI’ve found the best way to cook chicken thighs! Learn how to make cold seared chicken thighs with perfectly crispy skin and juicy meat.
Keep the screen of your device on
Ingredients
2 boneless, skin-on chicken thighs
1/4 tsp (5 g) salt
1/2 tsp ground black pepper
1 tsp paprika (optional)
1 tsp garlic powder (optional)
Directions
- Pat the chicken dry
- Use paper towels to thoroughly dry the chicken thighs, especially the skin.
- Season both sides generously with salt and pepper. If you have time, let this sit for an extra 15 minutes or so, to draw out even more moisture.
- Pat the skin side with paper towels again right before cooking.
- Start the Cold Sear
- Place the chicken thighs skin-side down in a cold, dry skillet, making sure they sit in a single layer without overlapping.
- Turn the heat to medium. Let the chicken and pan gradually heat up together.
- Let it cook undisturbed for approximately 10–15 minutes, depending on the size and thickness of your chicken thighs. You’ll see the fat slowly render into the pan and the skin gradually turn golden brown.
- The chicken is ready to be flipped when it releases easily from the pan. With tongs, you can gently try to lift the chicken. If it still sticks, let it cook longer.
- Flip and finish cooking
- Once the skin is crisp, flip the chicken thighs and cook for another 3–5 minutes.
To be more certain, use a meat thermometer at the thickest part of the chicken, it should reaches 74°C/165°F. - Rest before serving
- Transfer the chicken to a plate and let it rest, skin side up for 5 minutes before serving. Serve and enjoy!
Did you make this recipe?
Tag @nomadetteats on Instagram