

Quick, forgiving, and delicious! Super easy, no-knead baguette with a crispy crust, soft insides and perfect for lazy home cooks.

I am not a baker. And it’s just not something that I want to be involved in… the science, the precise measurements, the emotional commitment… I can’t do it.
We’re not a bread-eating household. I don’t buy bread regularly, and I’m not making toast every morning. But every once in a while, there’s a curry, a pot of kacang pool, or a shakshuka situation where you need bread. Not for sandwiches. Not for crumbs. Just something to sop everything up.
So when that craving hits, this is what I make!
This baguette is adapted from this no-knead bread recipe, except shaped into baguettes! Another difference with that recipe is that I did not steam bake it. Just pop it in the oven and let it do it’s thing. If you thought that was an easy recipe, this one is even easier.
By the way, with this same bread formula, I’ve experimented and turned it into plenty of shapes with success. On my laziest day, I’ve even given up on shaping it even, and plopped the dough straight onto a baking tray. It was a shapeless blob of good bread. So if you want to have a bit more fun and intentional with shapes, you definitely can!
It’s forgiving, low effort, and refuses to punish you for being imprecise… which is exactly the only way I’ll ever ‘get into’ baking!
If you’ve ever looked at a bread recipe and immediately closed the tab, this one’s for you.
Jump to Recipe
What is this 5-Minute Baguette?
This is a super easy, no-knead baguette made with minimal effort, minimal ingredients, and maximum payoff.
This is not a traditional French baguette. There’s no kneading and no shaping stress. Instead, it’s a rustic, crusty loaf that’s crisp on the outside, soft and airy on the inside.
Ok so TECHNICALLY, if we’re being dramatic and precise, this would be an… 8-hour baguette?
But if we’re being honest? It’s a 5-minute active effort baguette.
Because:
- Active time: ~5 minutes of mixing and shaping
- Passive time: 8–10 hours of you absolutely not thinking about it
- Stress level: zero
- Skill required: none
This is like those “overnight oats” situations. Nobody calls it an 8-hour breakfast. It’s a 2-minute breakfast you made last night.
You can plan it around your day:
- Mix the dough in the morning and bake it at night.
- Or mix it before bed and bake it in the morning.
It fits into your schedule, not the other way around.
Why You’ll Love This Baguette (Especially If You Hate Baking)
Key Ingredients
1. Bread flour
- Higher protein gives you that chewy interior and crisp crust without extra work.
NO BREAD FLOUR?
Use all-purpose flour! All-purpose flour will absolutely work — the baguette just won’t be quite as chewy or hold as much structure as bread flour, but it will still taste amazing and still rise.
2. Instant yeast
- Nothing fancy here. This recipe relies more on time than technique.
3. Salt
- Essential for flavour so the bread doesn’t taste flat or boring.
4. Water
- A higher hydration dough keeps things airy and soft.
Don’t Stress About the Water Temperature
Room-temperature water works perfectly fine! In fact, it’s what I always use because, as I mentioned earlier, this is a lazy baguette recipe… no thermometers, no fussing over water temperature required!
Since this recipe uses instant yeast, there’s actually no need to use warm water. That said, you’re welcome to use warm water (make sure it’s not hot, just comfortably warm to the touch) if you’d like to speed up the rise. Even cold water works too; it will just take a little longer for the dough to proof.
In warmer kitchens (like in hot and humid Singapore), it’s often the better choice as it prevents the dough from proofing too quickly.
That’s it! 4 simple ingredients. No enrichments, no extras, no drama.
Key Steps to Making Lazy Baguette
1. Mix the dry ingredients
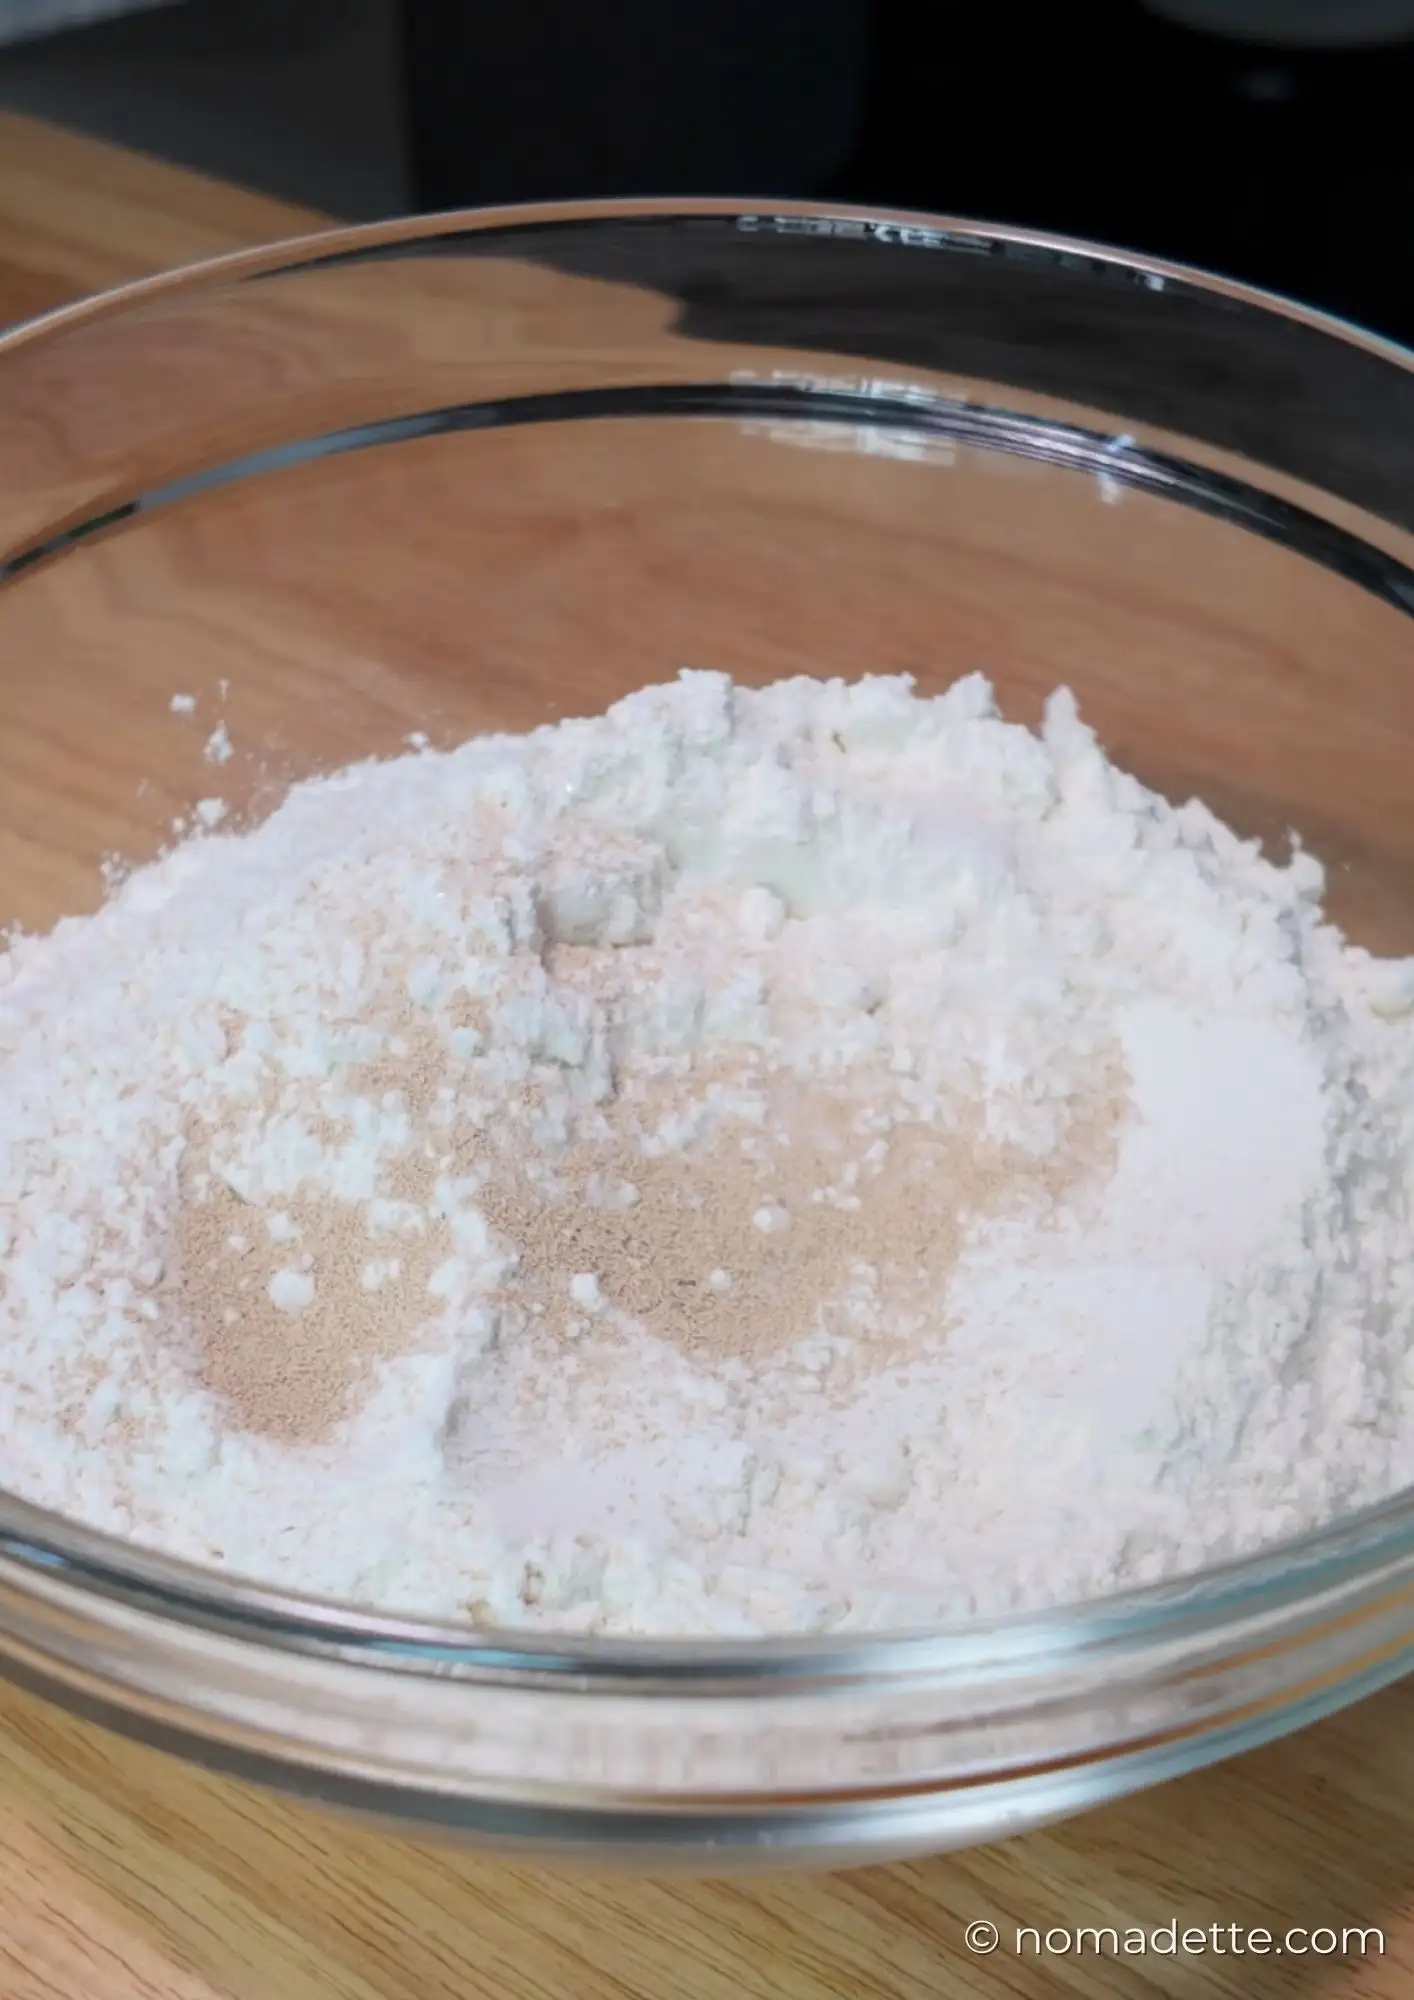
- In a large bowl, combine the bread flour, salt, and instant yeast.
- Give a quick stir to mix the dry ingredients.
2. Add water and form the dough
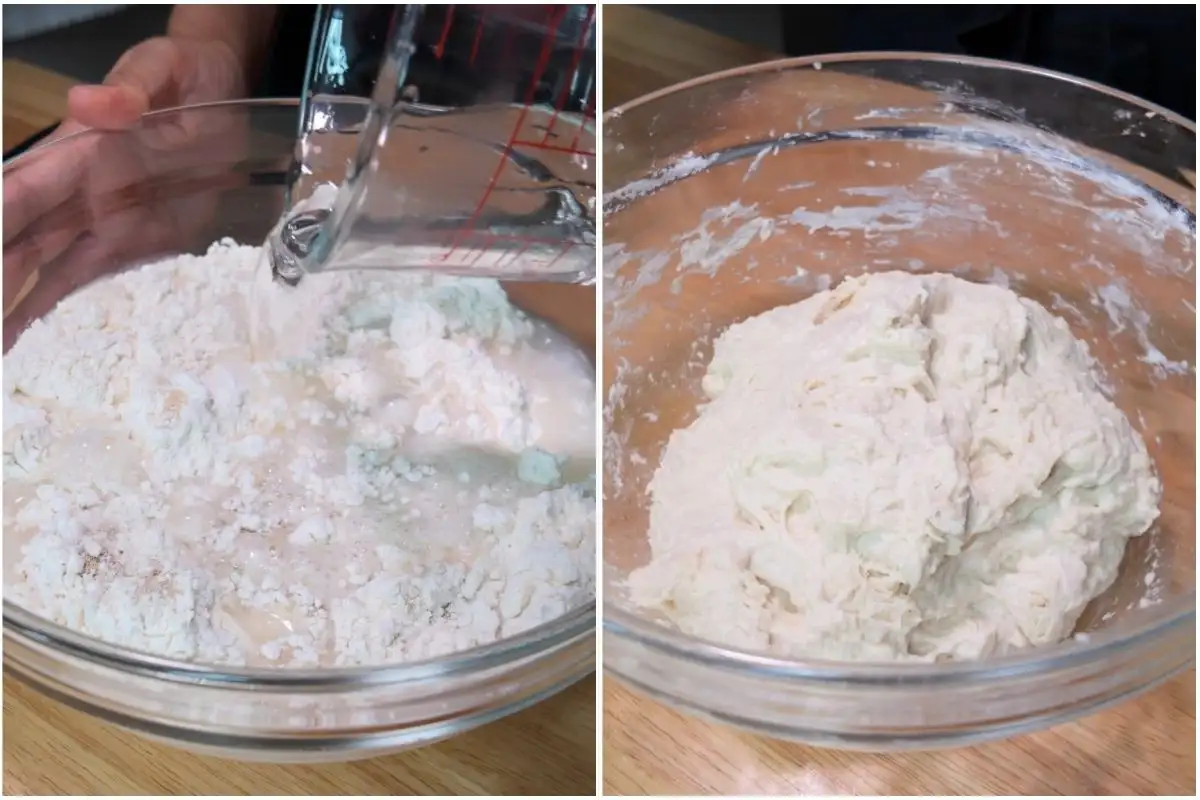
- Pour in the water.
- Mix with a spatula until a soft, slightly sticky dough forms — 1–2 minutes max.
- It should not be floury to the touch, but the dough should not be wet either. Sticky is great, wet is not! If it latches onto your fingers and do not stretch, it is too wet. Sprinkle a little flour at a time and mix until it comes together.
3. Let the dough proof
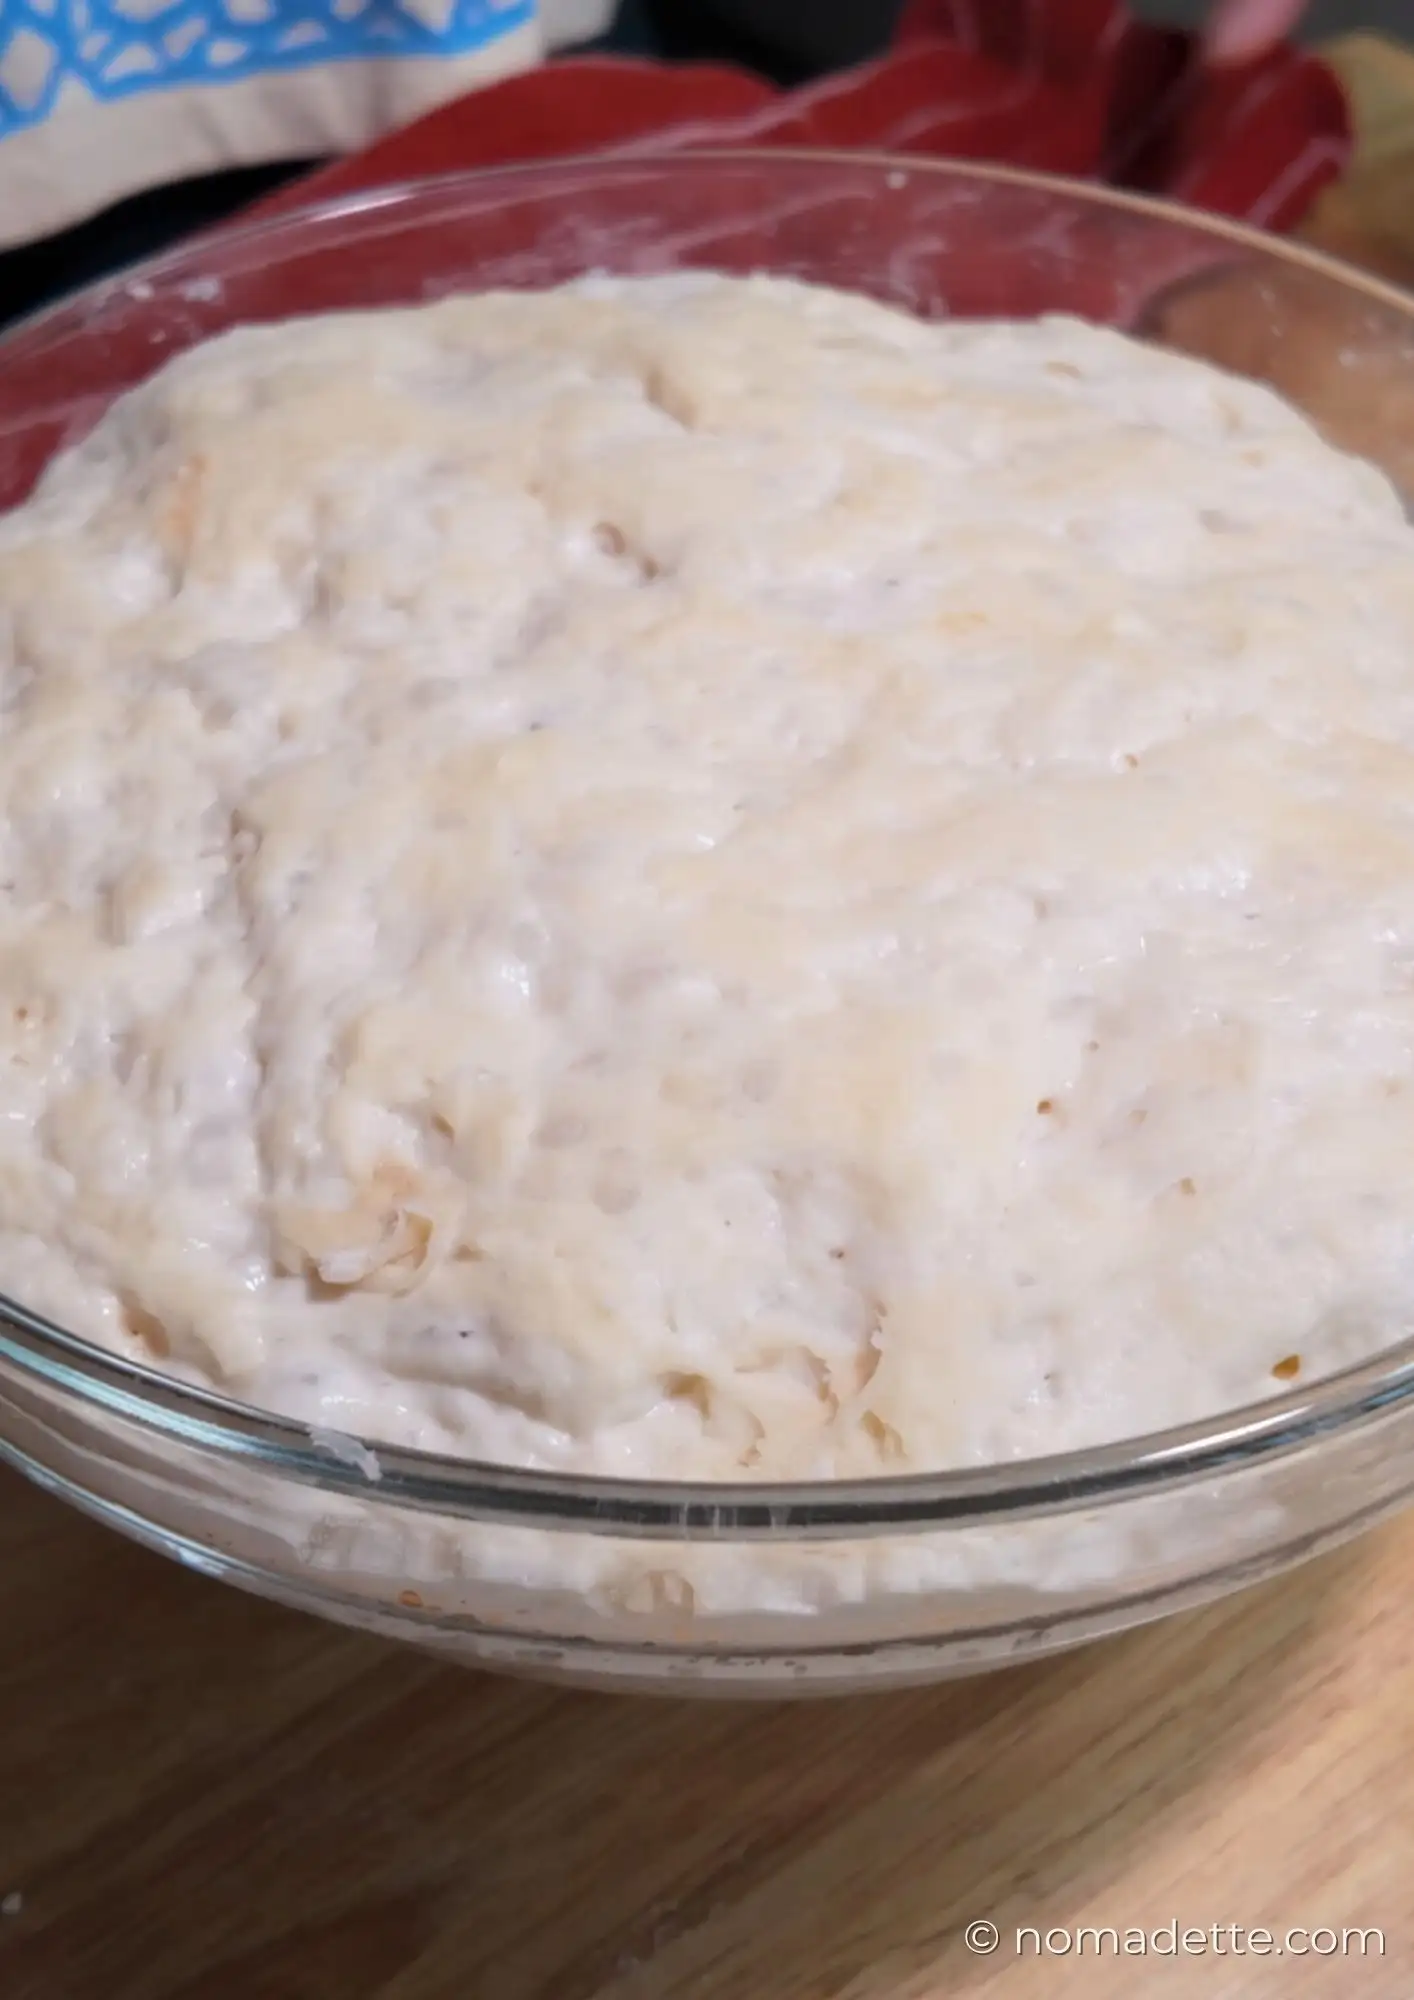
- Cover the bowl and let it rise at room temperature for 8–10 hours, until roughly doubled in size.
- No kneading, no stretching — just walk away and let time do the work.
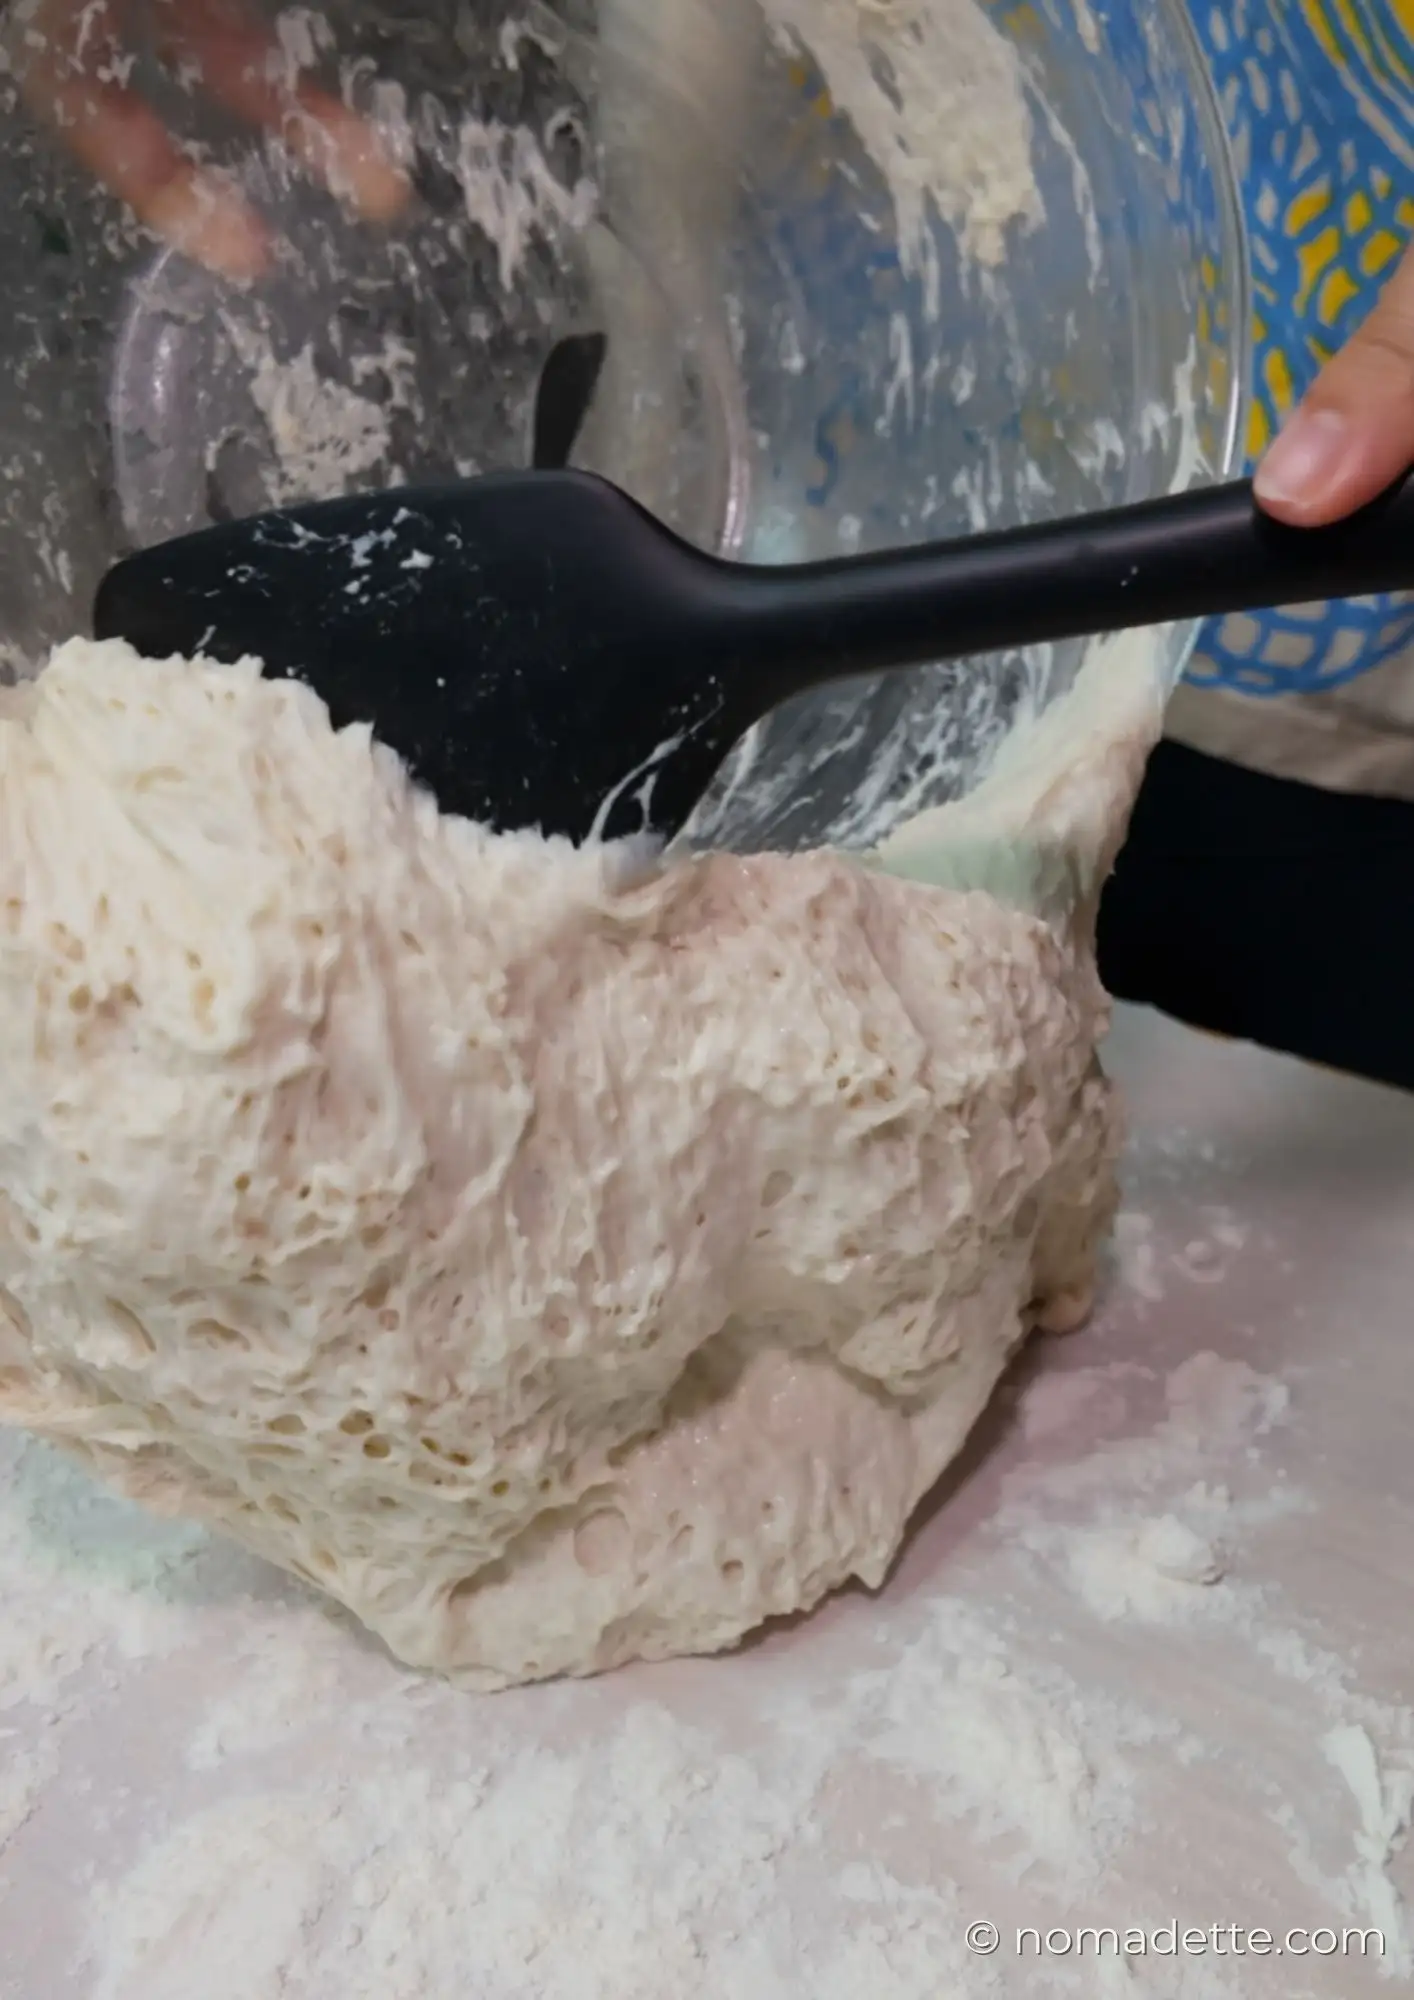
4. Transfer the dough
- When ready to bake, set your oven to 250°C / 485°F (or your oven’s maximum temperature).
- Line a large baking sheet with parchment paper.
- Lightly dust the parchment with flour to prevent sticking.
- Scrape the risen dough straight onto the prepared baking sheet.
- Lightly dust the top with flour.
6. Divide and Shape the baguettes
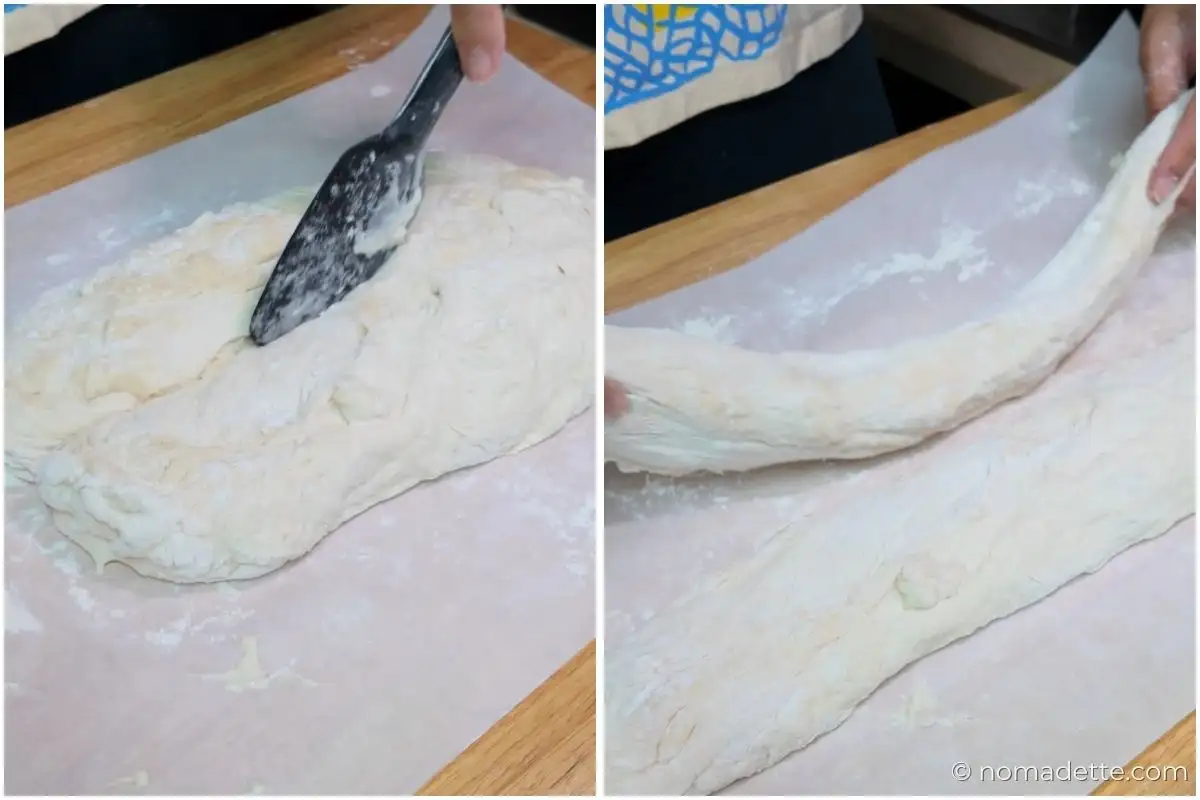
- Using a spatula or dough scraper, cut the dough into 2 pieces.
- Gently stretch each piece into a baguette shape. Rustic and slightly uneven is perfect — no precision needed!
7. Bake
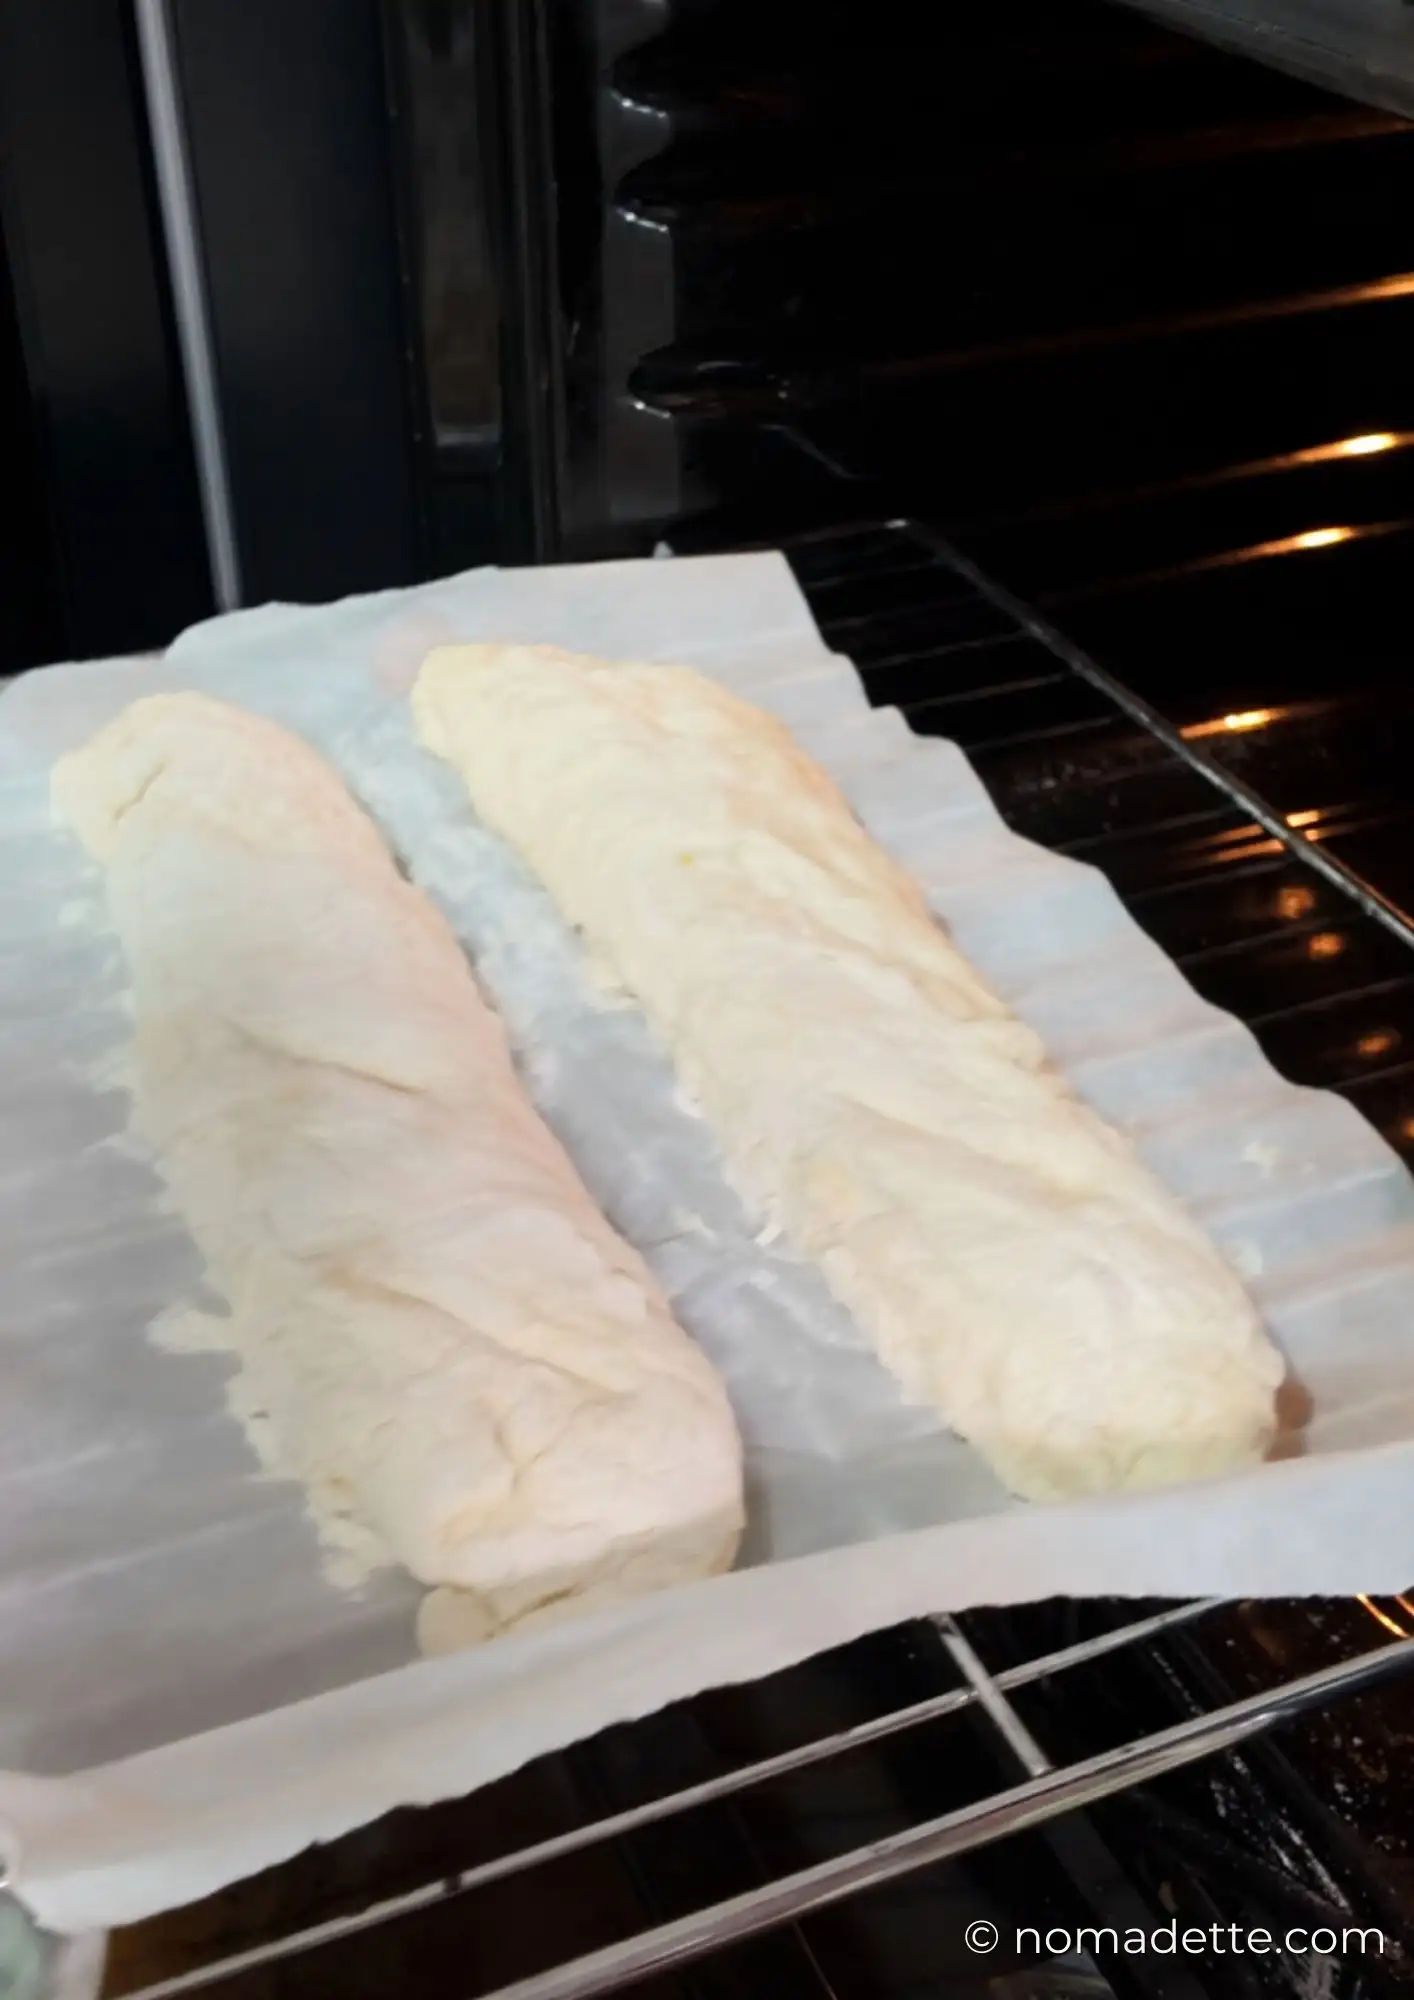
- Place in the preheated oven and bake for 25–30 minutes.
- Bake until the crust is golden and crisp! It should sound hollow when tapped.
- Let it cool slightly before slicing. Serve and enjoy!
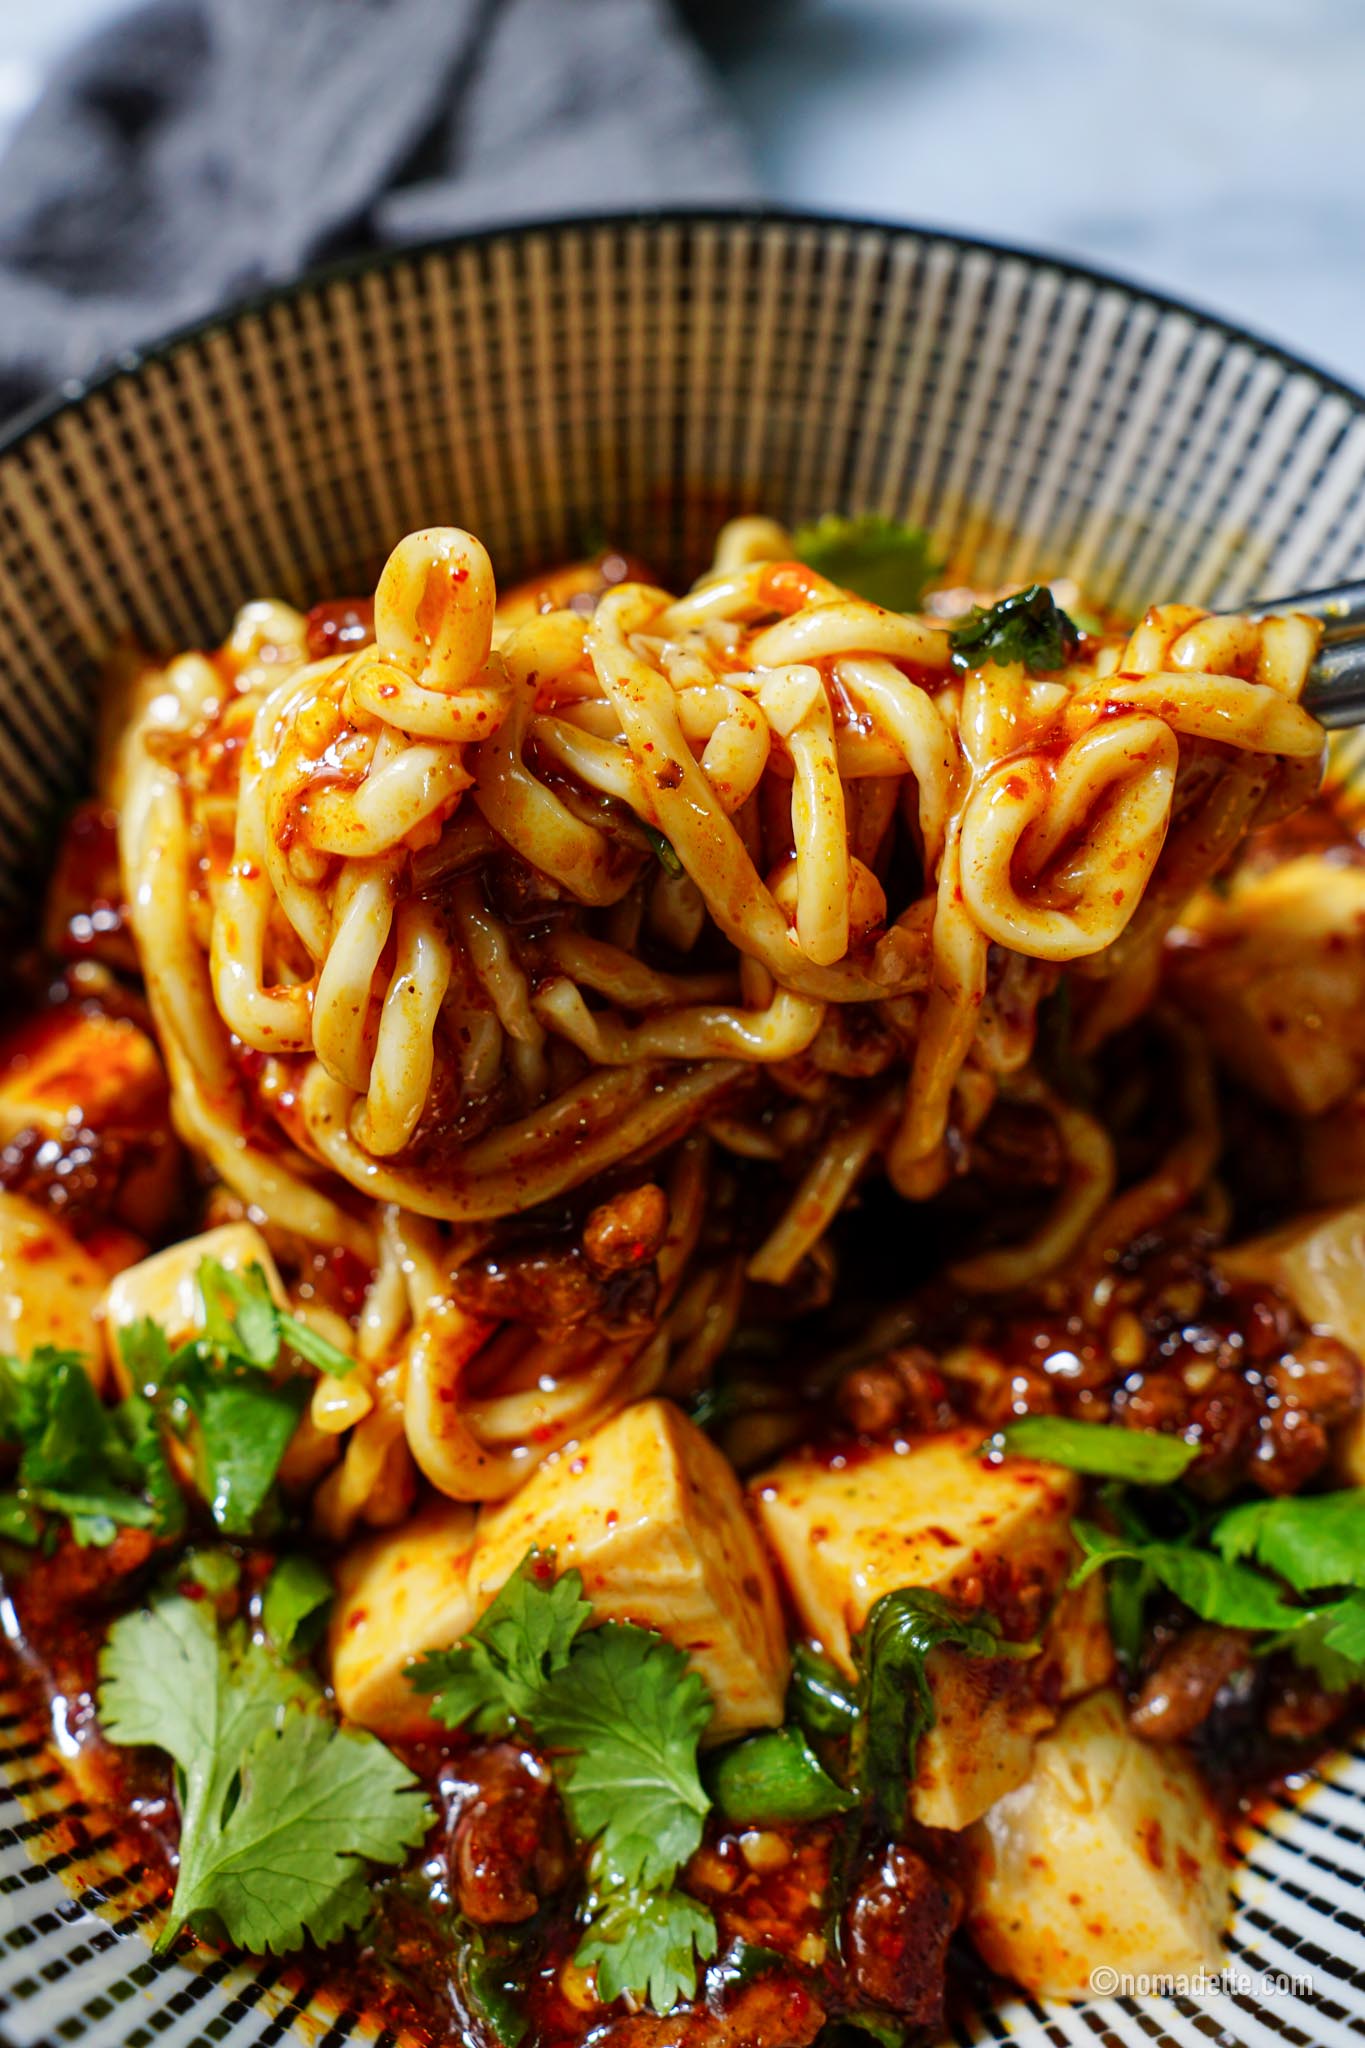
How to Serve It
This bread exists to be dragged through food.
Serve it with:
- Curries (any kind like my Singapore Chicken Curry, especially saucy ones!)
- Sup Tulang
- Soups and stews
- Chili oil or sambal for dipping
- To be honest… anything with a sauce worth saving!
I am not making sandwiches with this. I am cleaning plates.
Tips & Tricks (So You Don’t Panic)
Storing & Reheating
This bread is best eaten fresh, obviously. Crisp crust, soft interior, elite sauce-mopping performance. But you can easily store leftovers:
Storing
- For next day consumption: Leave it in the bread basket or container and store wrapped at room temperature.
- For longer than a day: Store in the fridge to get it to last long, up to a week. When you’re ready to eat, just reheat and dig in!
- Freezing: Want to store bread even longer? Freeze once completely cooled! You can reheat straight from frozen in the oven or air fryer until hot and crisp.
To Reheat
- To reheat (oven): Reheat in a hot oven at 180°C / 350°F for about 10 minutes until warmed through and crisp again. This brings the crust right back to life.
- To reheat (air fryer): Pop into the air fryer at 180°C / 350°F for 3–5 minutes, until warmed through and crisp on the outside. Perfect if you’re reheating a small portion or don’t want to turn on the oven.
- Please don’t microwave it — this bread deserves better.
More Recipes Like This

5-Minute Lazy Baguette
2
servings5
minutes25
minutesBread for people who don’t knead, don’t overthink, and don’t want baking to feel like a hobby.
Keep the screen of your device on
Ingredients
5 cups (about 600g / 21oz) bread flour, with extra on the side
1.5 tsp (about 9–10g) salt
1 tsp instant yeast
2 cups (480ml / 16oz) water, 1–2 tbsp extra if needed
Directions
- Part 1: Make the dough
- In a large bowl, mix the flour, salt, and yeast until combined.
- Add the water and mix with a spatula until a dough forms, 1–2 minutes max.
Dough consistency:
The dough should be soft and slightly sticky, not dry or floury. It should not be too wet and sloppy either.
– If it feels dry, add water bit by bit (about a teaspoon at a time).
– If it latches onto your fingers and do not stretch, it is too wet. Sprinkle flour, bit by bit (about a teaspoon at a time) and mix to combine. - Cover and let rise at room temperature for 8–10 hours, until doubled in size.
- Part 2: Shape and bake
- Preheat the oven to 250°C / 485°F.
- Line a baking sheet with parchment paper and lightly dust with flour.
- Scrape the dough onto the baking sheet and sprinkle a little flour on top so it doesn’t stick.
- Using a spatula or dough scraper, cut the dough into 2 pieces (or 4 pieces if you want smaller baguettes).
- Gently stretch each piece into a baguette shape. No need to be precise! Rustic is perfect.
- Bake for 25–30 minutes, until golden, crisp, and sounding hollow when tapped. Serve and enjoy!
Notes
- Water Temperature: Instant yeast works perfectly with room-temperature water, so no need to warm it. Warm water will speed up the rise, while cold water will slow it down slightly. In warm climates, room-temperature water helps keep the dough from proofing too quickly.
- Flour Options: Bread flour can be easily replaced with all-purpose flour. The baguette might be a little less chewy and slightly lighter in structure compared to bread flour, but it will still rise nicely and taste just as good.
Did you make this recipe?
Tag @nomadetteats on Instagram


5 Minute Lazy Baguette
Hi, I am a beginner and wanted to know if the water is cold or warm? Nagi uses warm water – It helps the beginner baker if you include these tips.
Thank you
Jenny
Hi Jennifer, for this recipe, room temperature water will work, hence the purposefully left out temperature details 🙂 You can also use warm water (not hot, comfortably warm to the touch), it will simply rise quicker. I’ve updated the post to include this clarification, thanks for pointing it out!